TL;DR
- Problem:
- People can't feel ambient temperature/humidity changes until discomfort — no calm visual cue.
- Role:
- Individual hardware + software prototyping within a collaborative team
- Tools:
- Arduino Uno, DHT11, NeoPixel RGB LEDs, LCD1602, 3D printer (Ultimaker), TouchDesigner, ProtoPie
- Timeline:
- 3 modules — exploration → working circuit → 3D-printed ambient object
- Key Decisions:
- Tiered colour mapping with hysteresis; remove LCD, move UI to mobile; physical latching switch for clear on/off
- Result:
- A finished ambient lamp that communicates comfort state through colour and glow, paired with a ProtoPie mobile dashboard.
Arduino Basics & Research
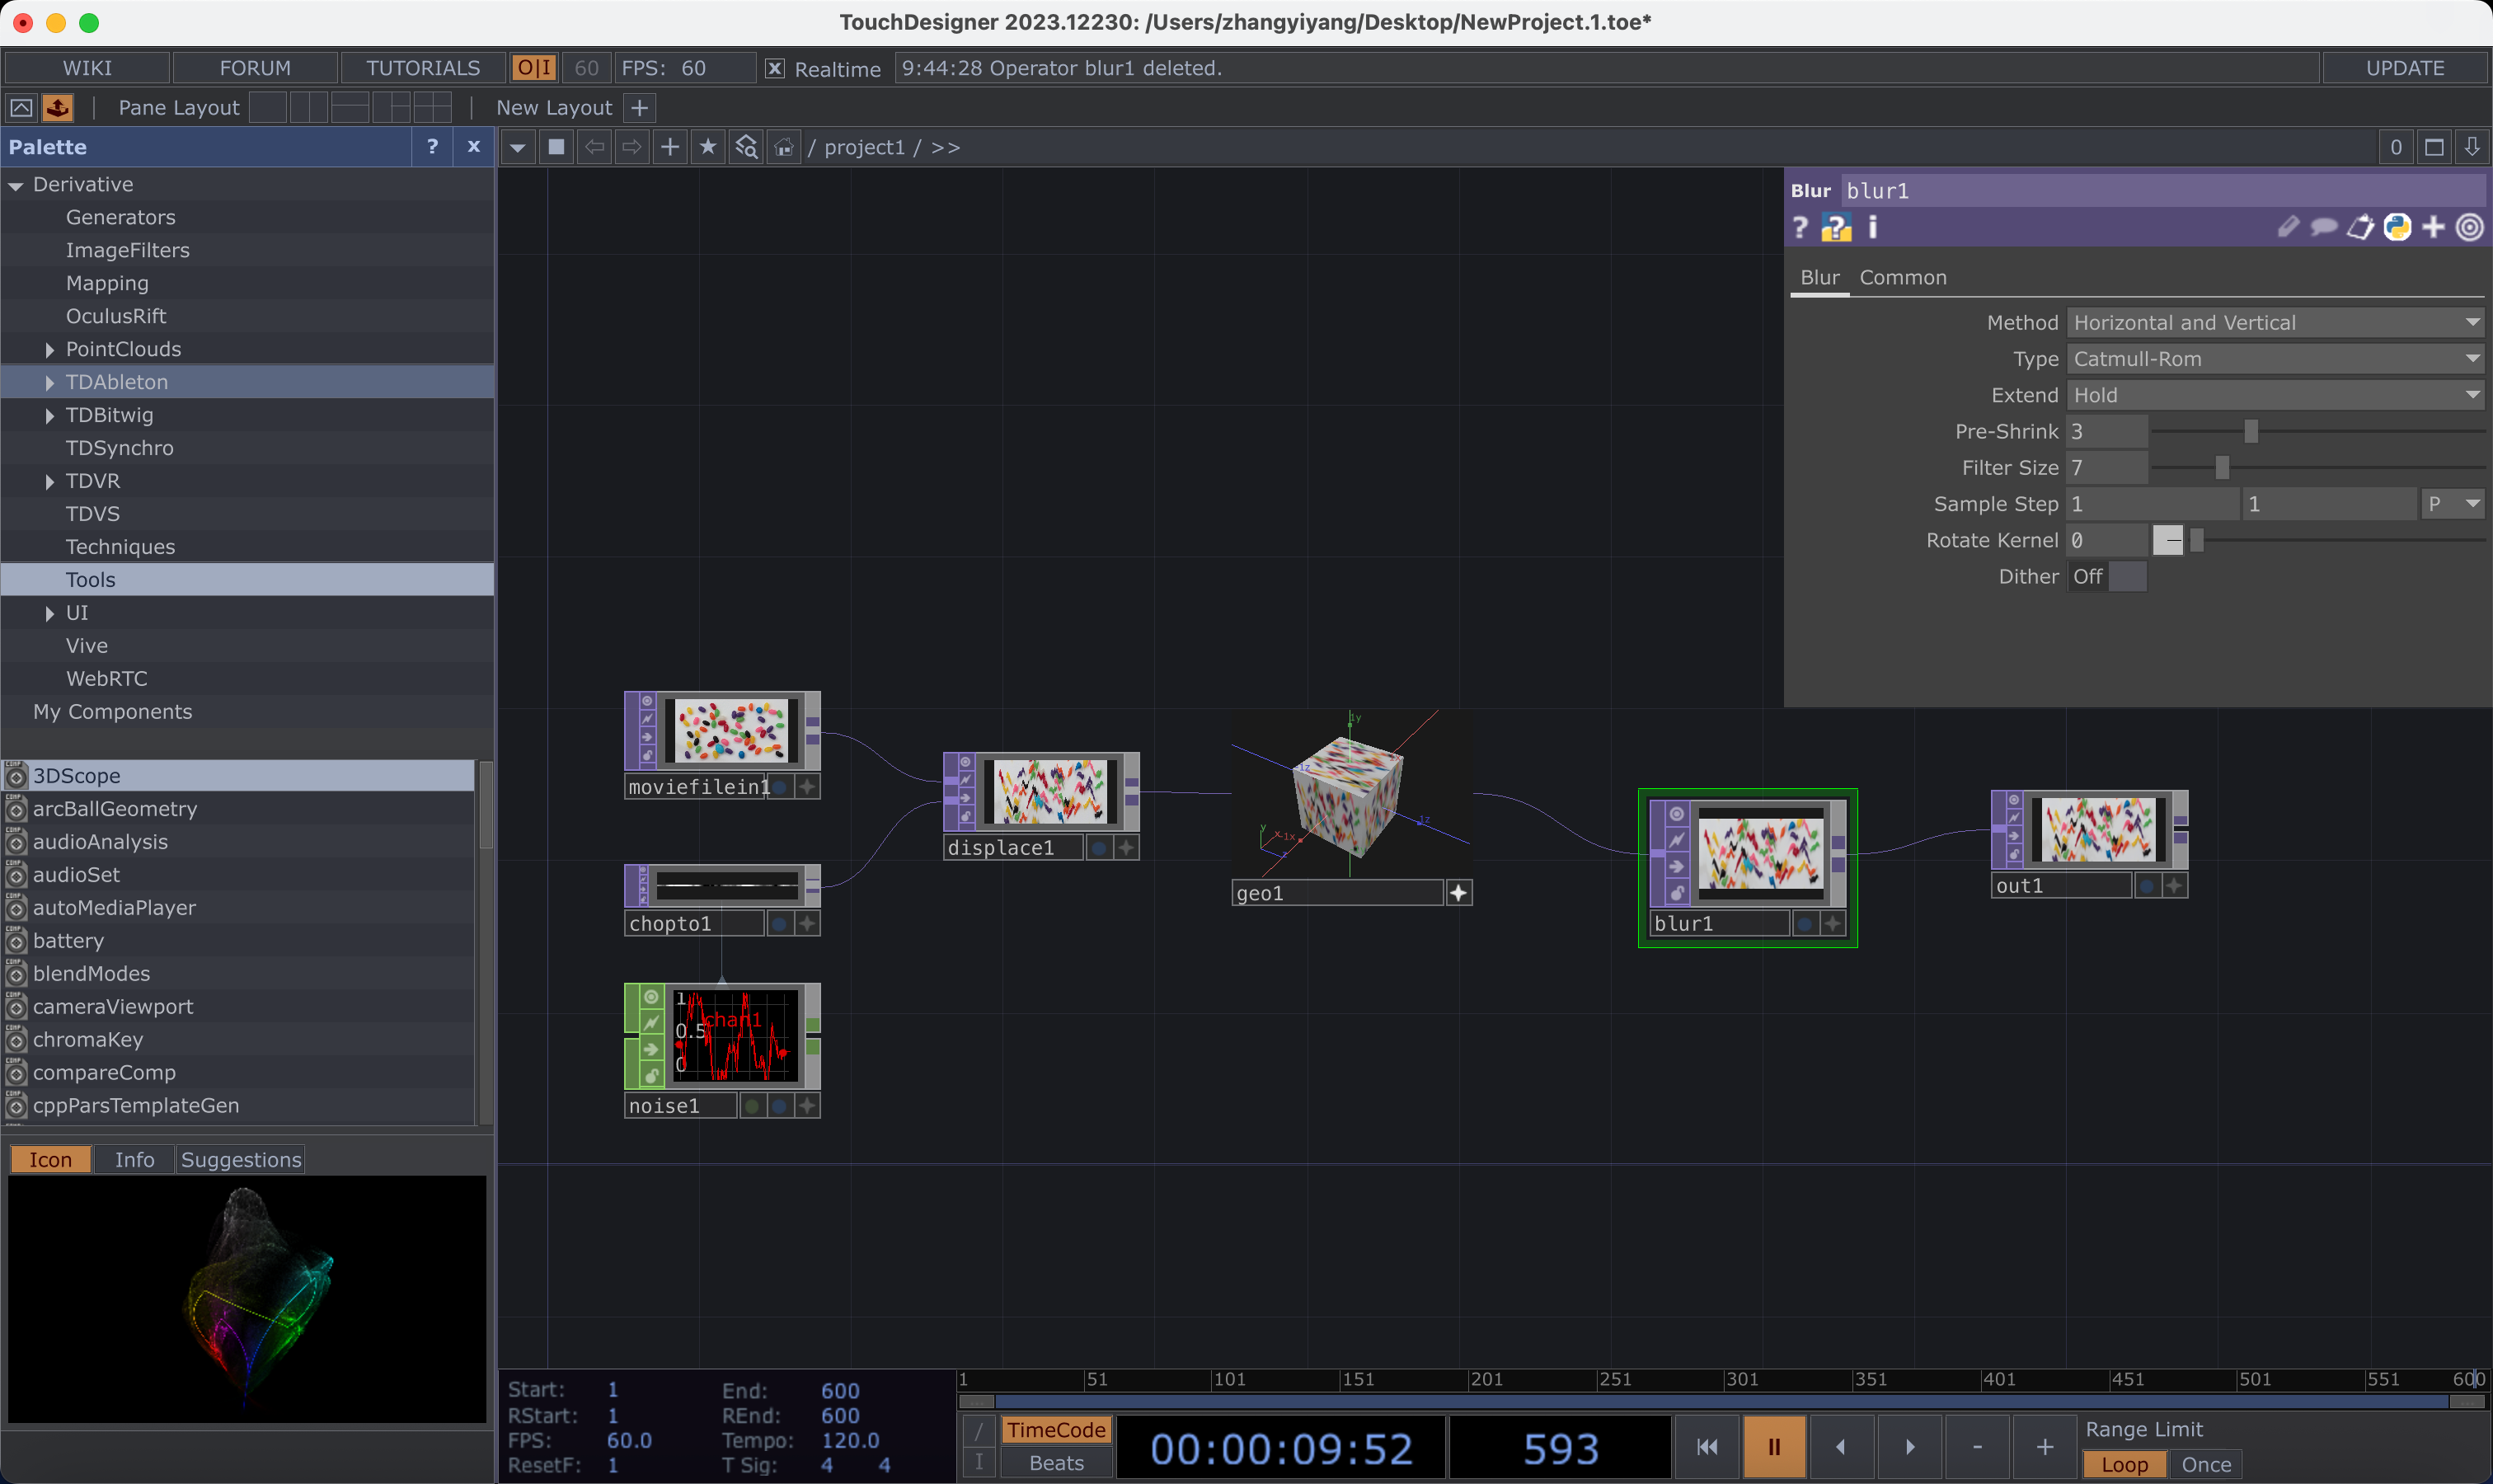
Set up Arduino for the first time — Blink, LEDs, buttons. Explored TouchDesigner for data-driven visuals. Researched WGSN consumer trends (Solarpunk Futures, Nomadic Tech) and defined problem spaces and HMI statements.
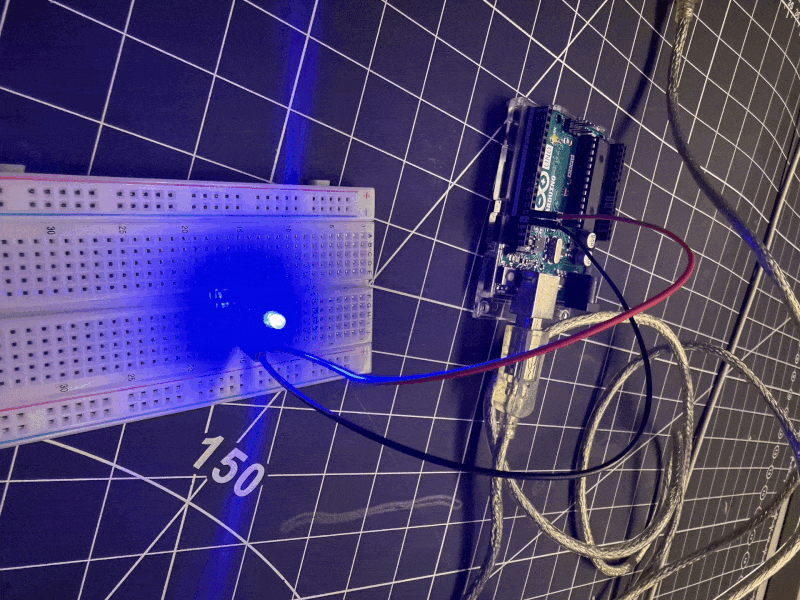
Activity 1 — First Arduino Experiments
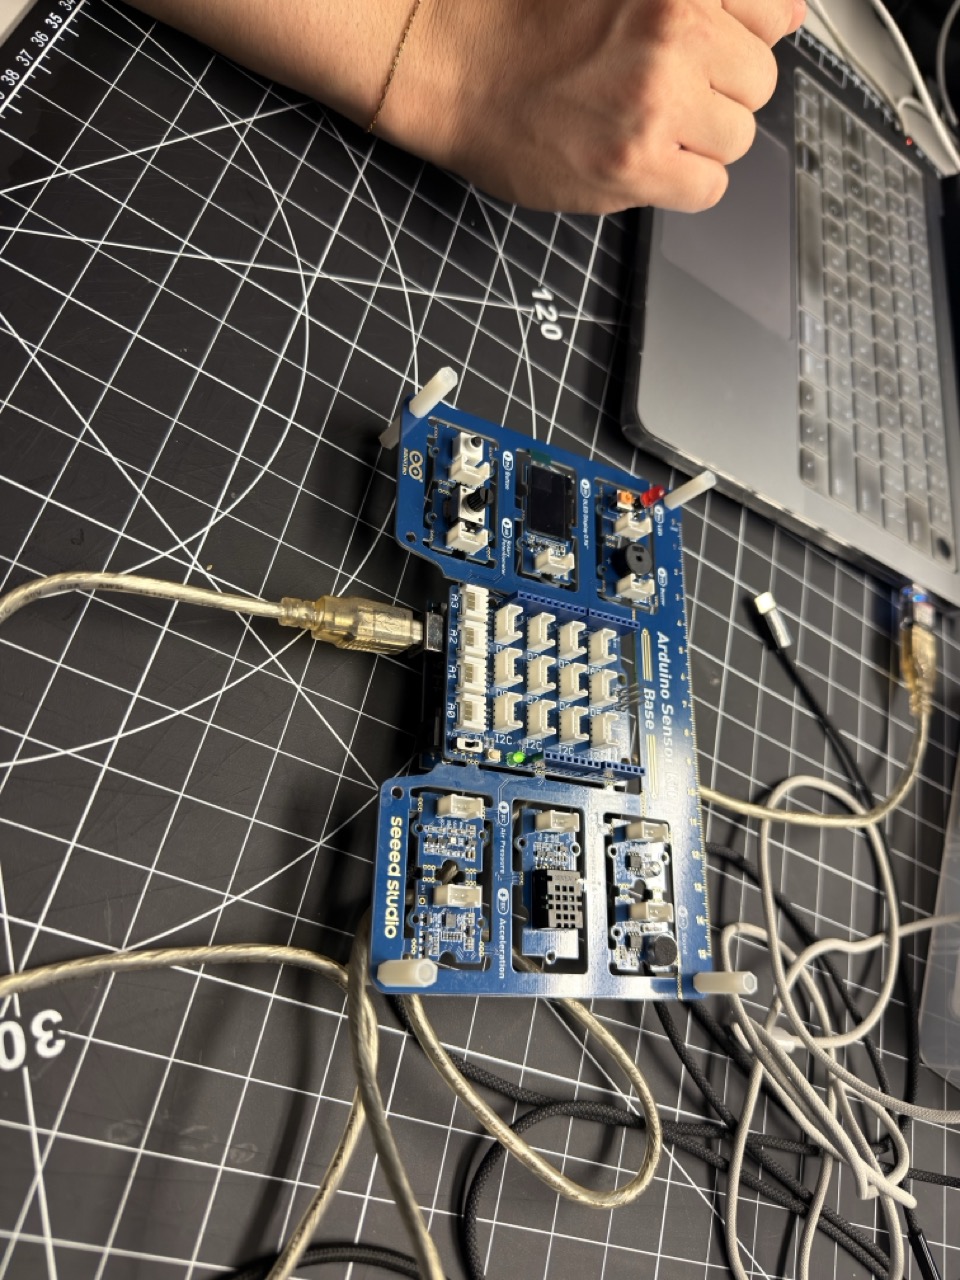
Activity 2 — ProtoPie + Board Setup
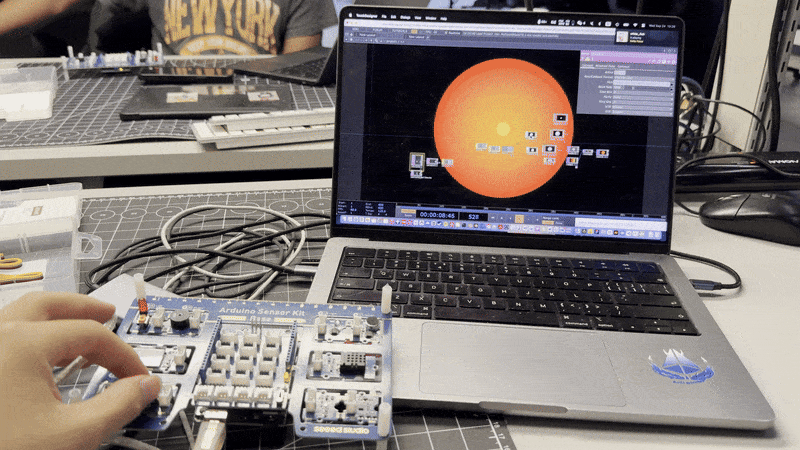
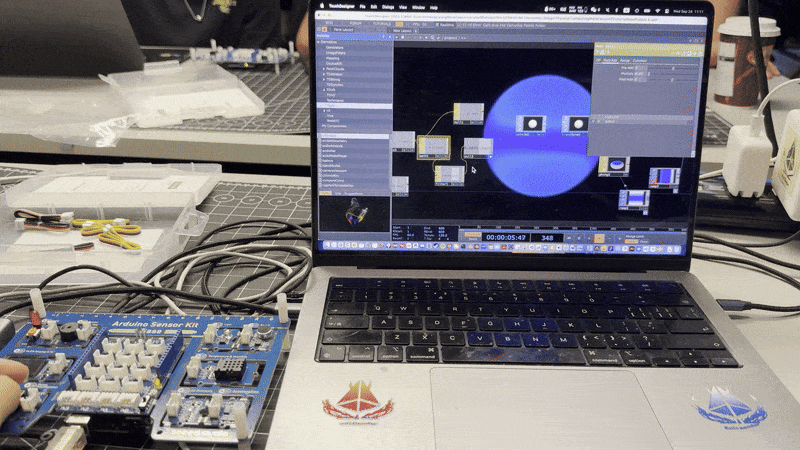
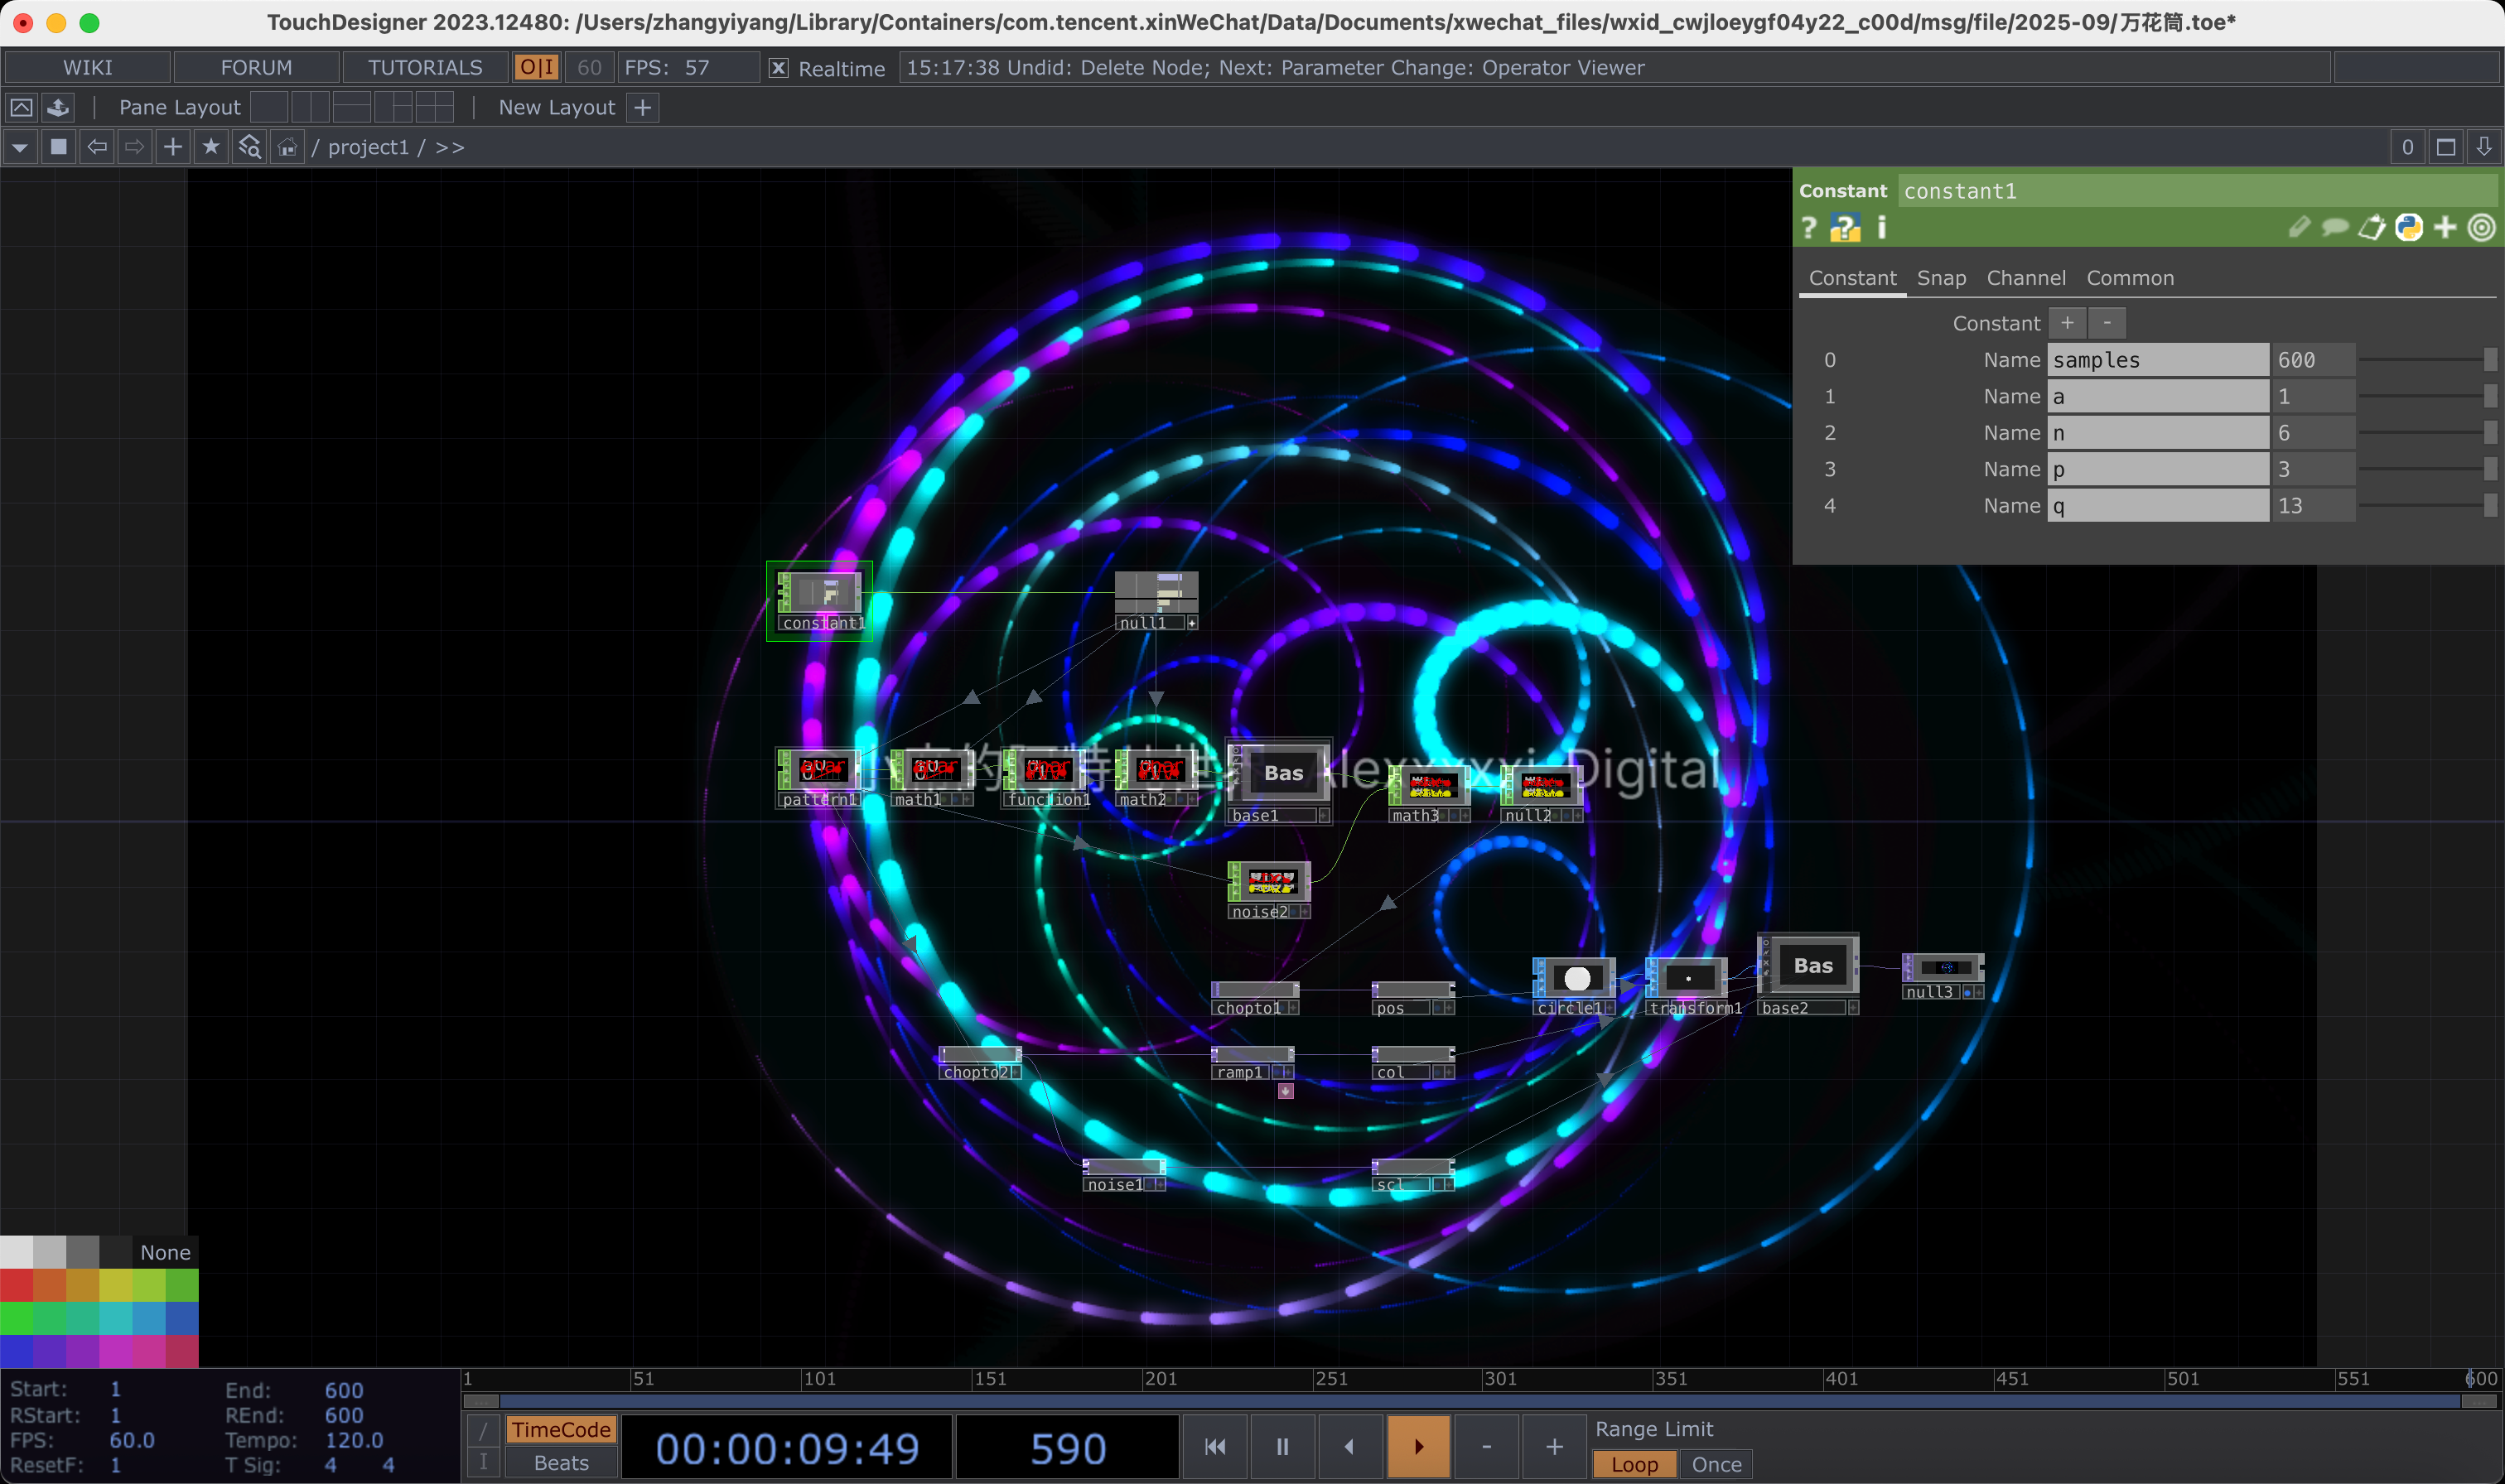
Activity 3 — Arduino → TouchDesigner

Concept Direction
Chose the ART path — transforming sensor signals into generative visuals. Core idea: make energy states legible at a glance through calm colour/particle fields mapped to real data.
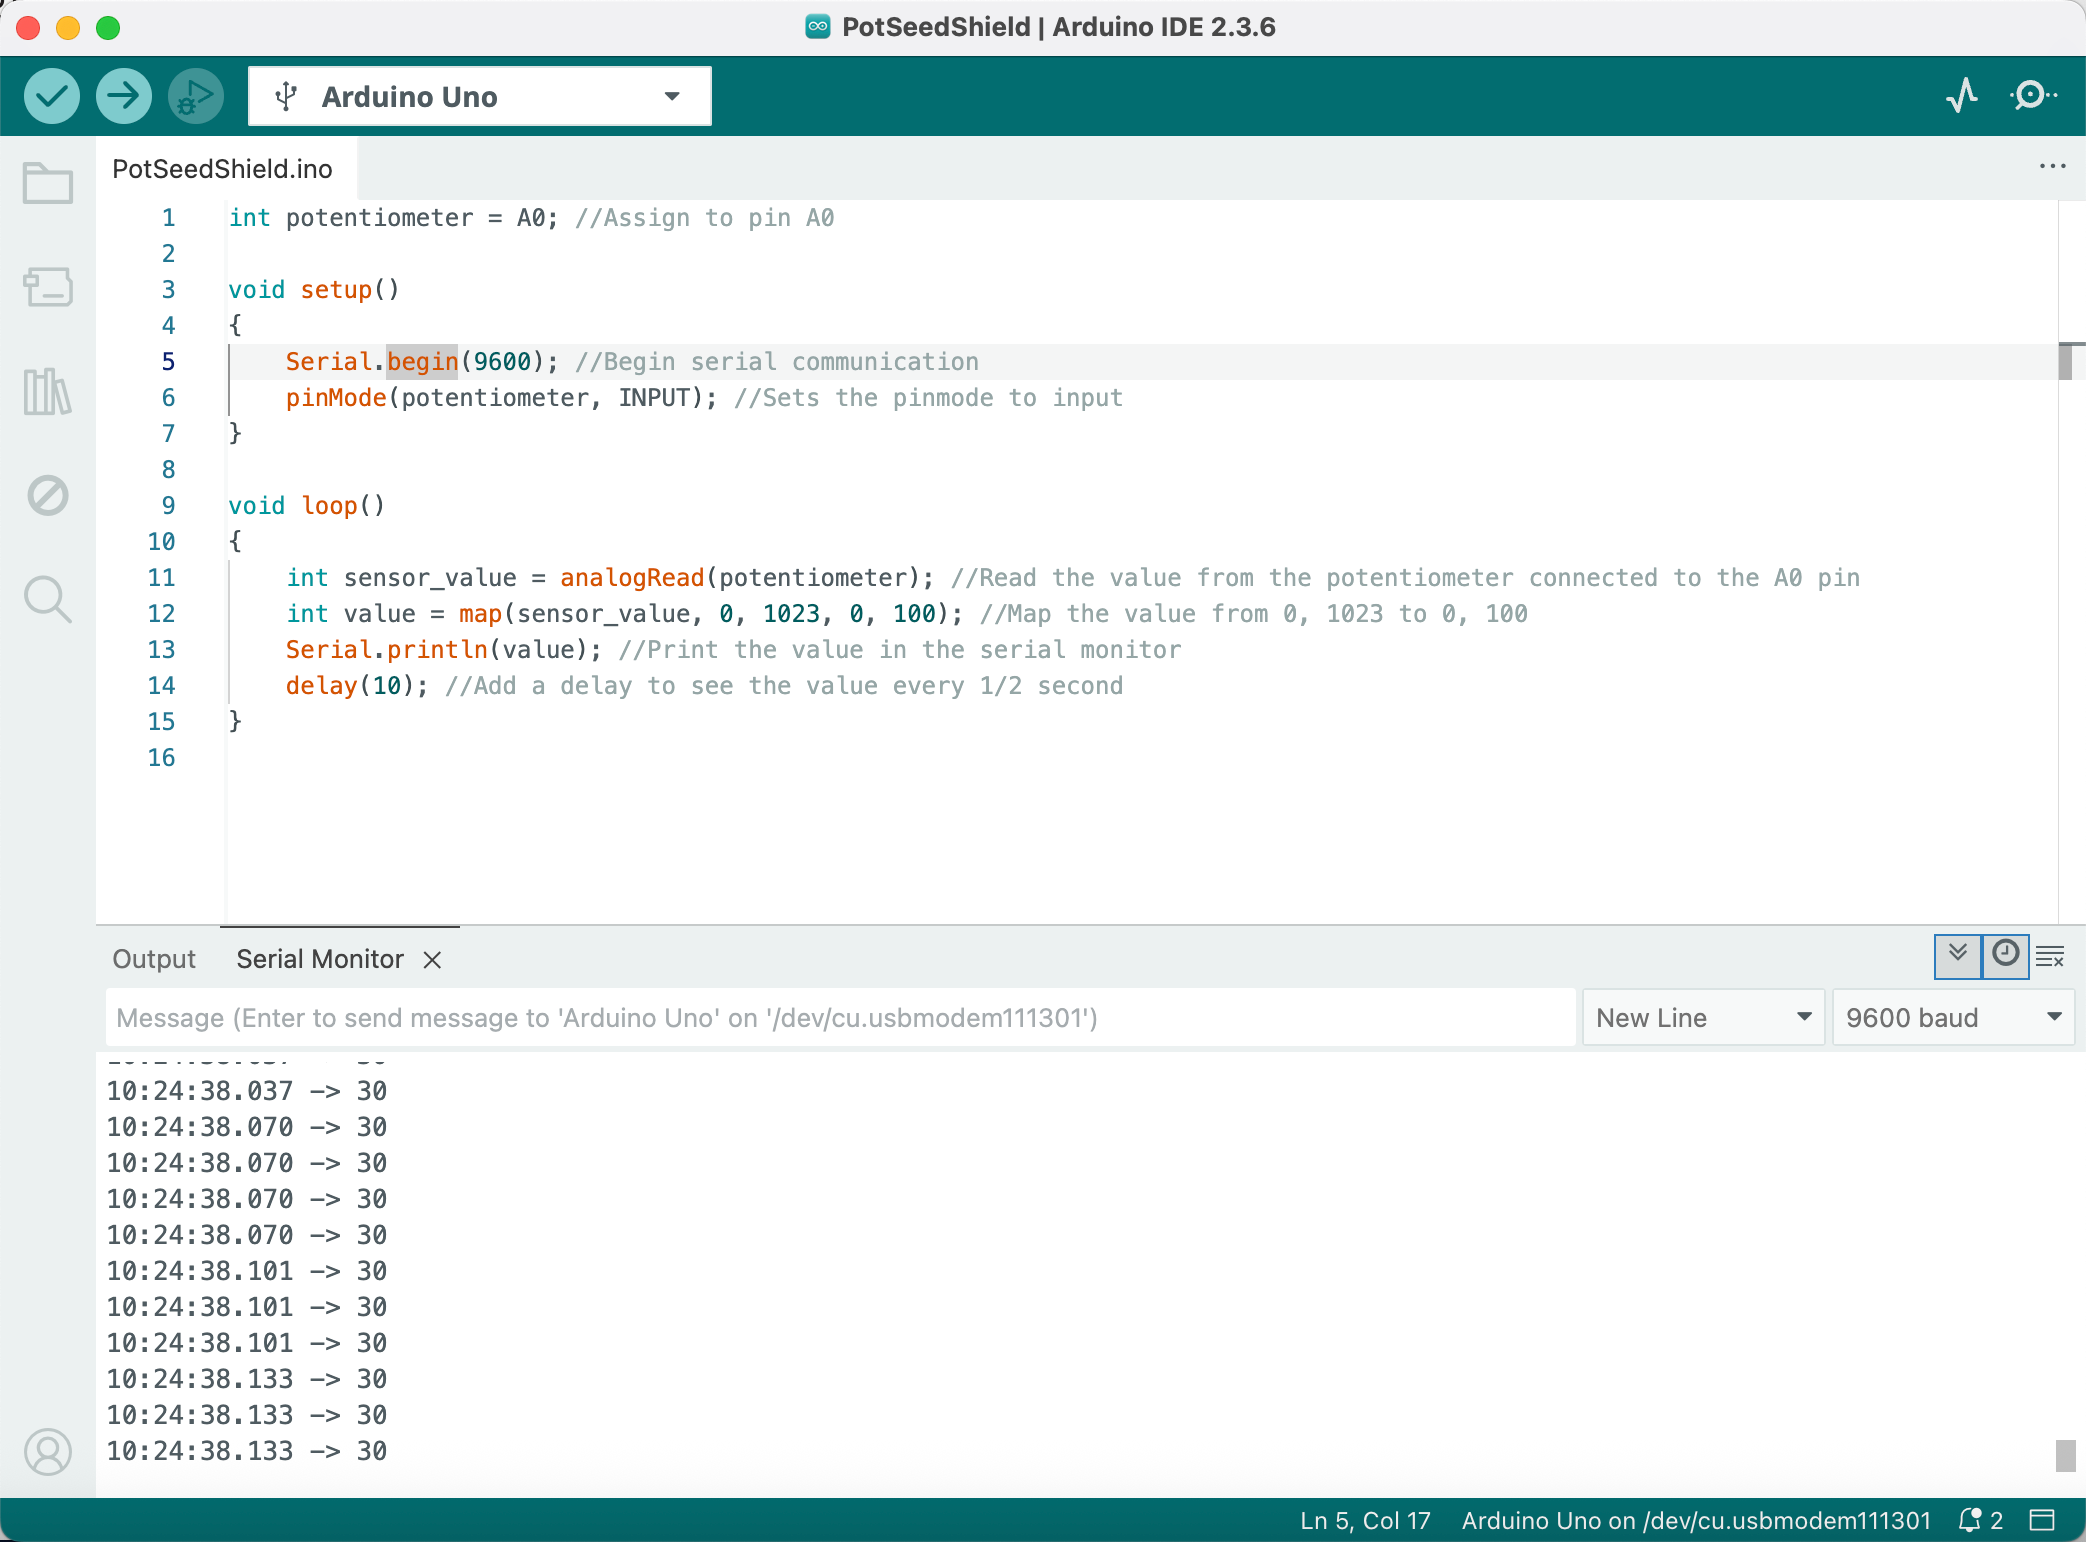
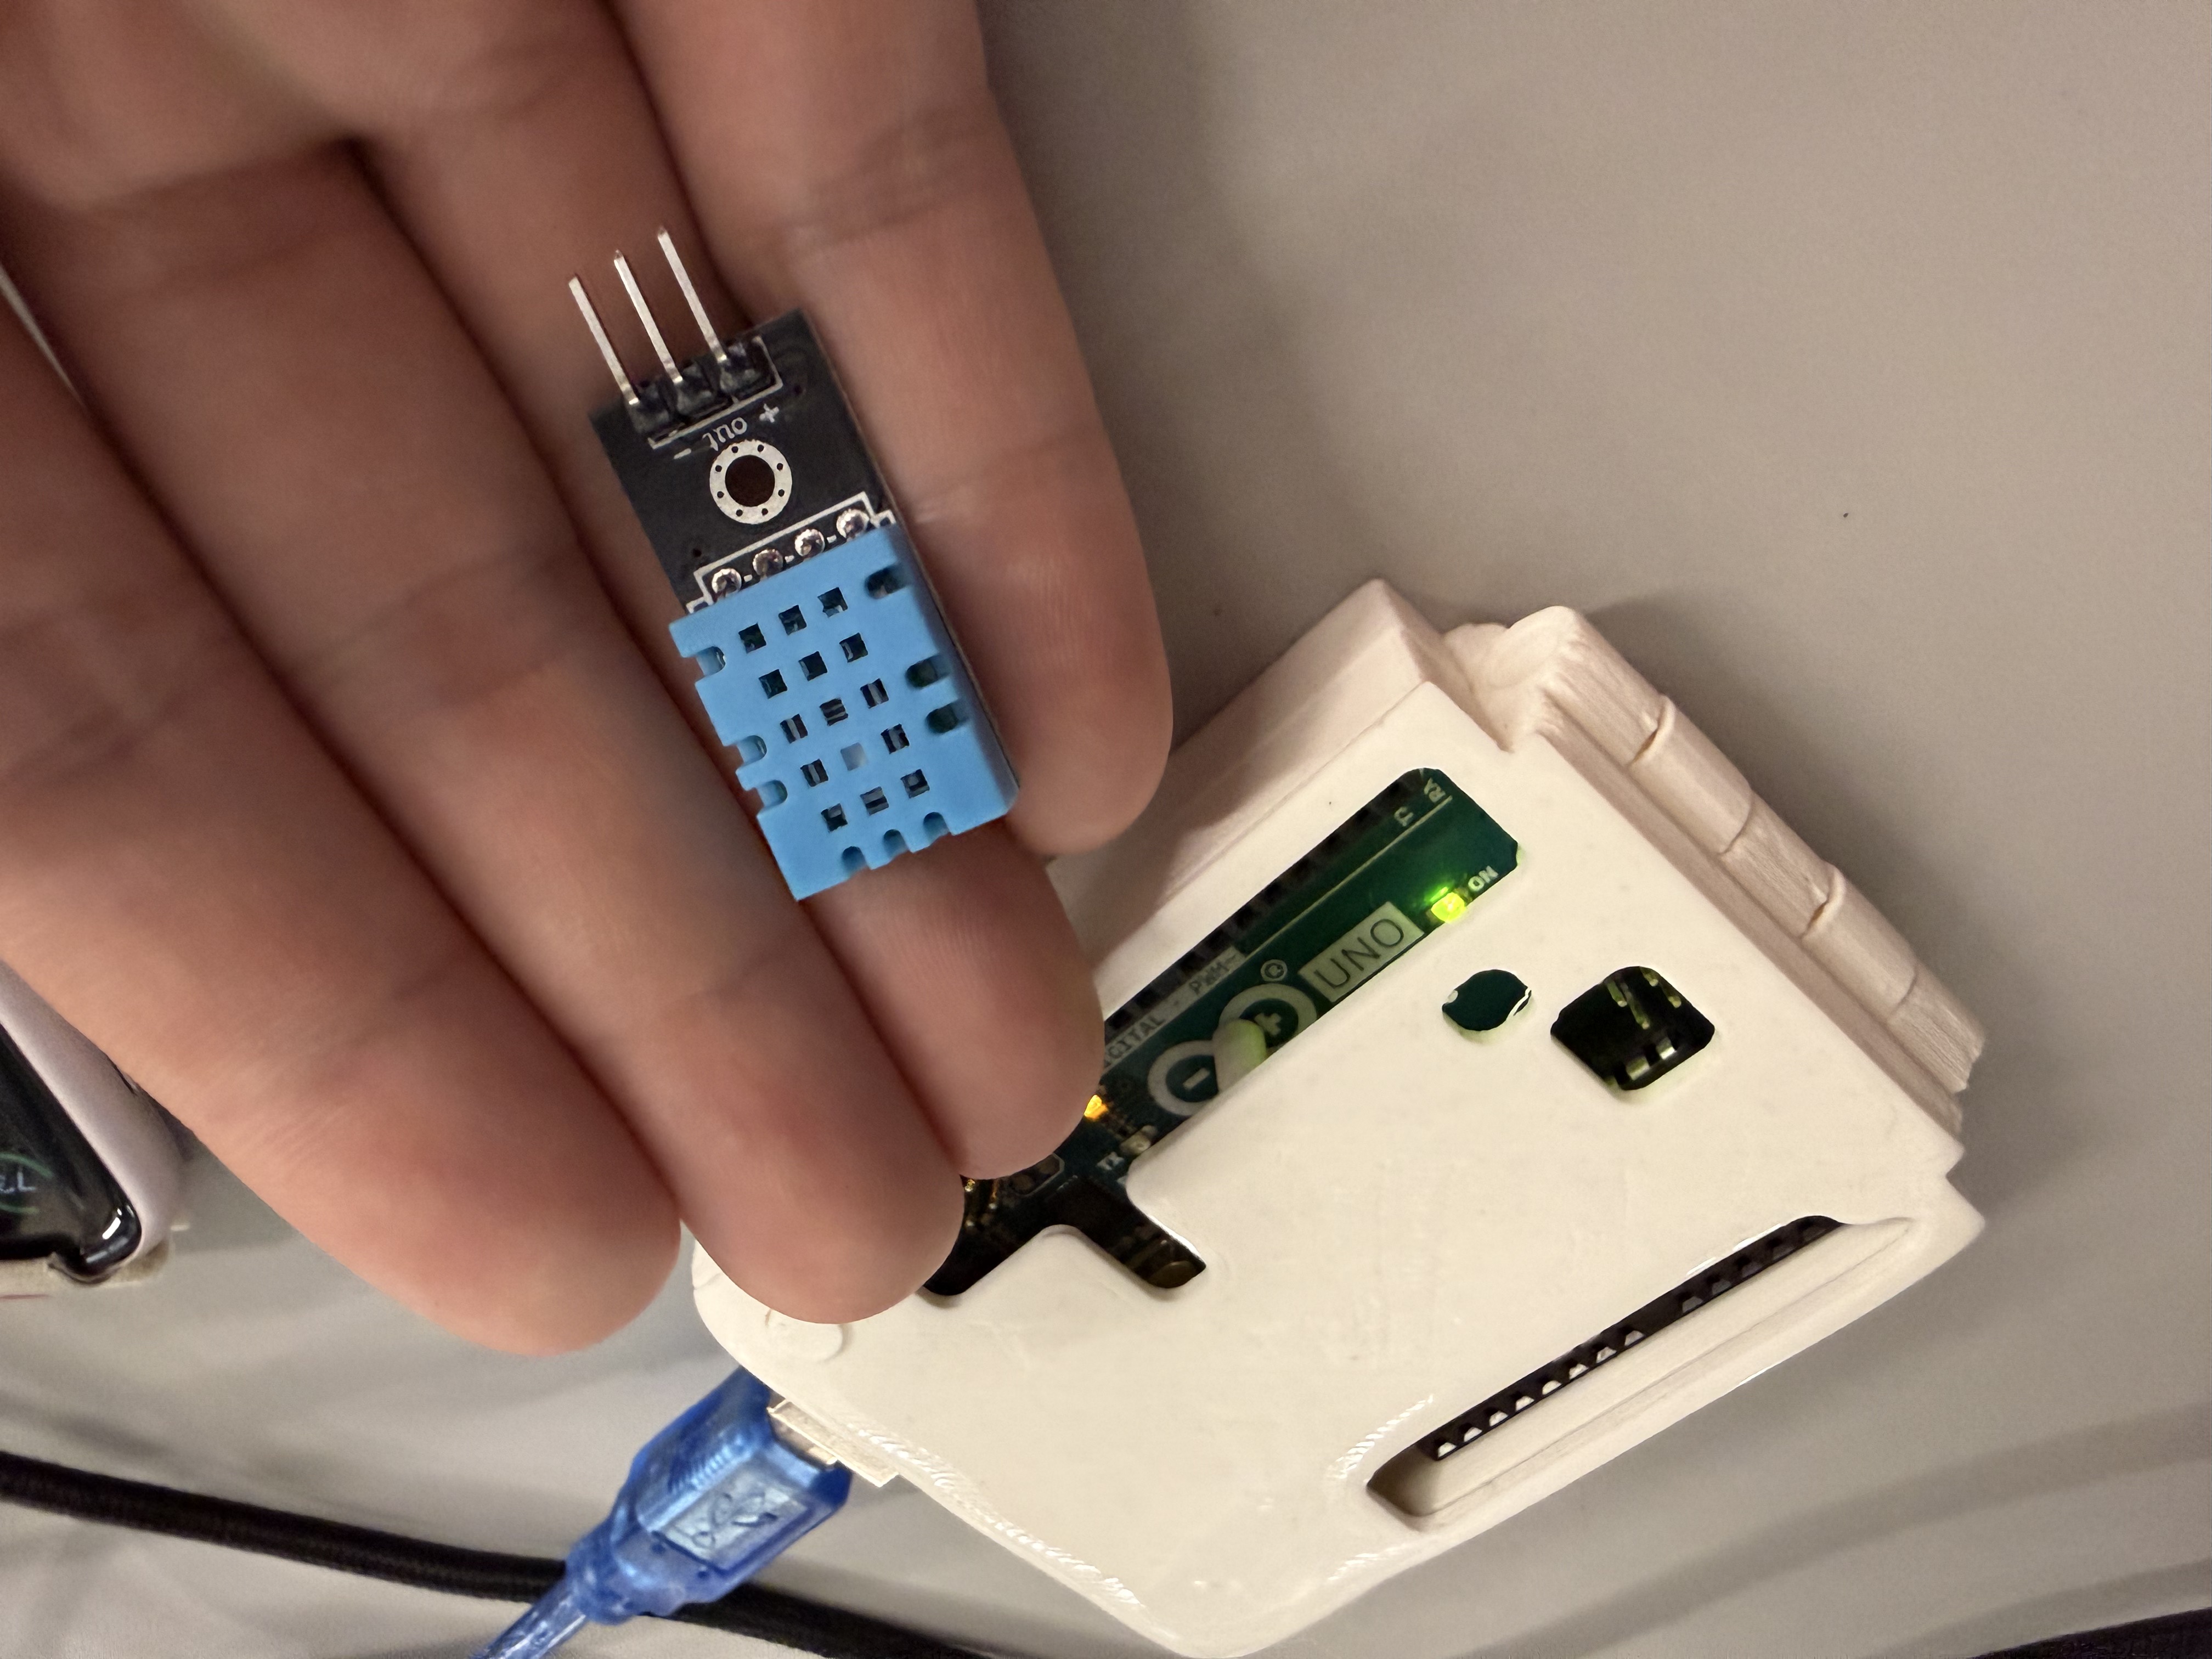
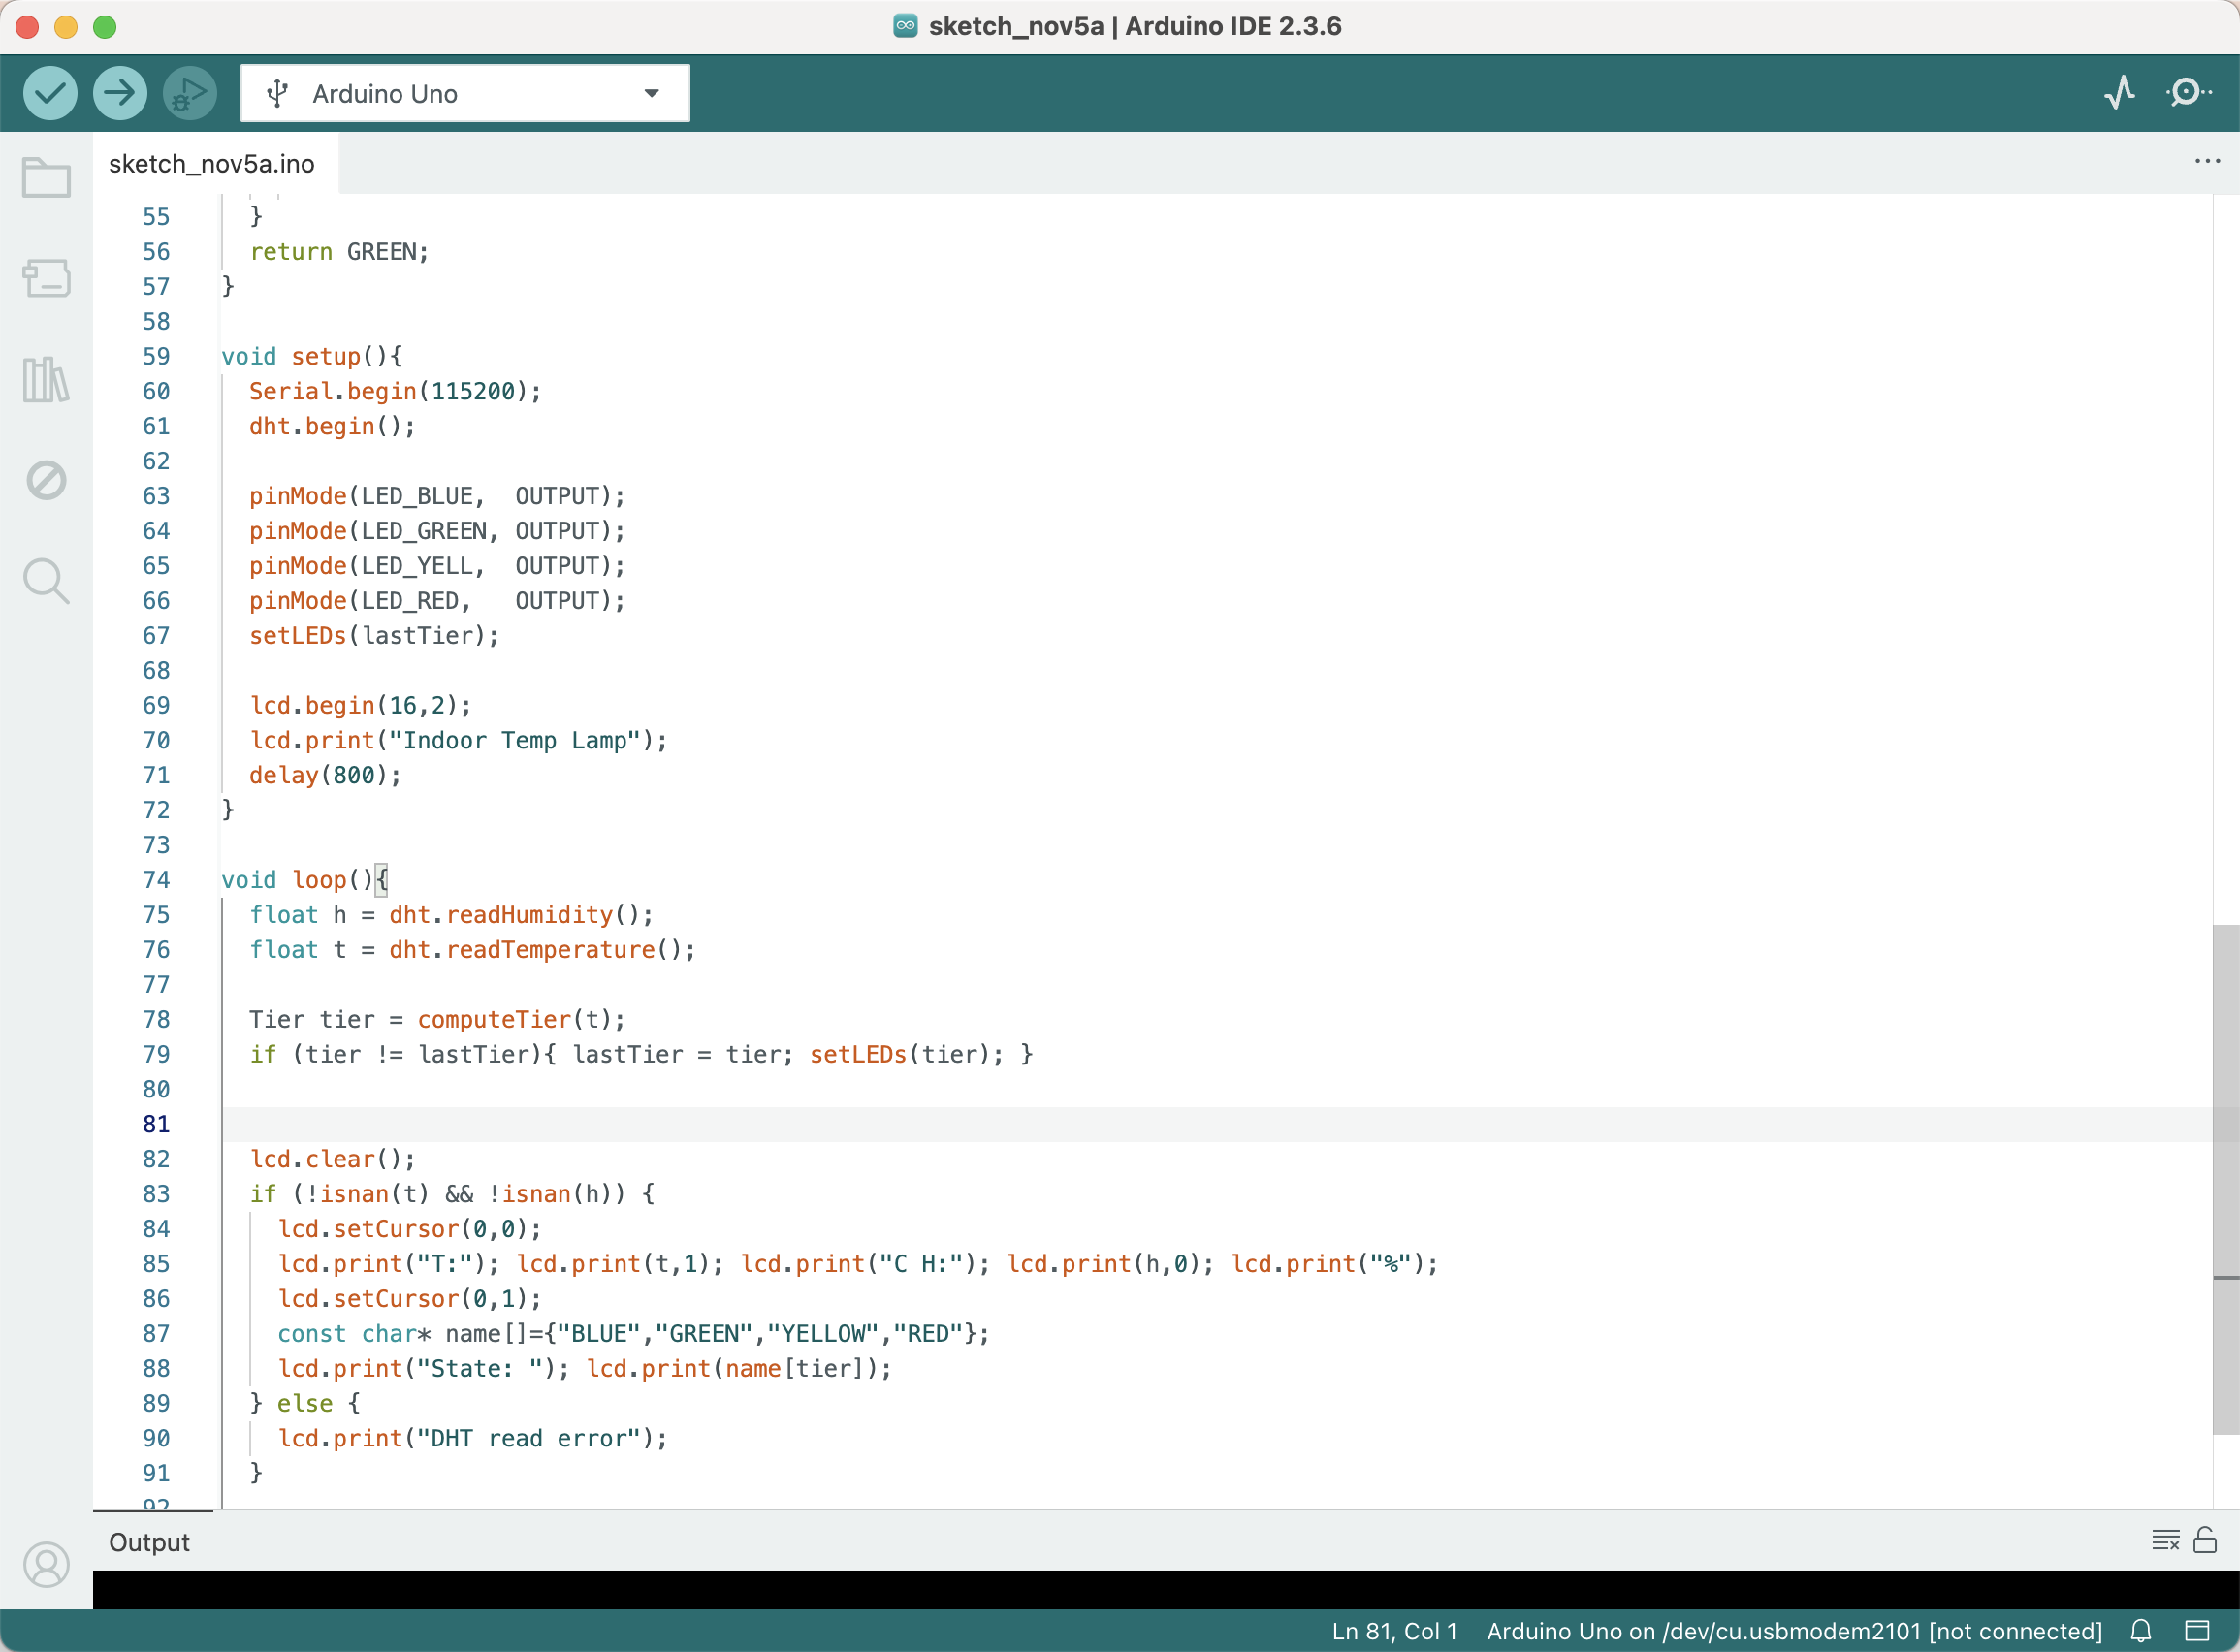
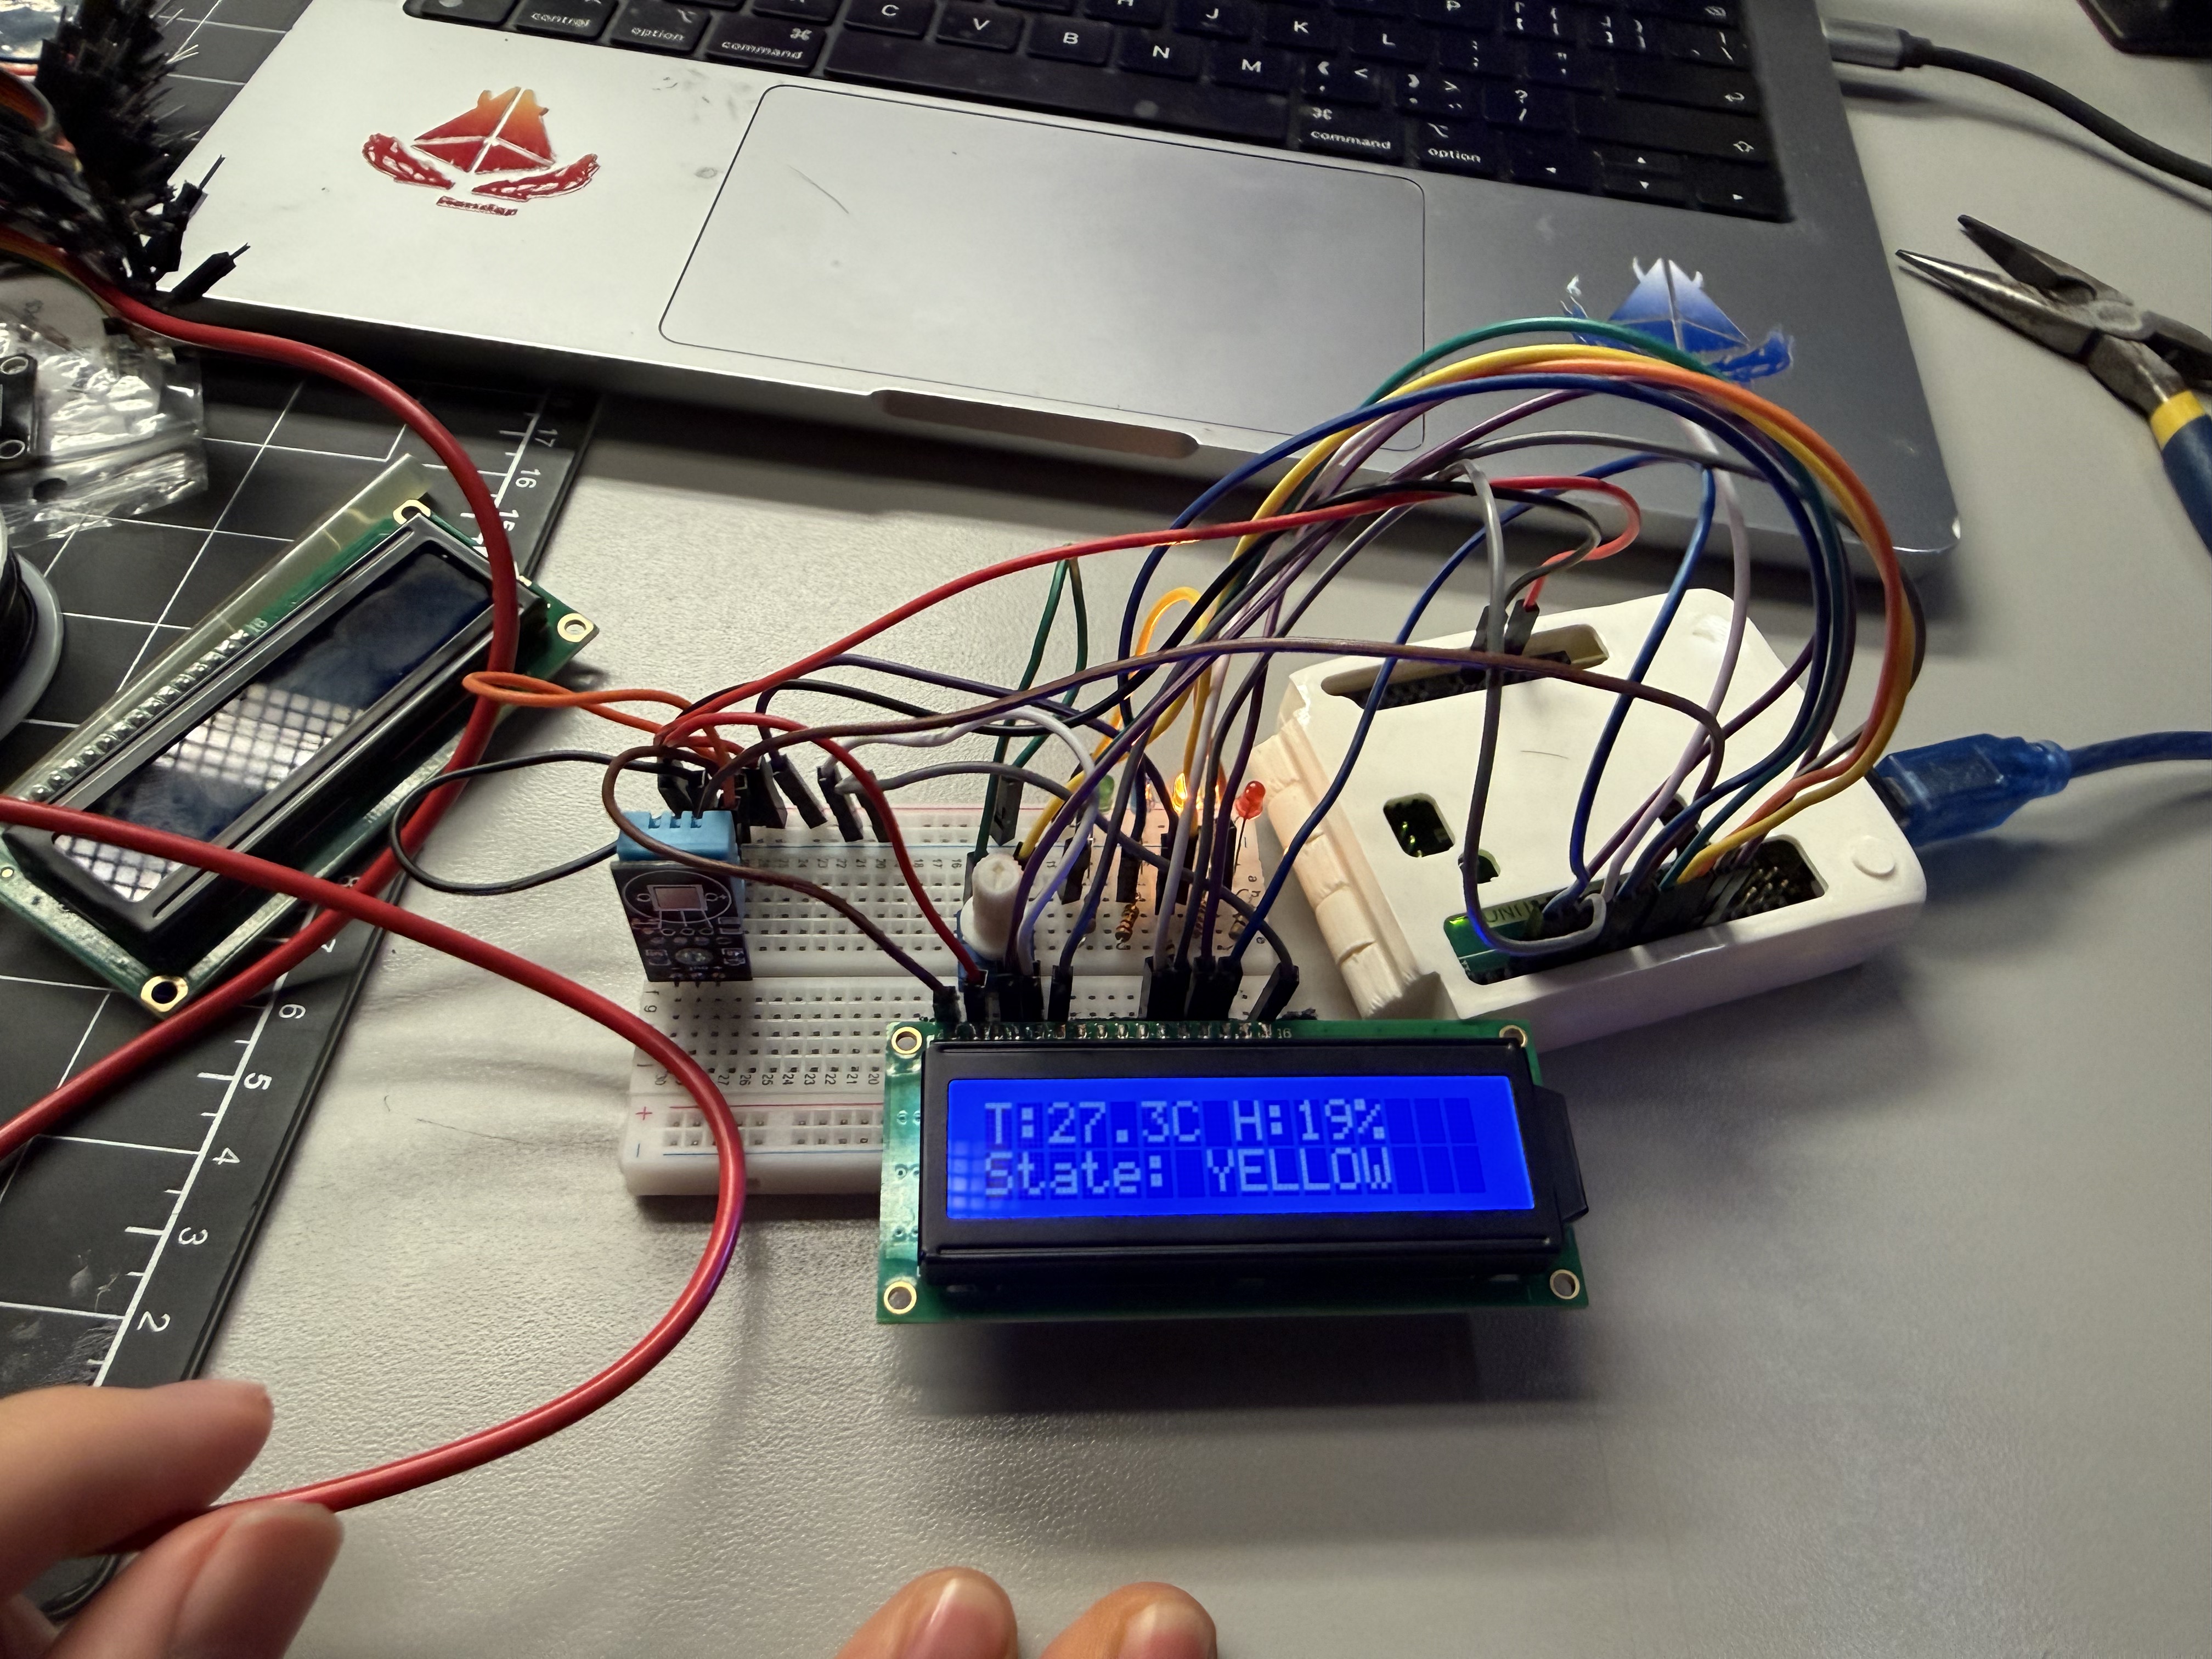
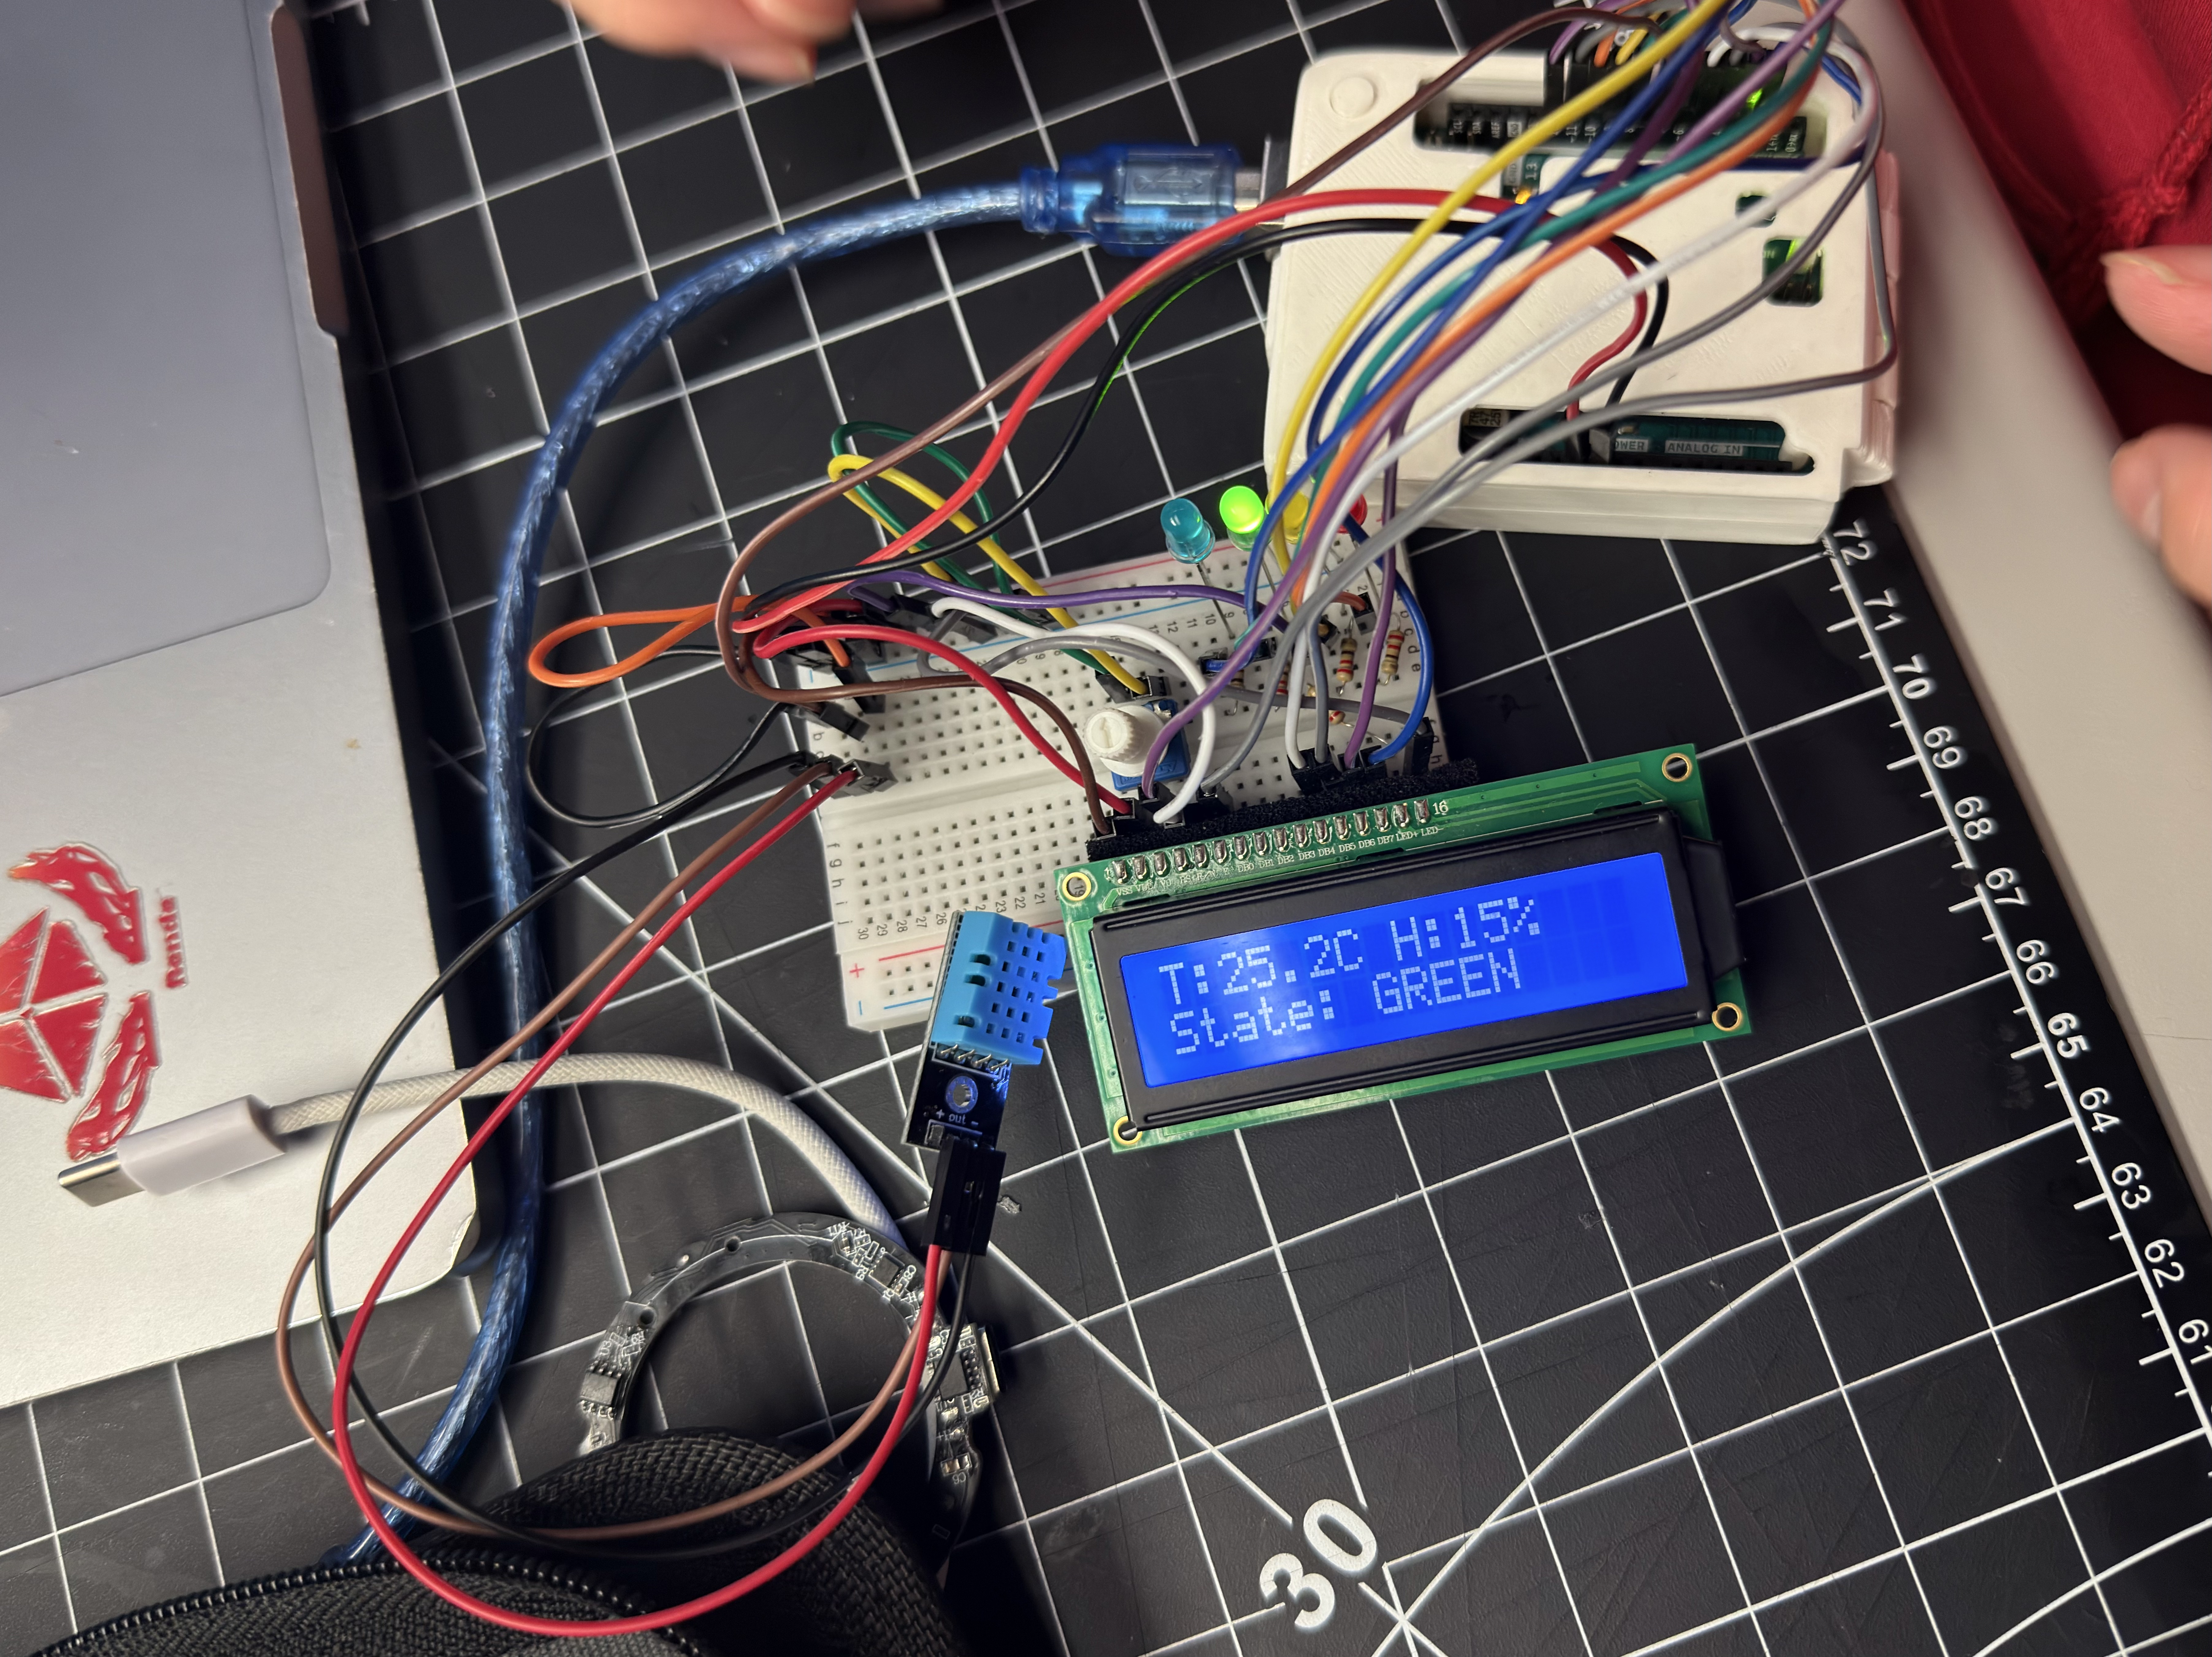
DHT Sensor → LED → LCD Comfort Lamp
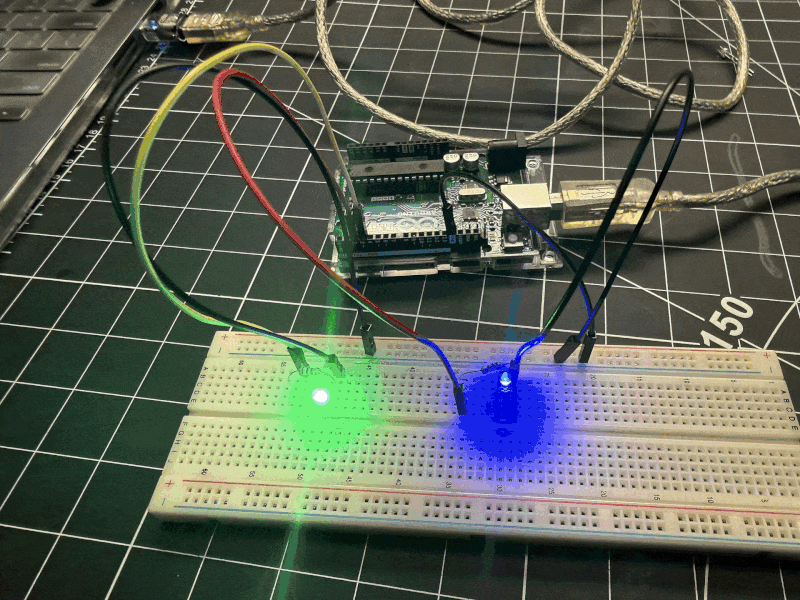
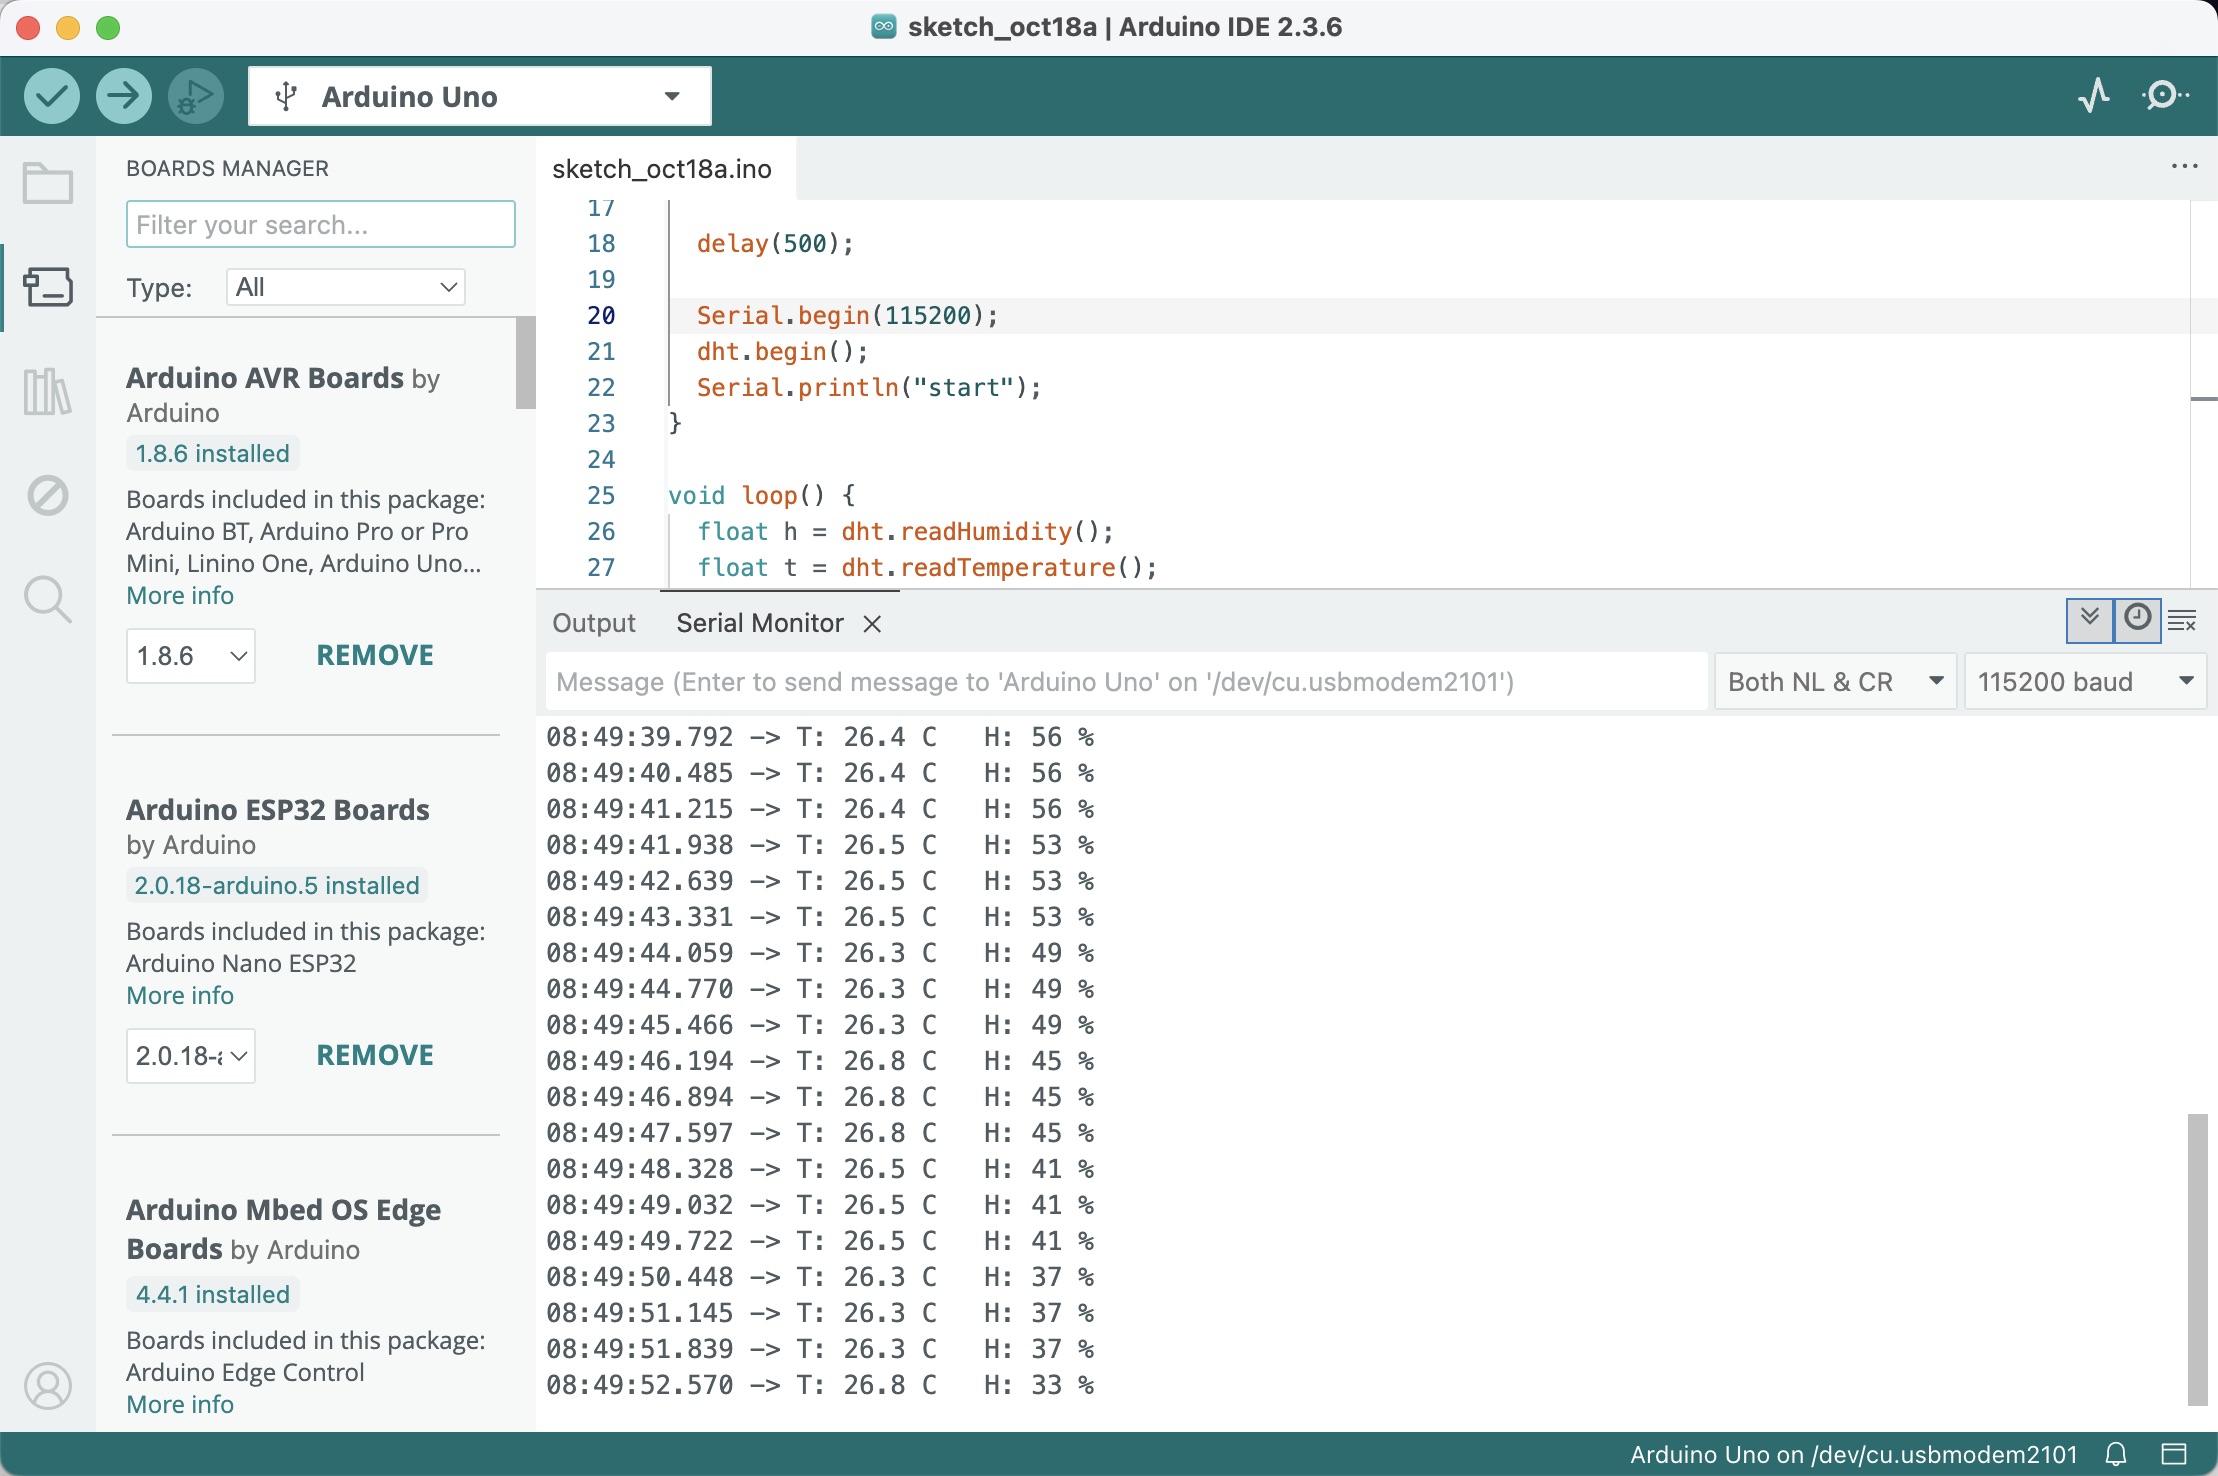
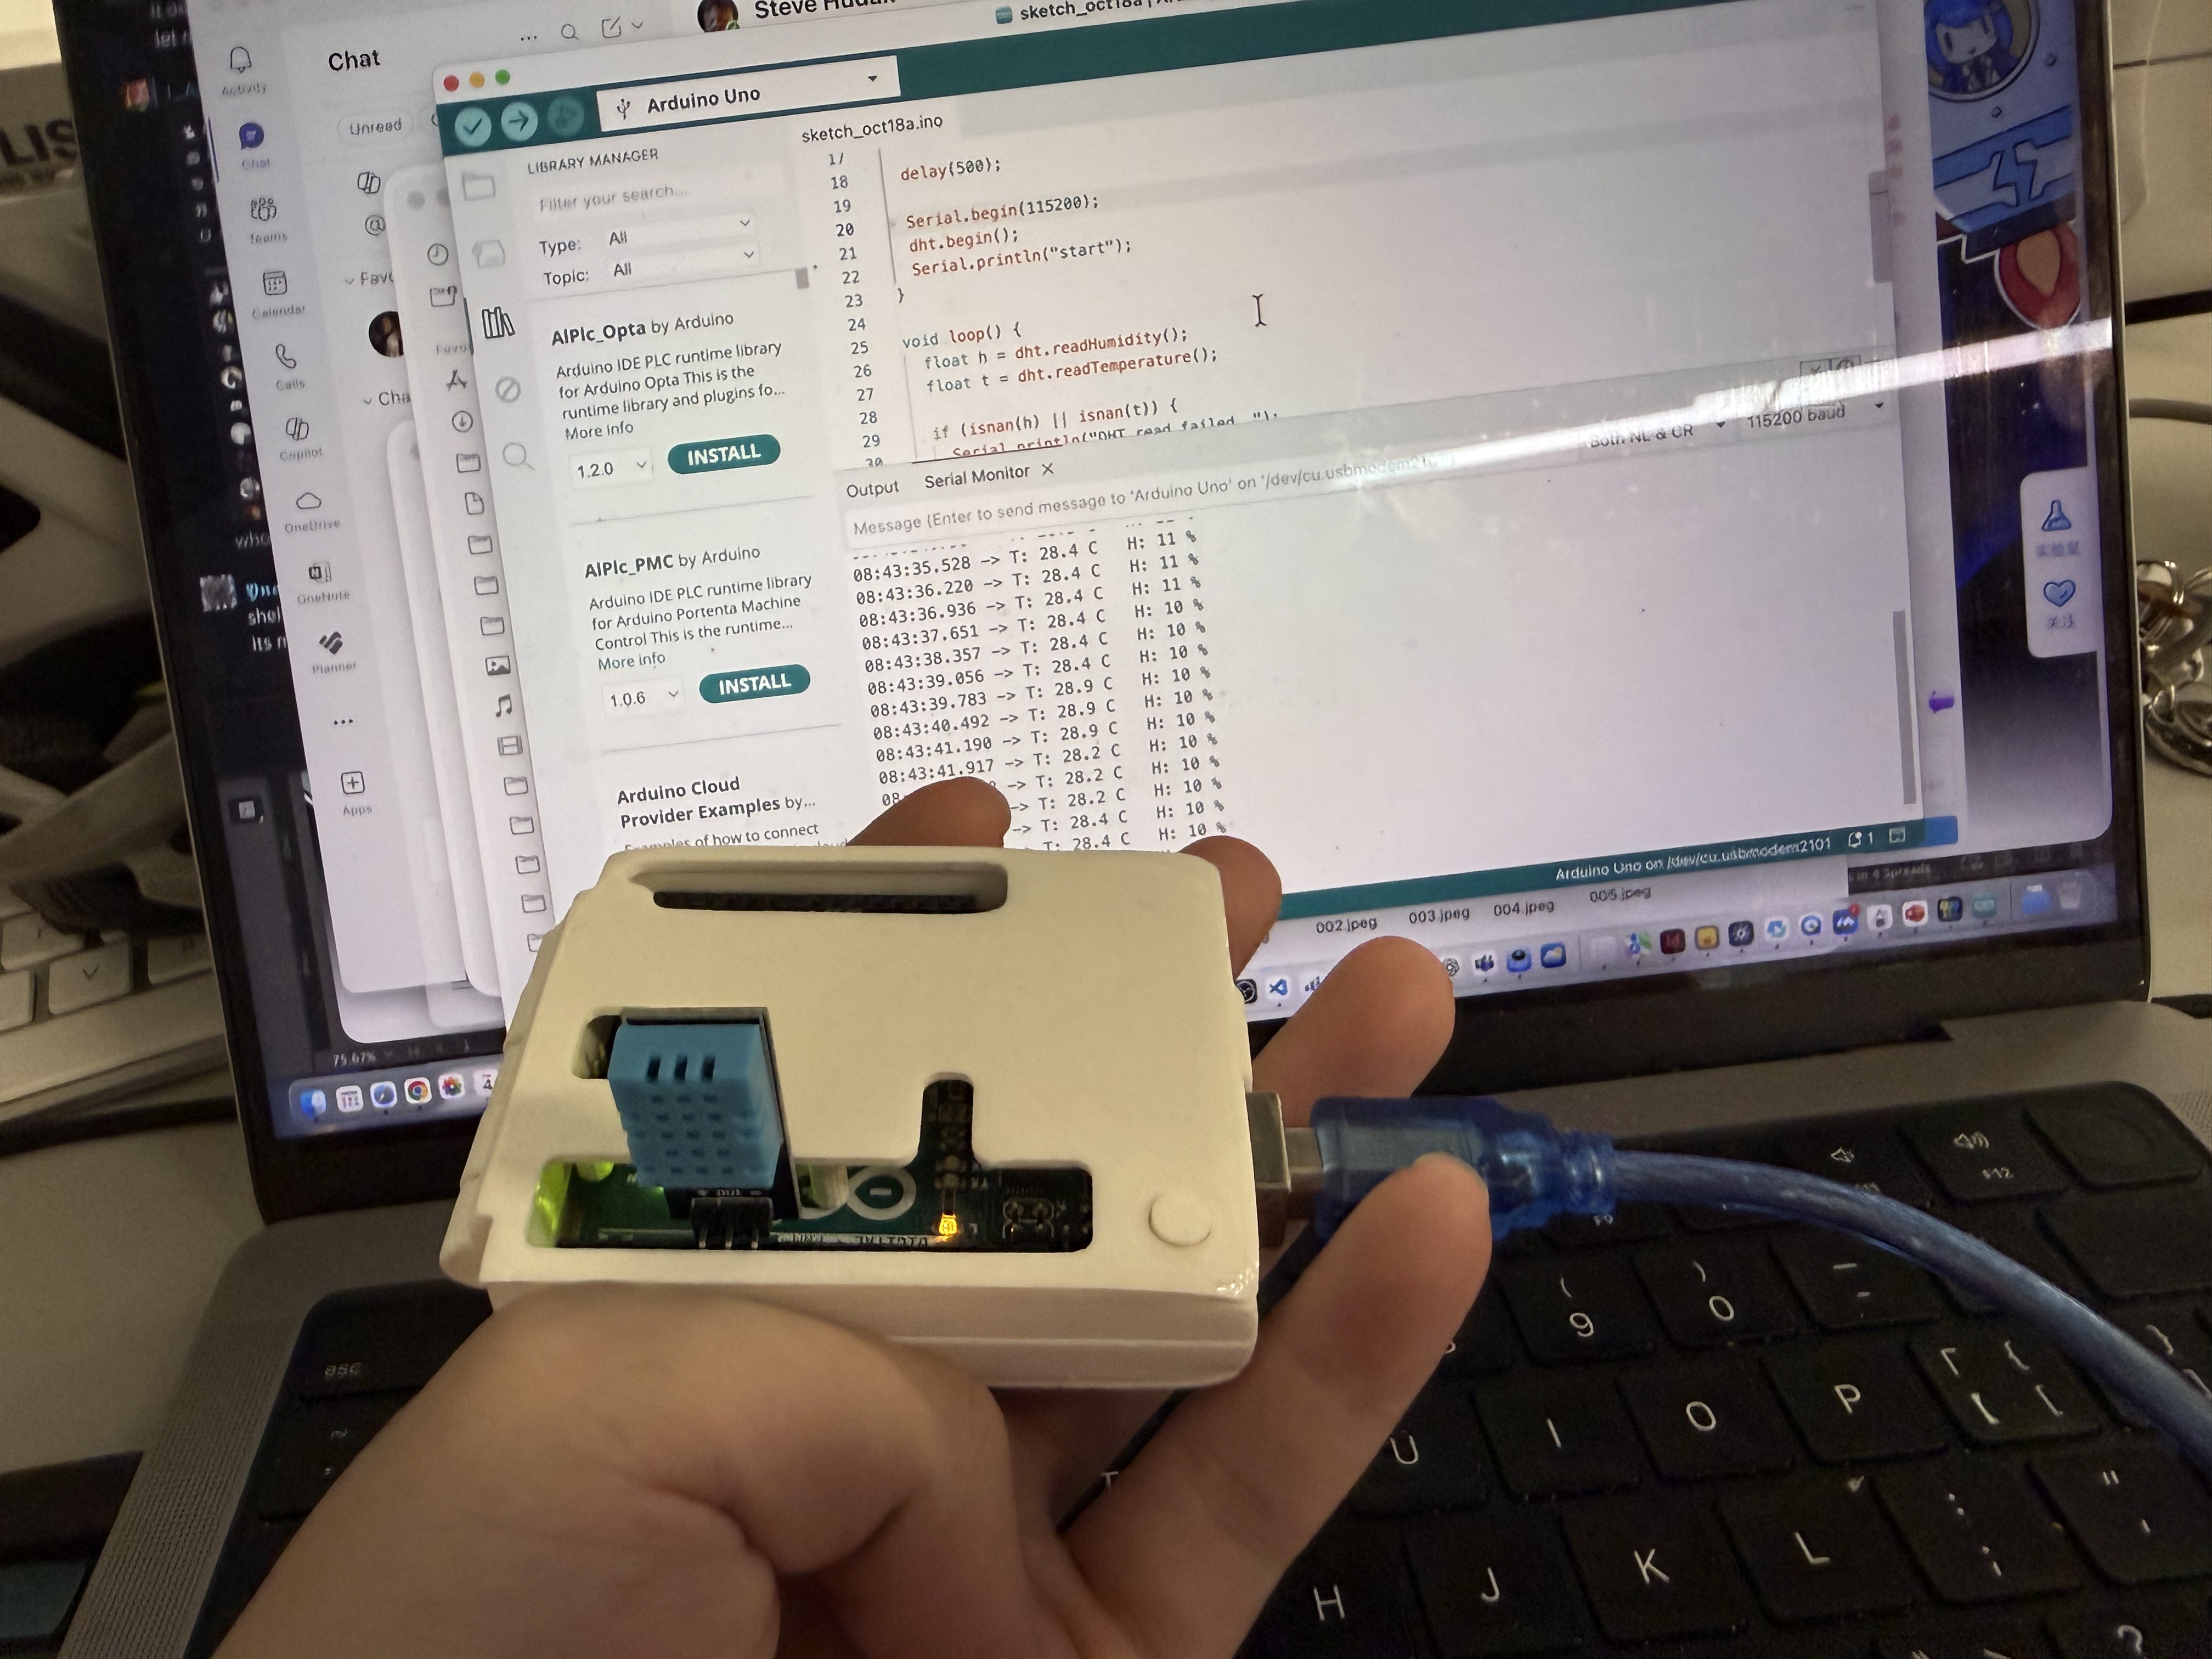
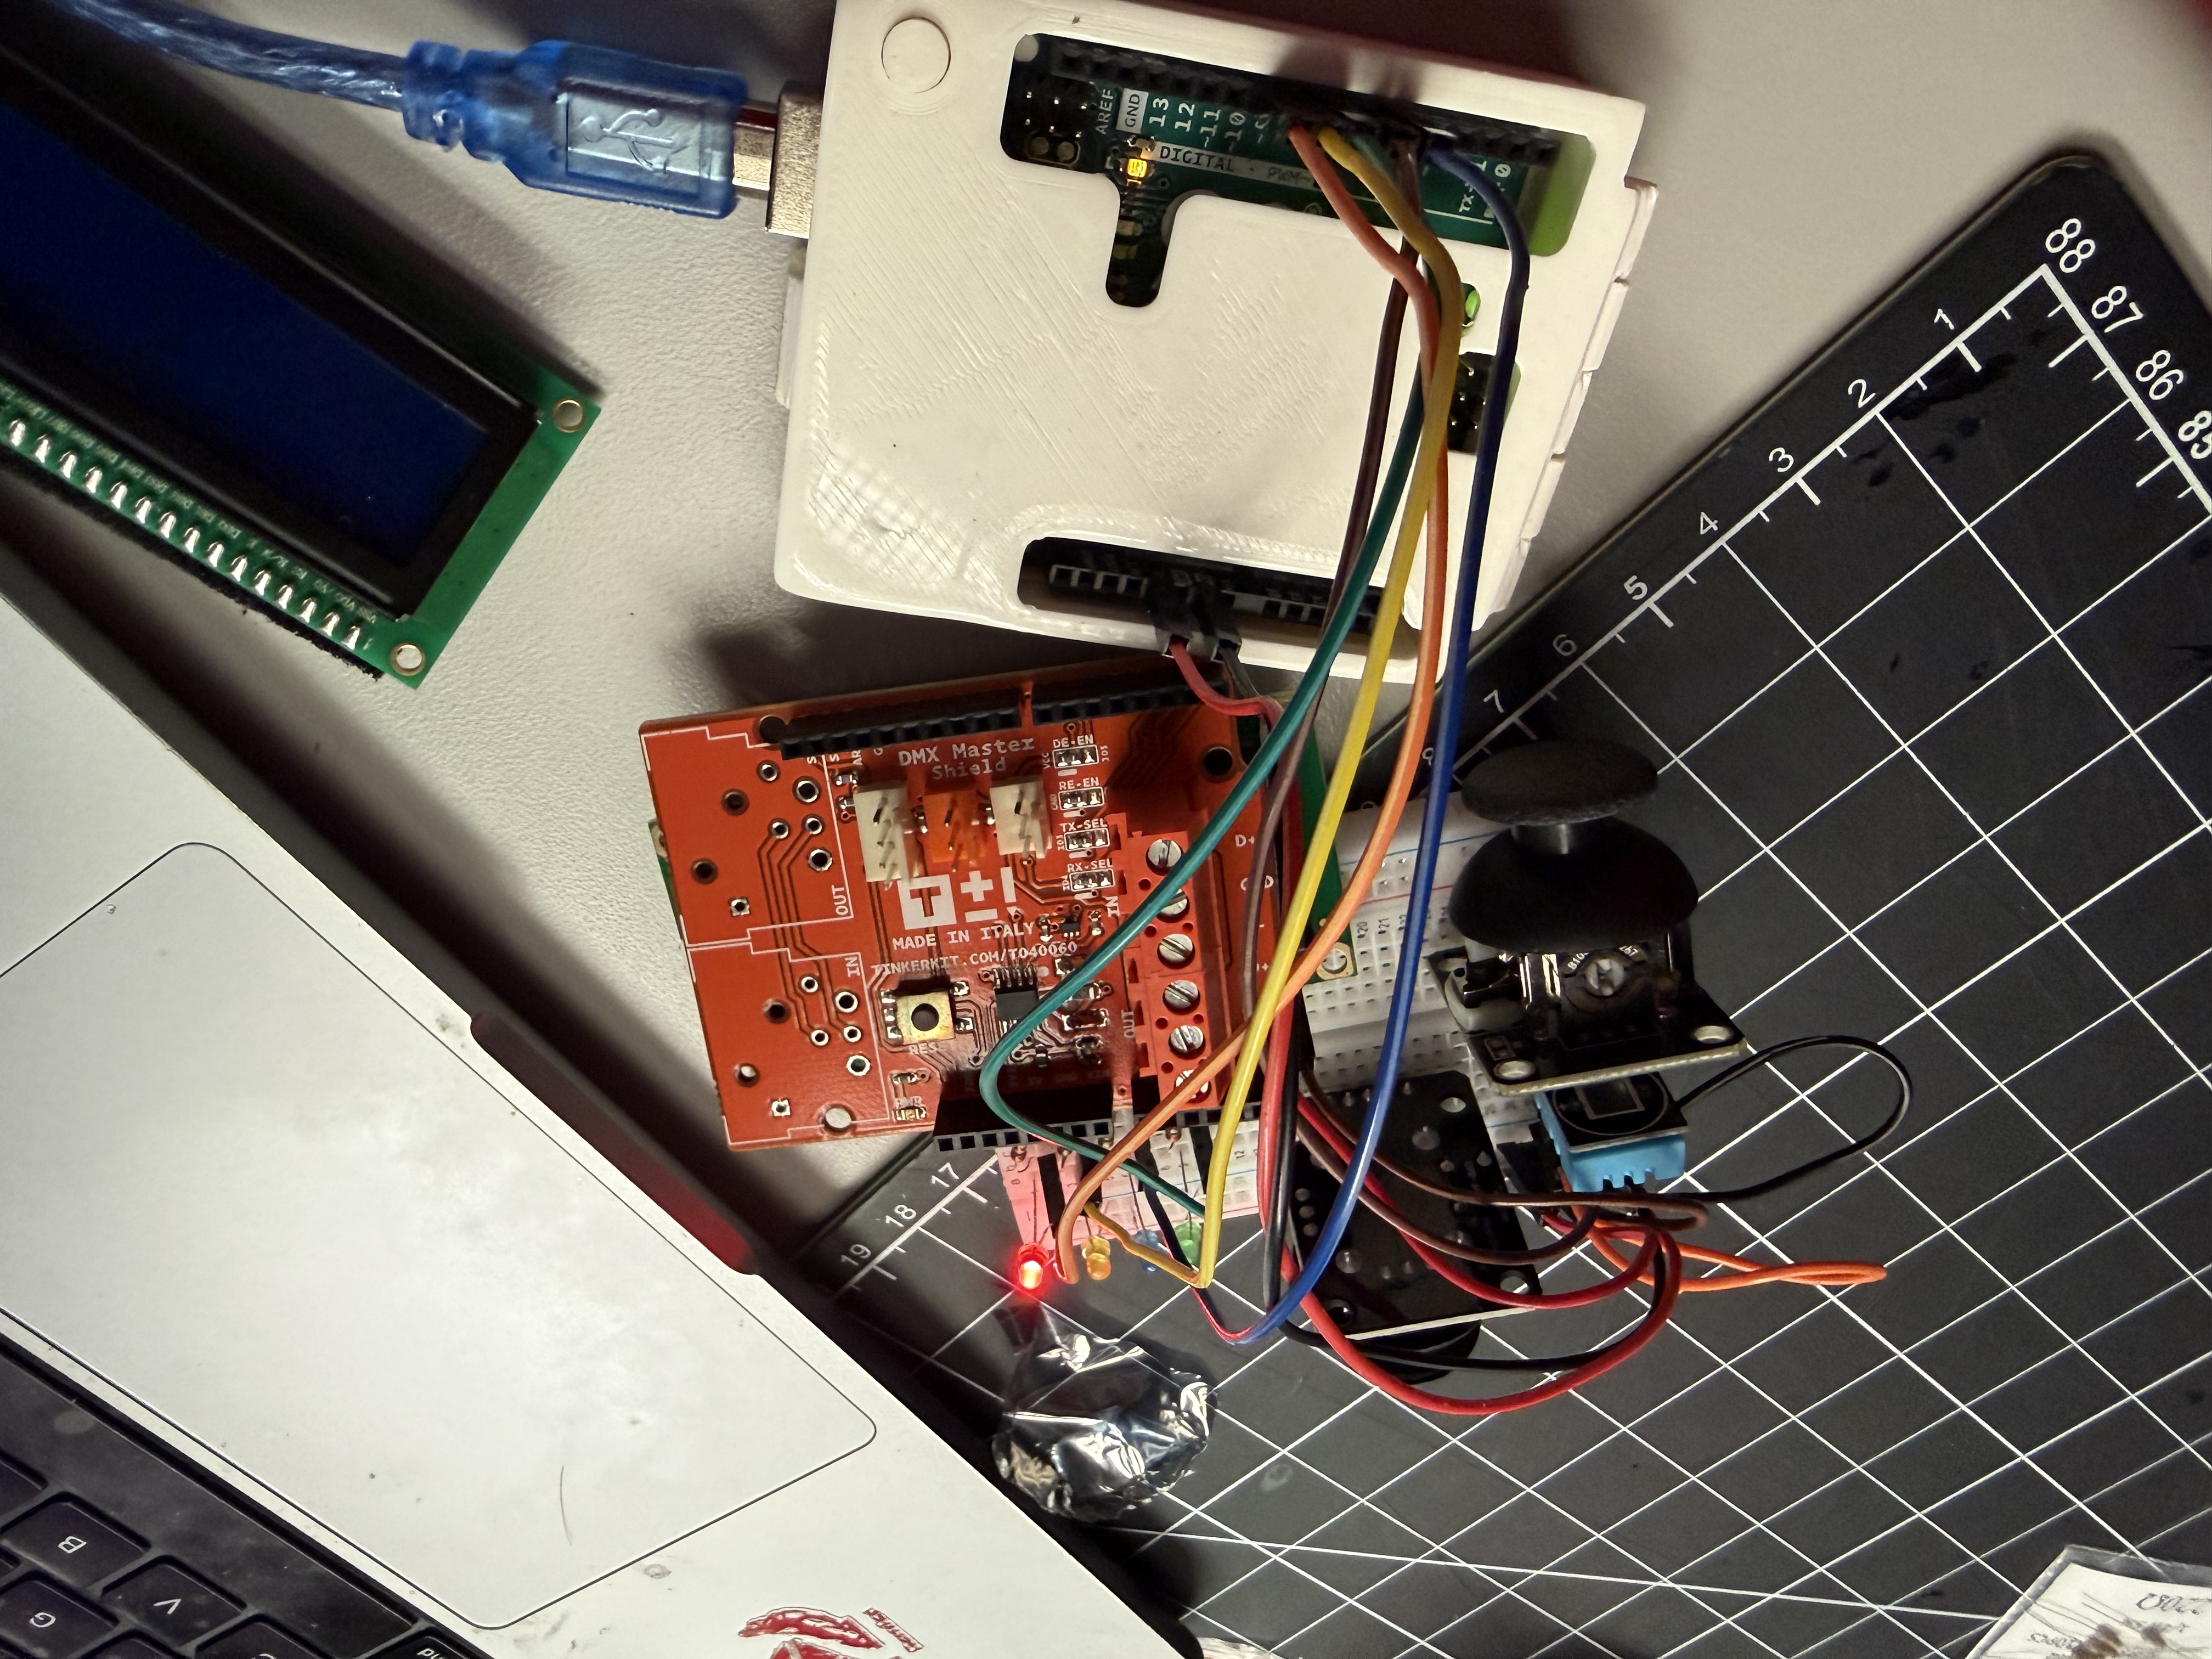
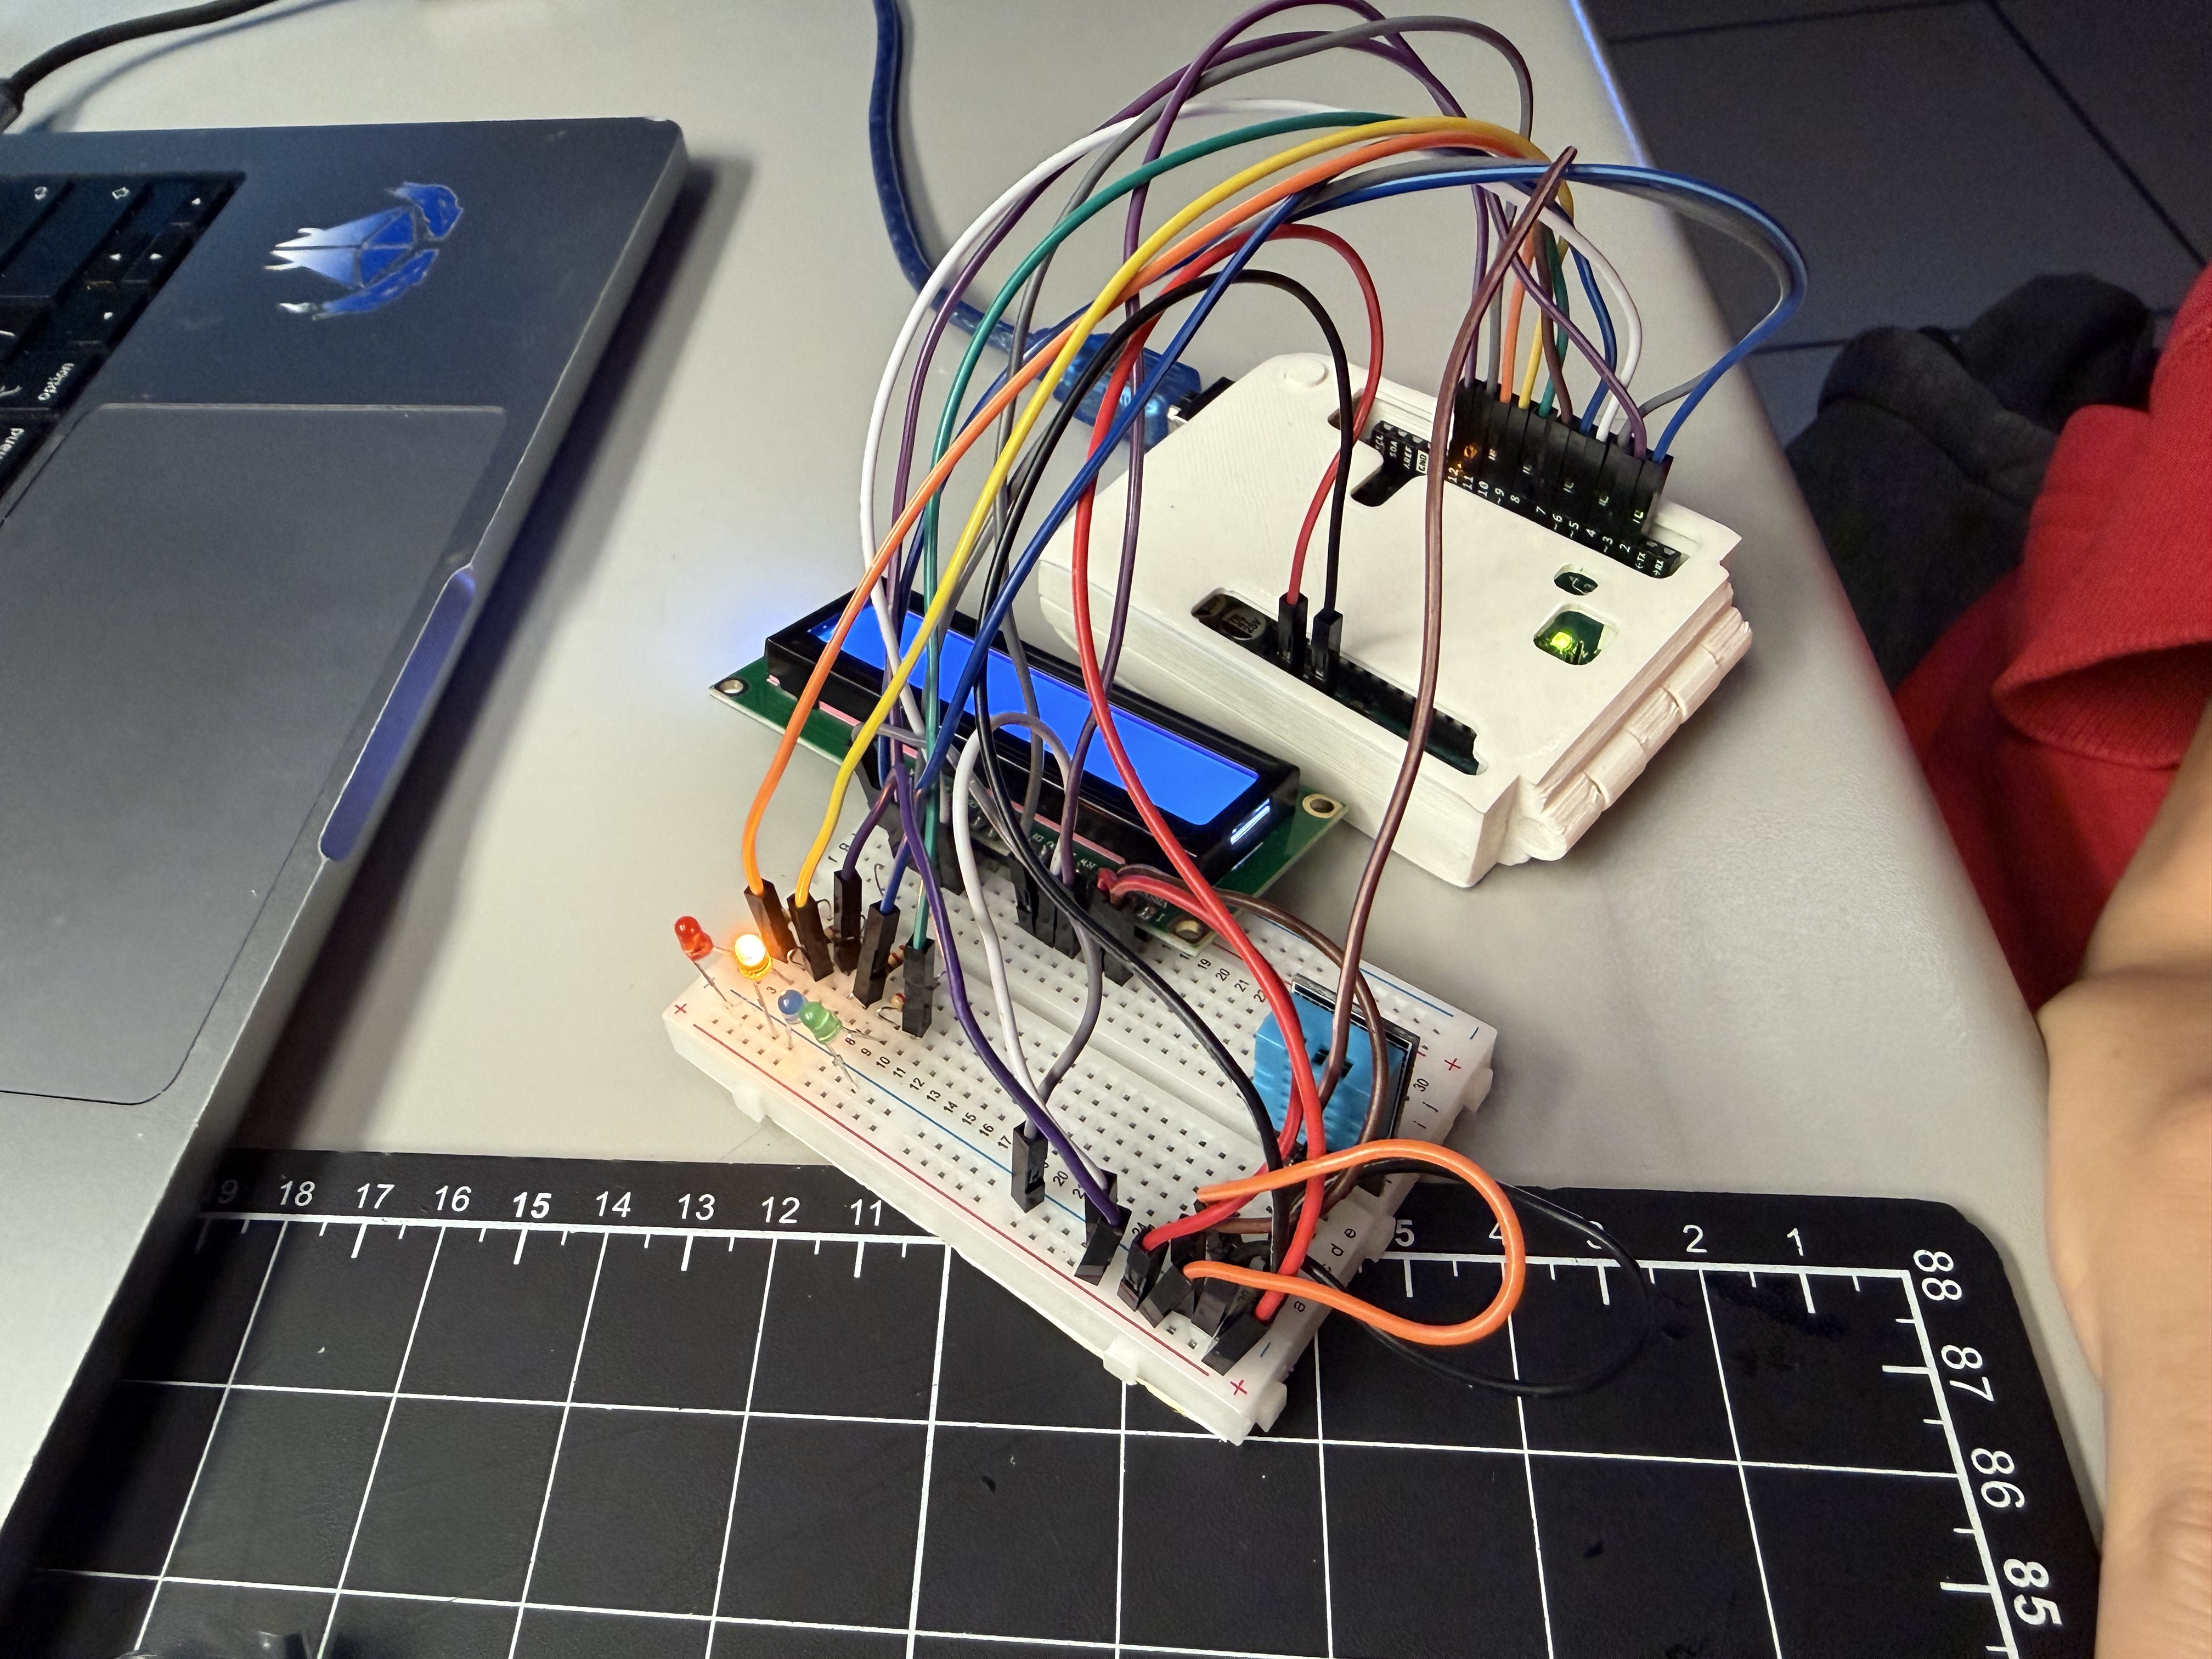
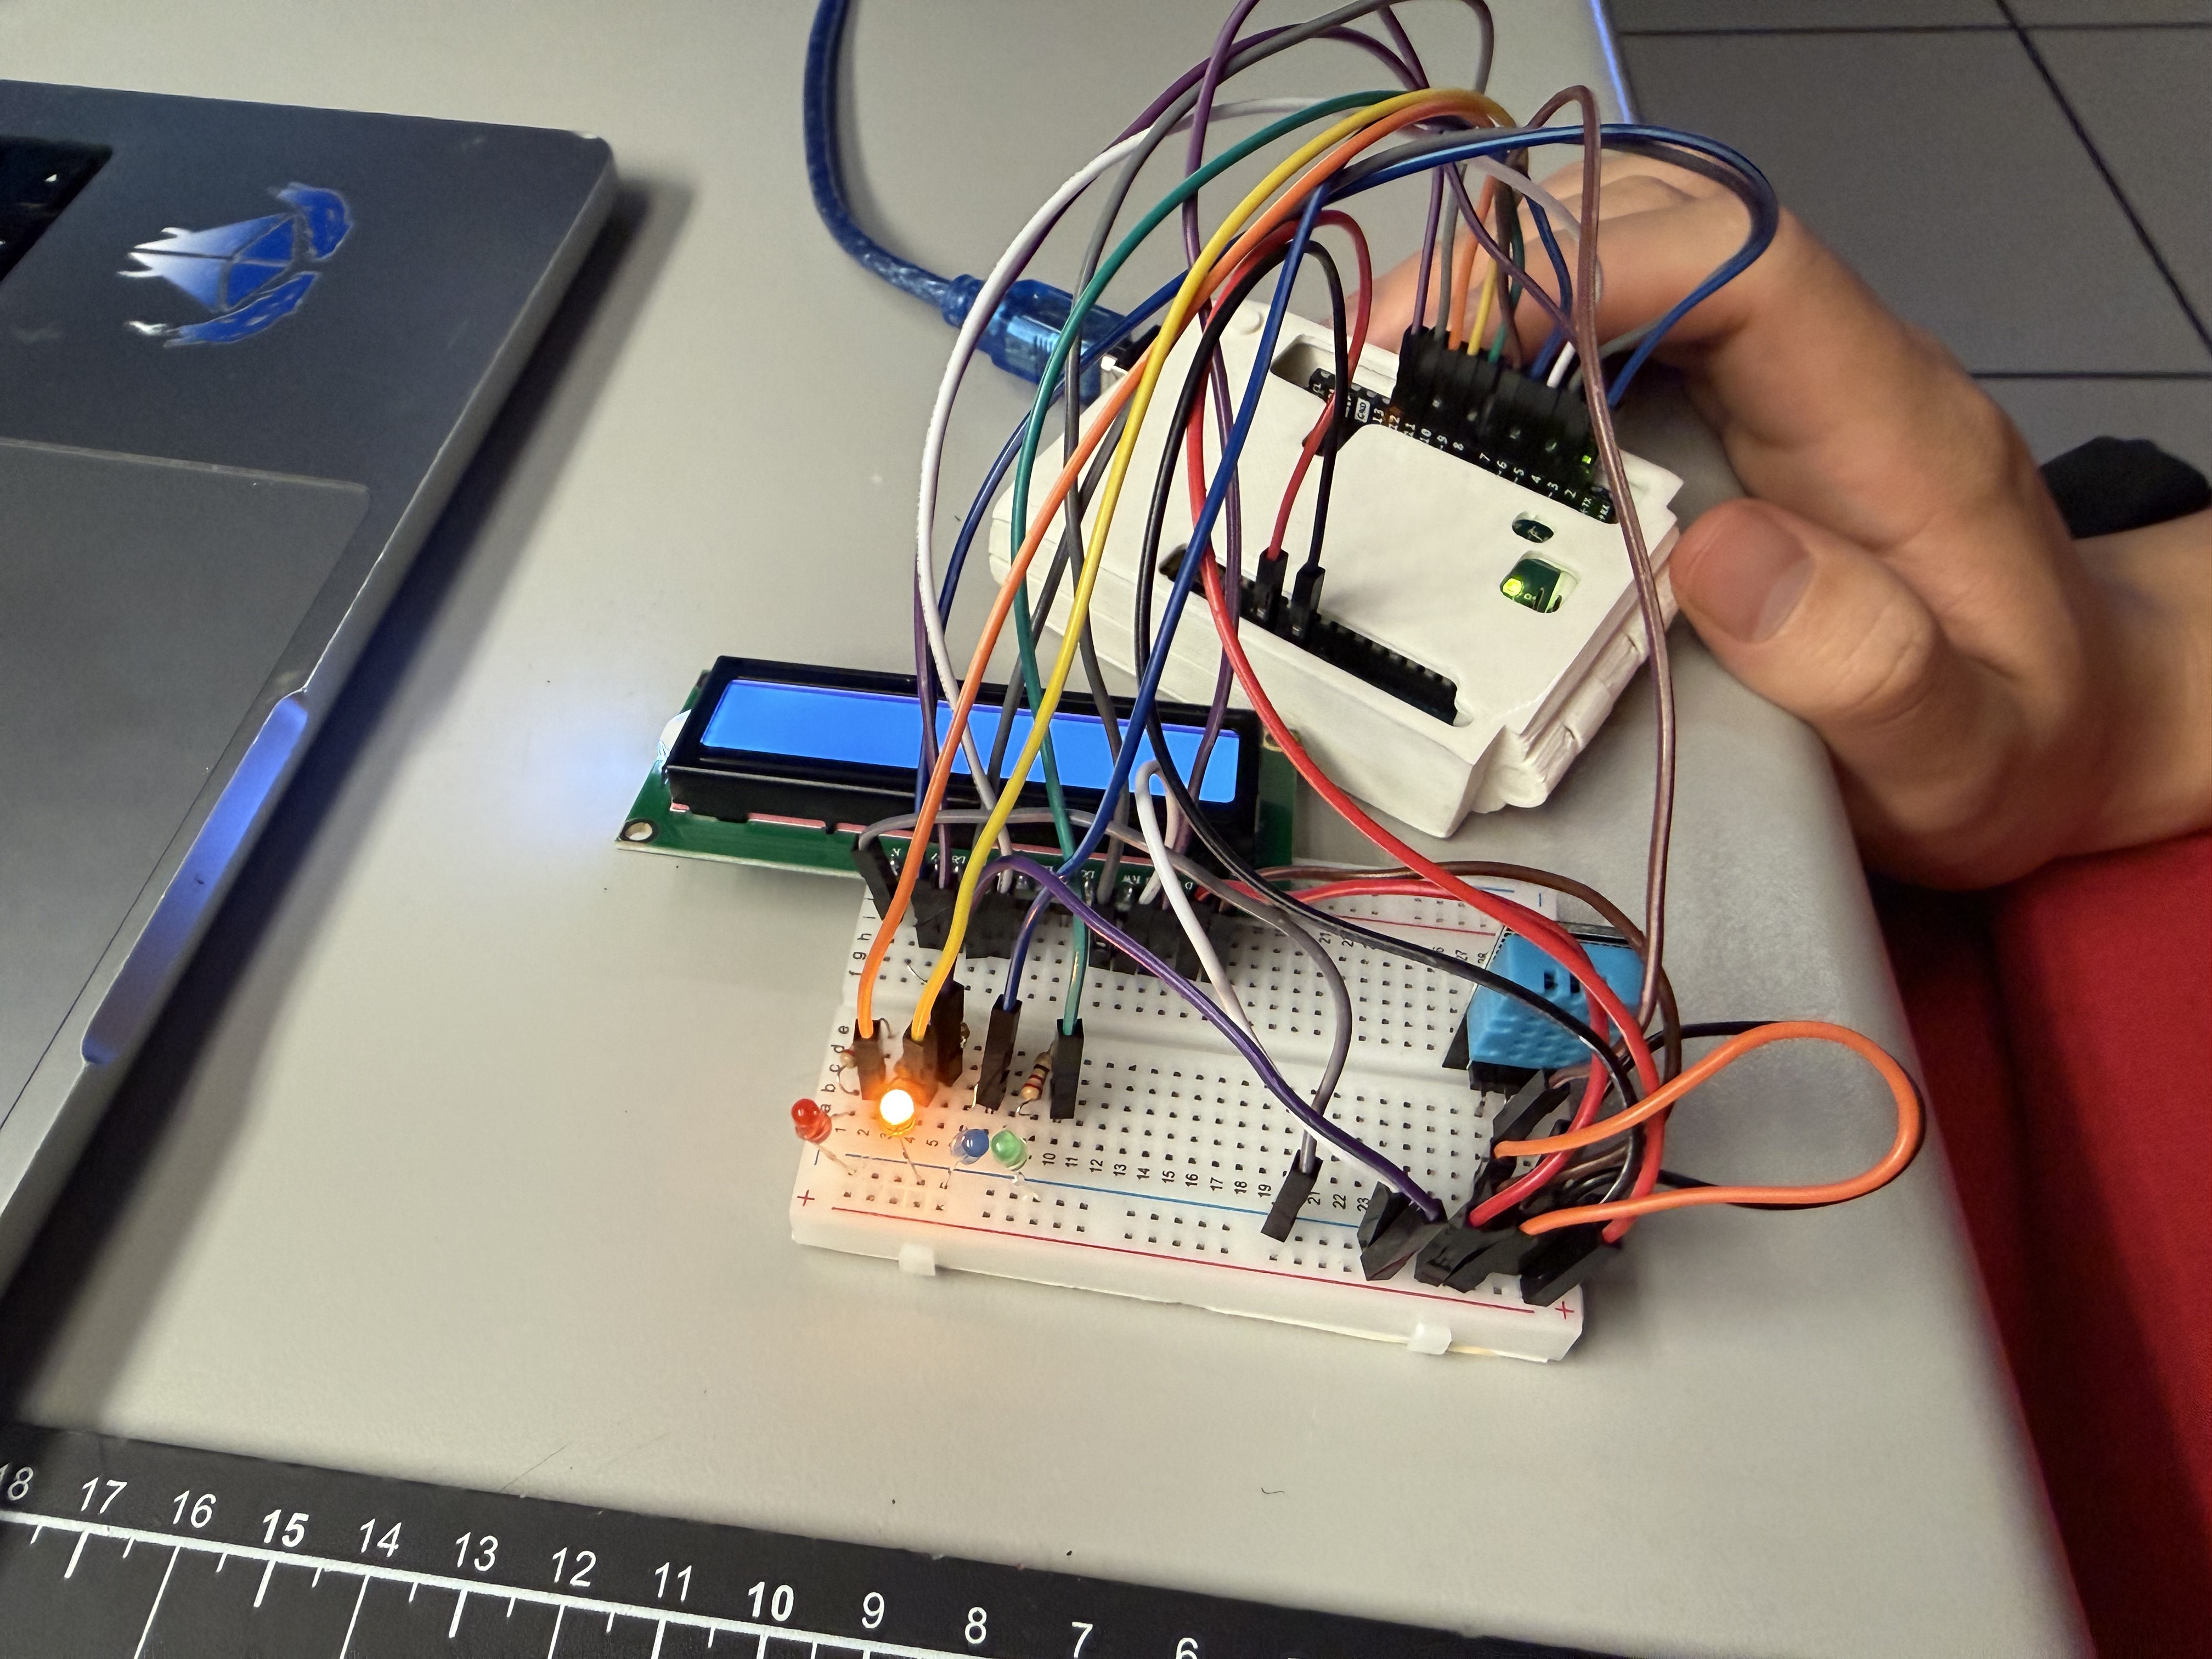
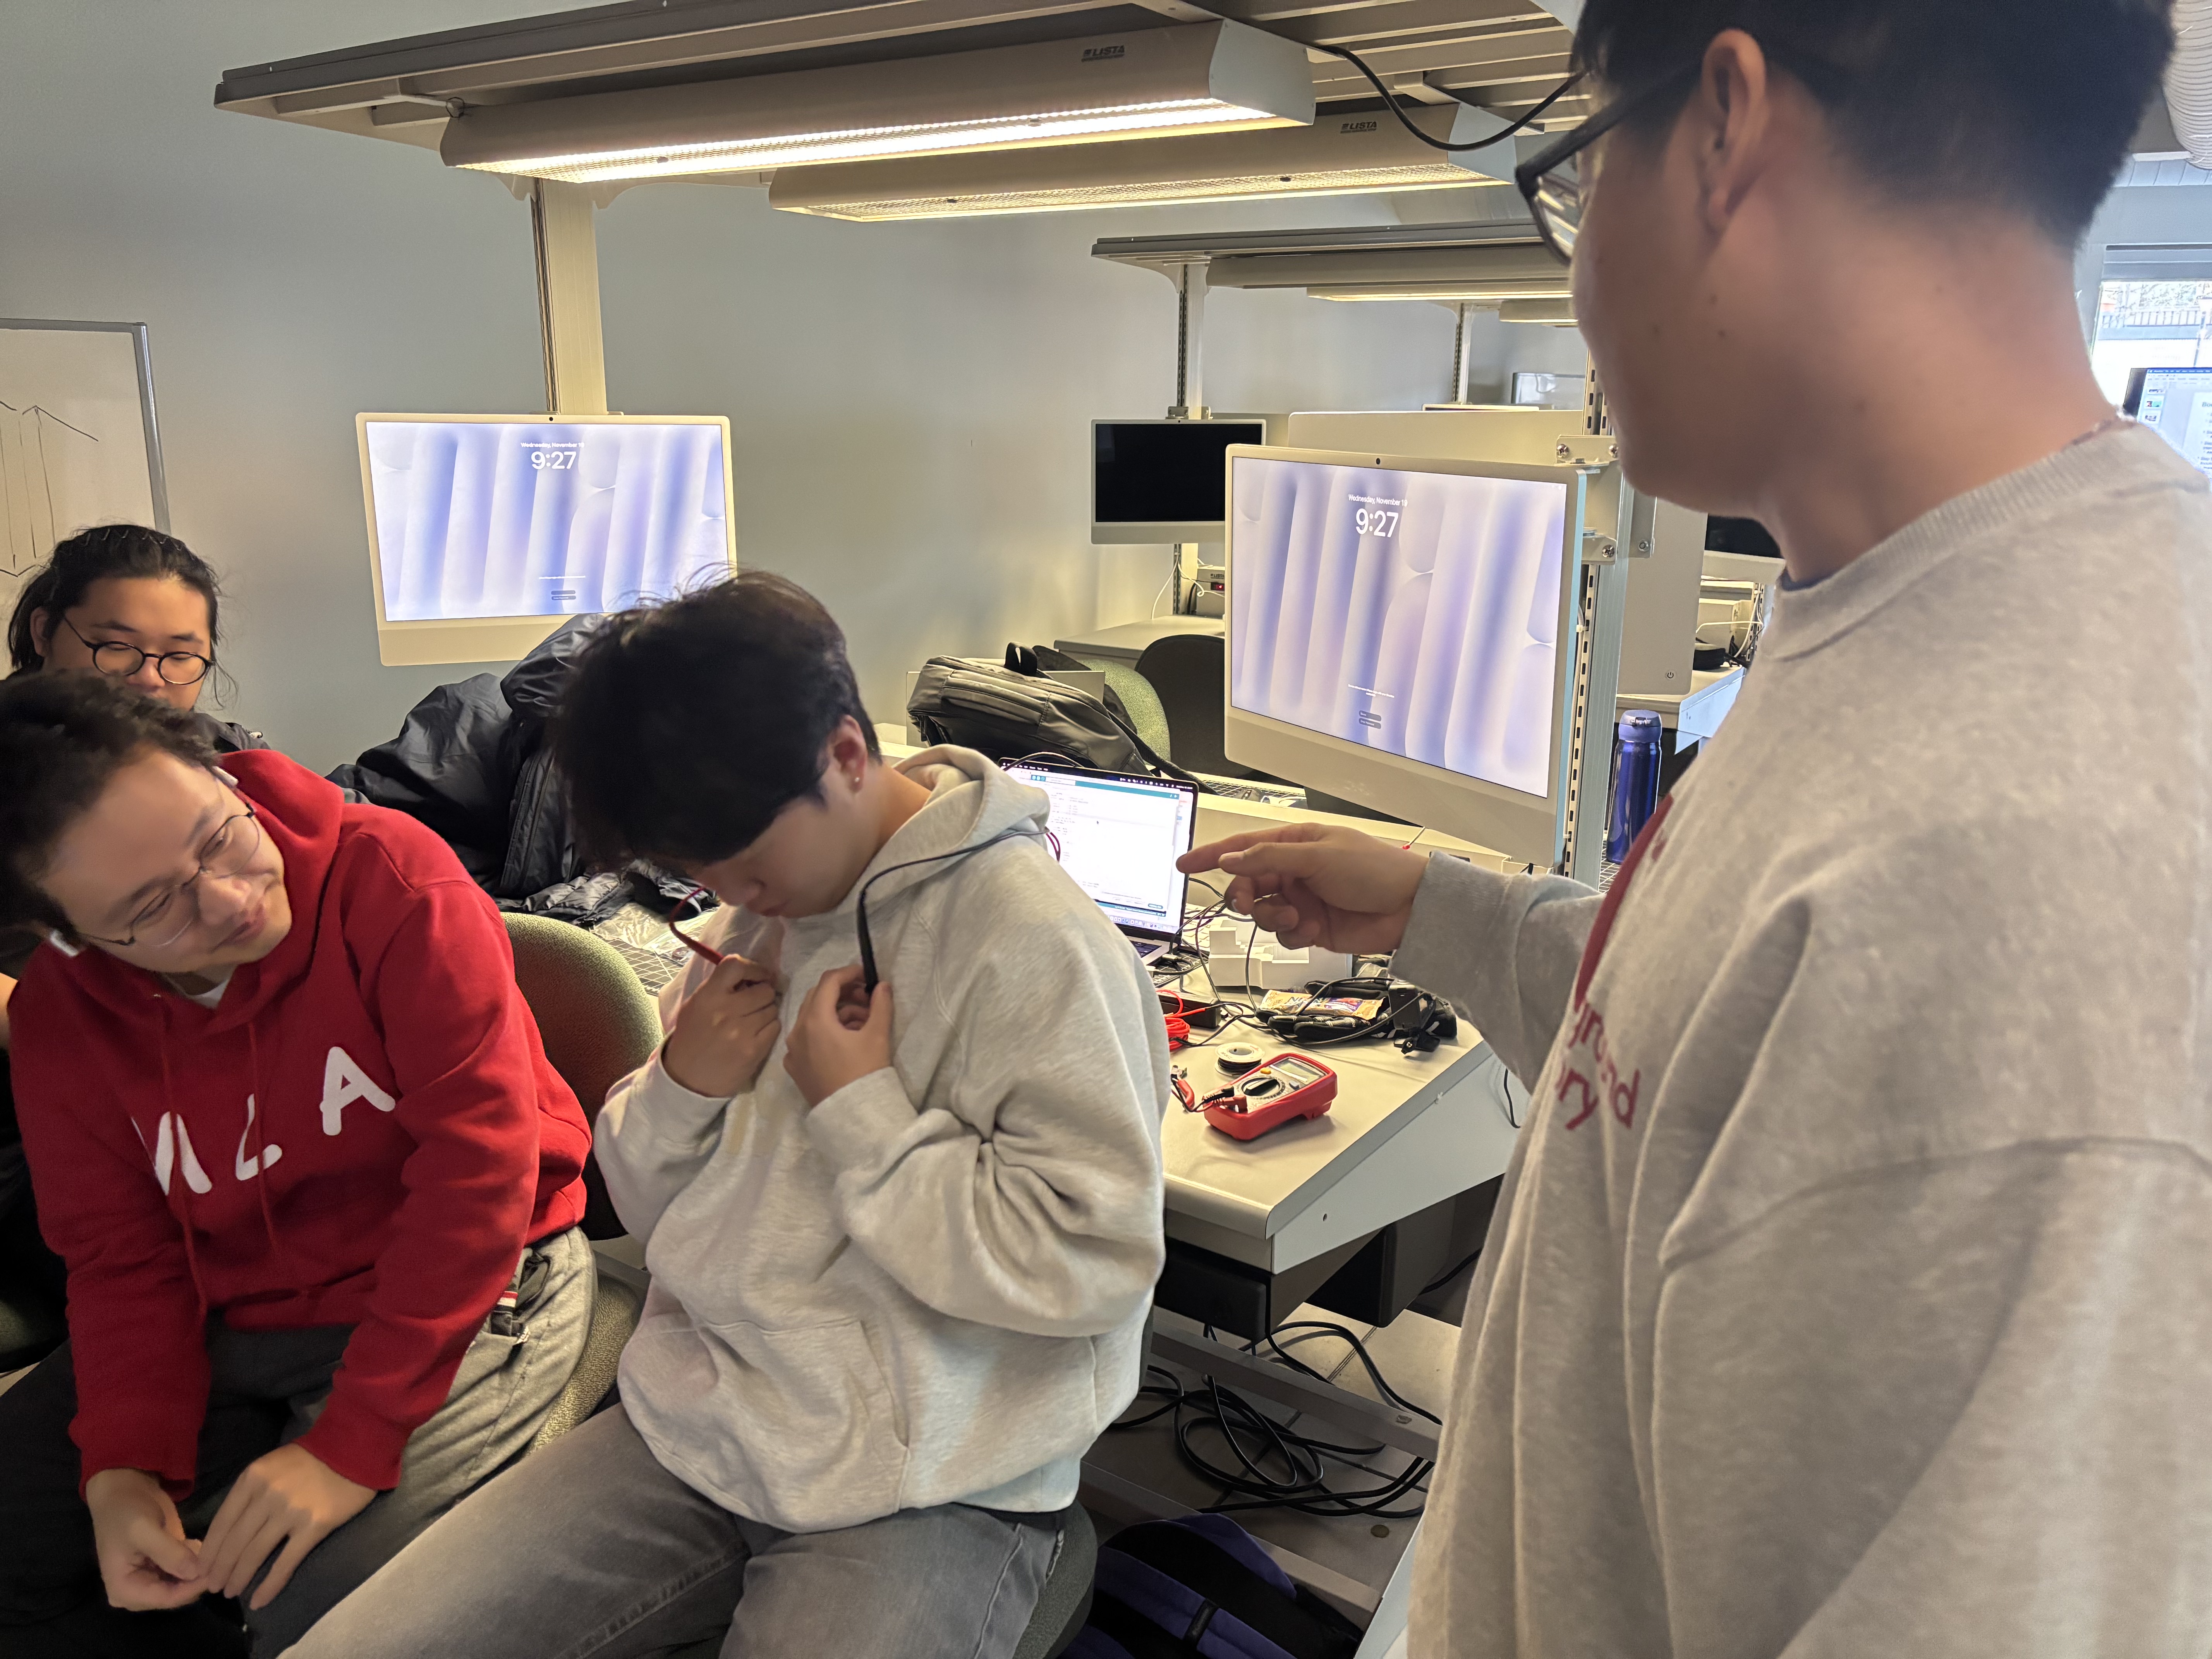
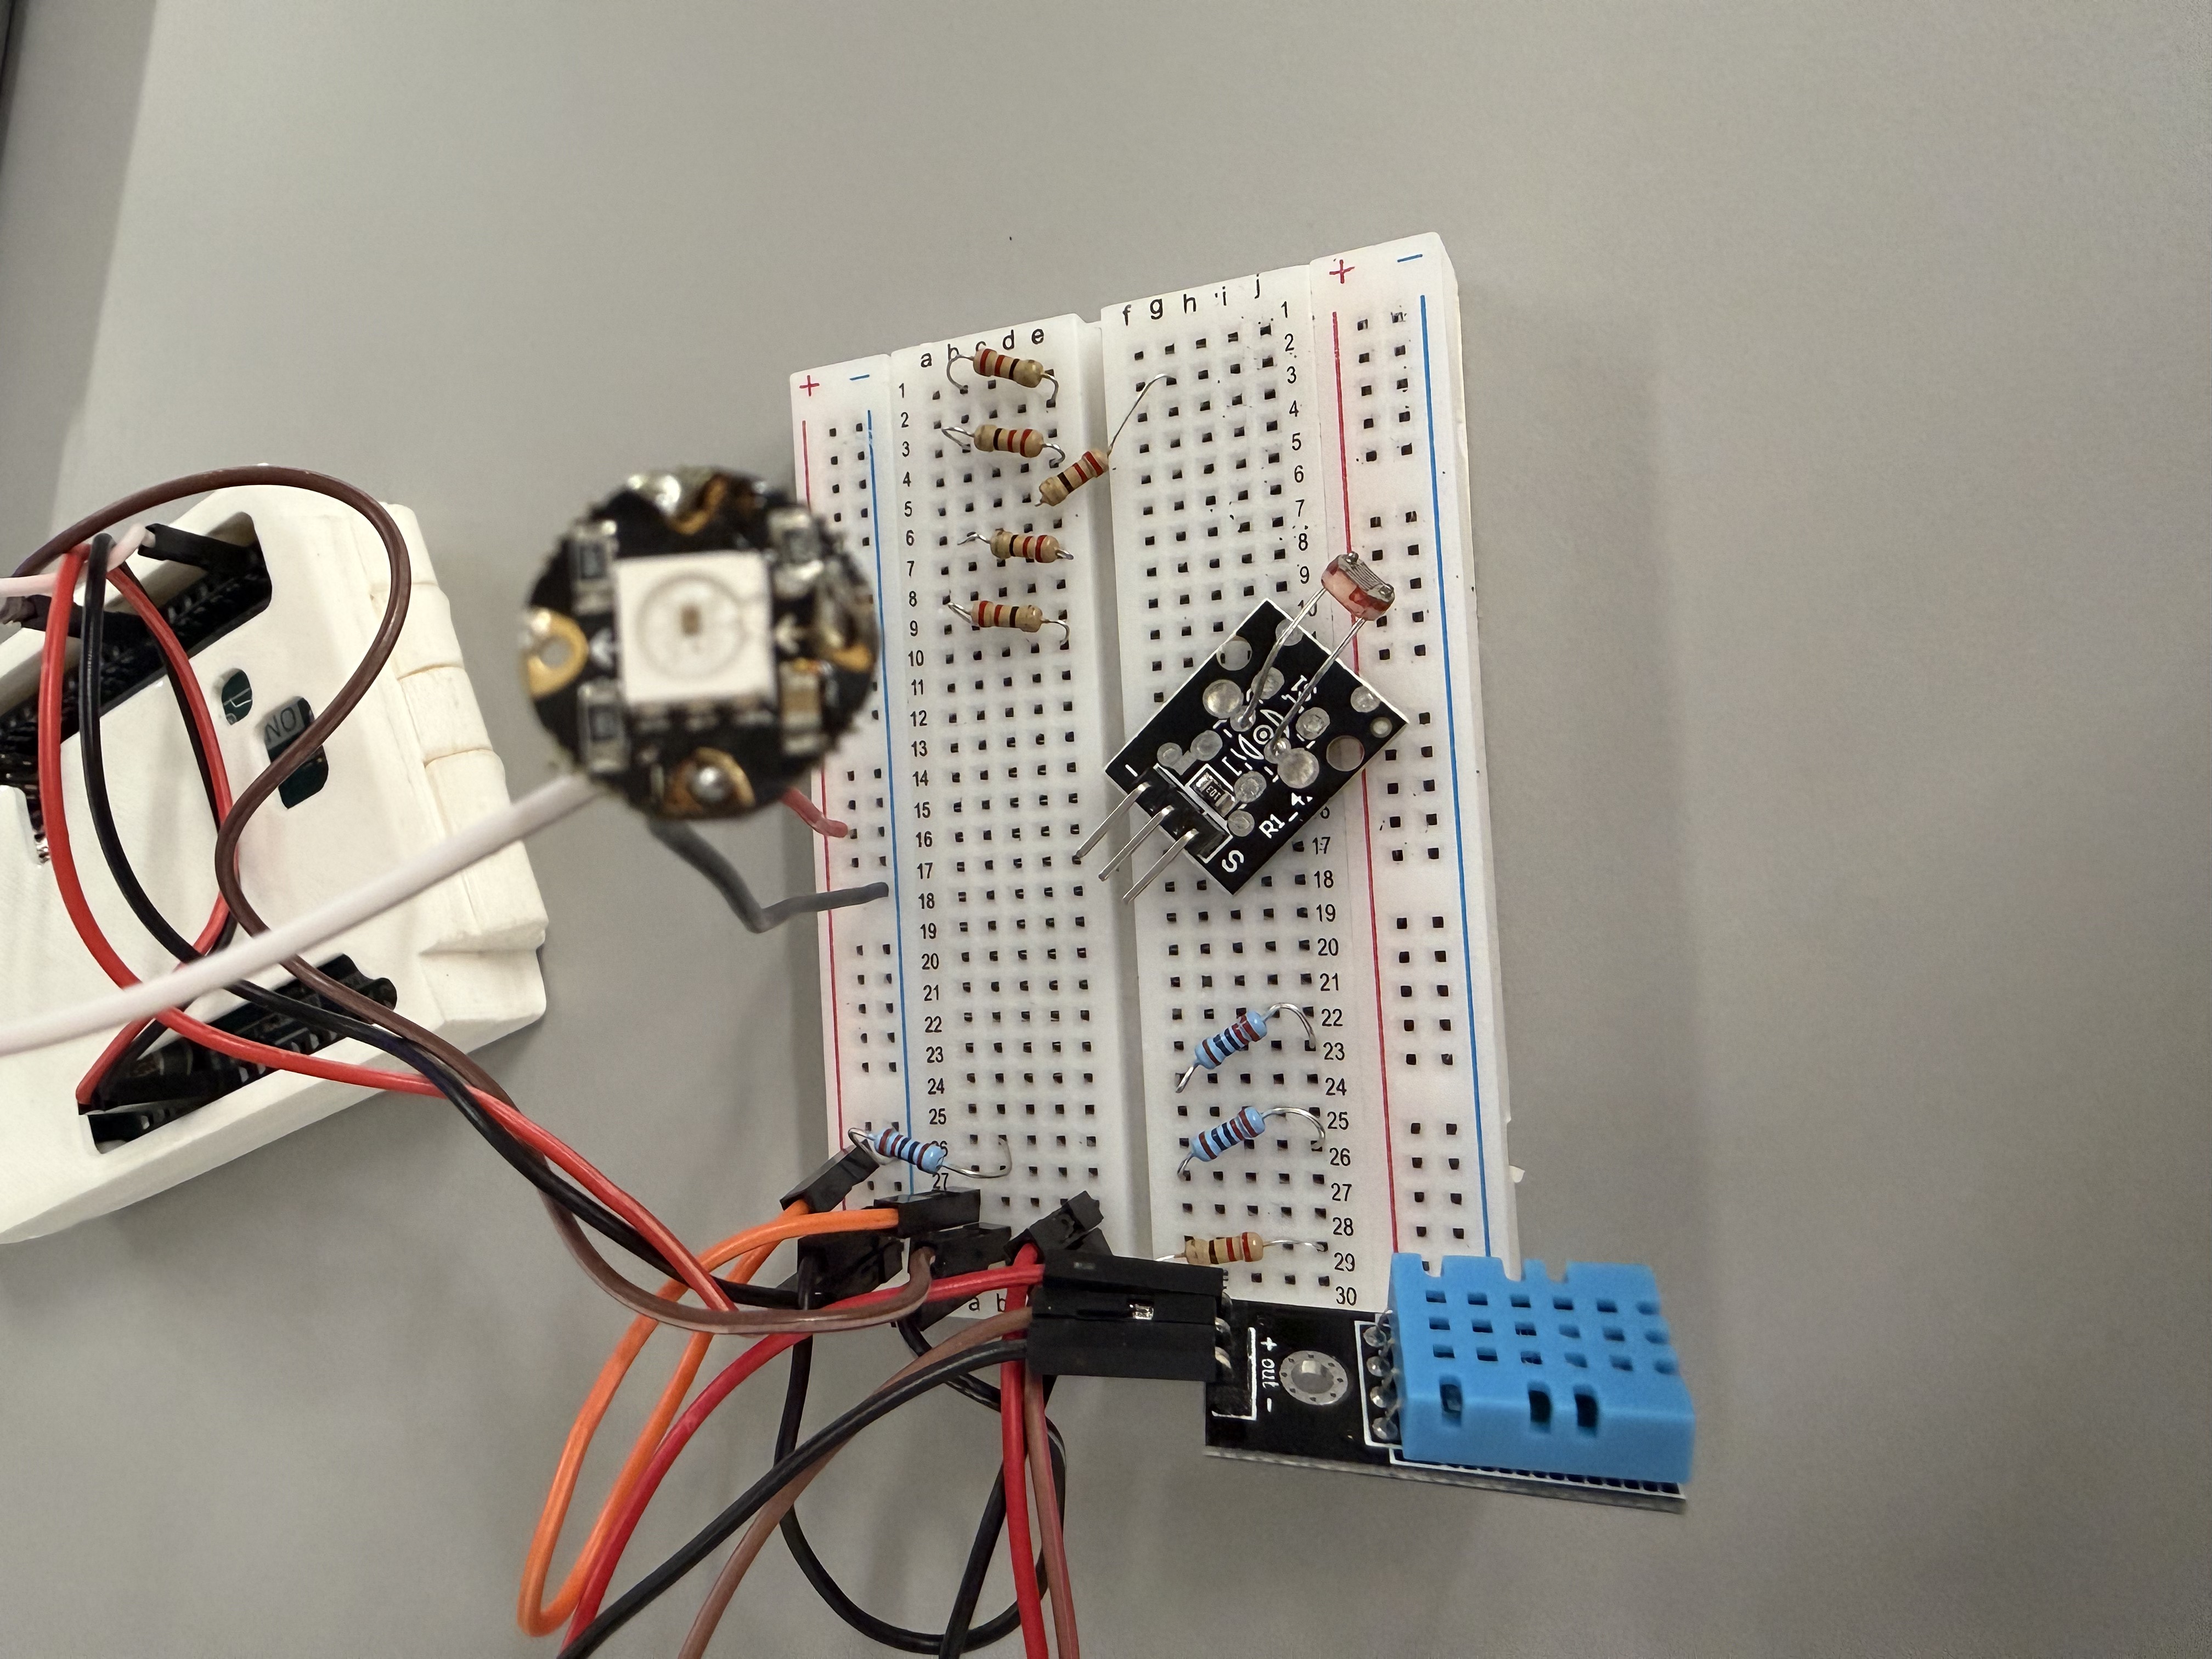
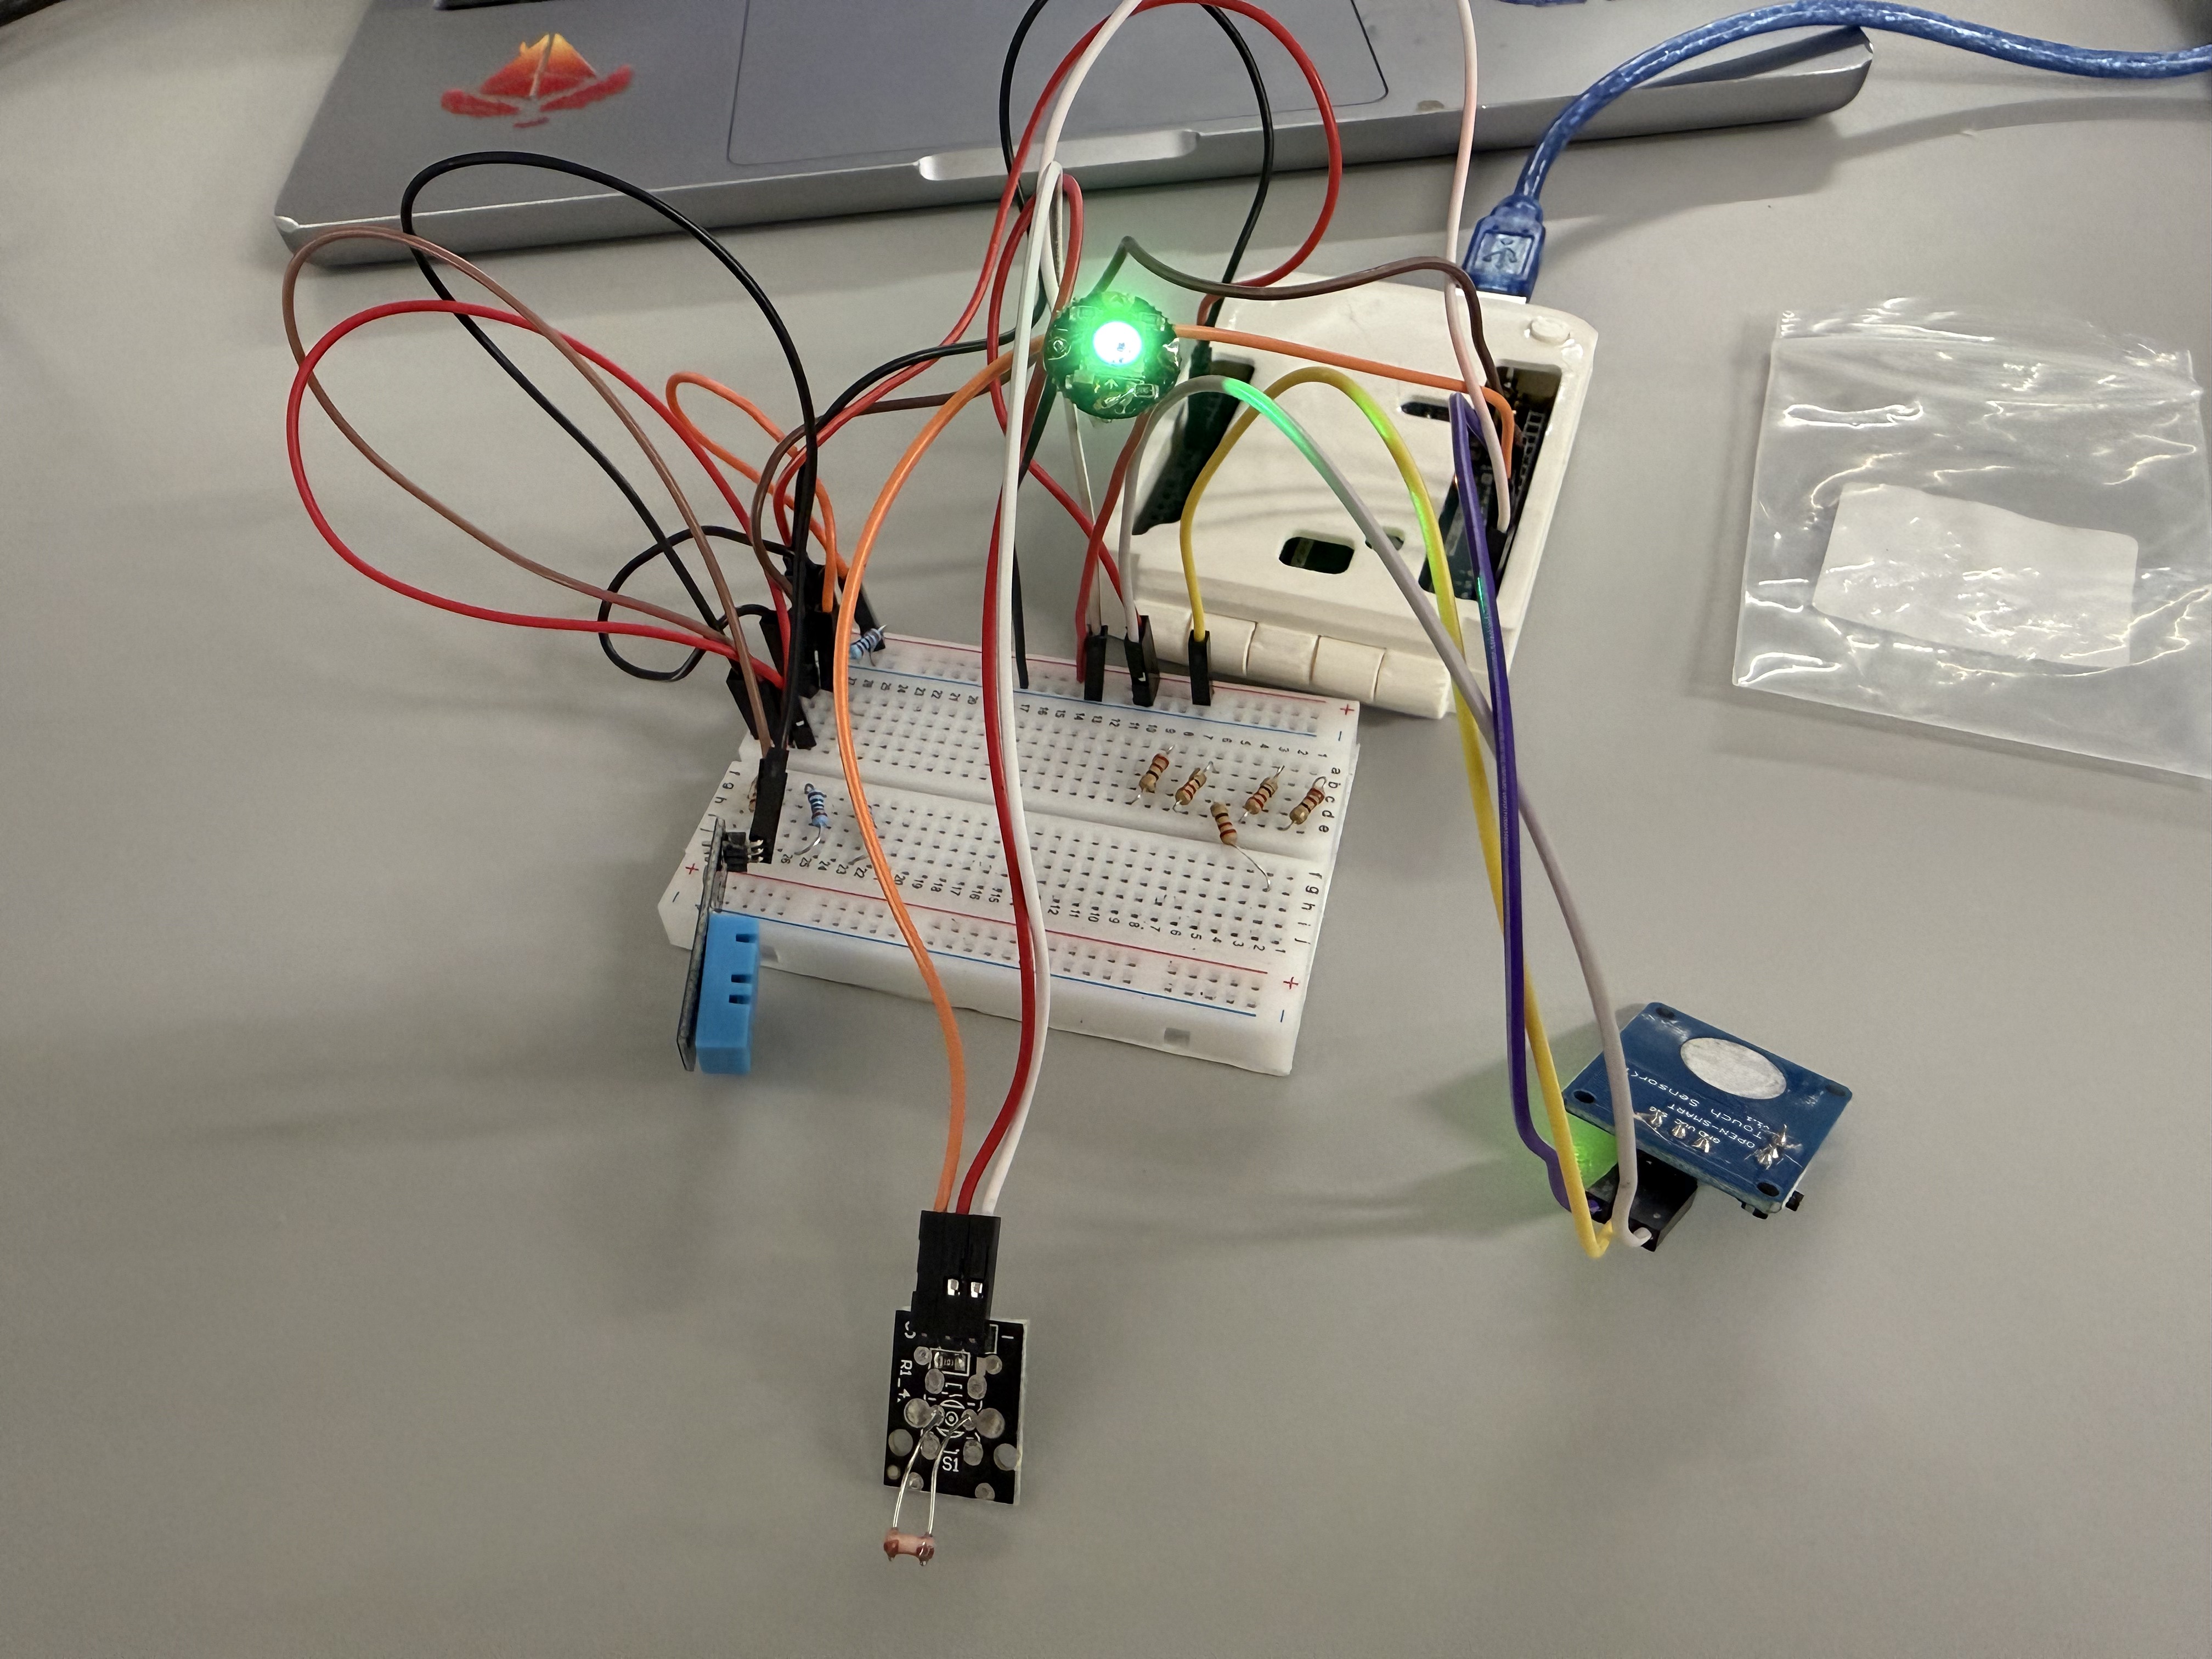
Built the core circuit: DHT11 reads temperature & humidity, Arduino maps values to four colour tiers (BLUE < 16 °C, GREEN 16–26 °C, YELLOW 27–34 °C, RED ≥ 35 °C) with hysteresis. Added LCD1602 for live readout. Guerrilla prototyping sessions tested cardboard lamp housings.
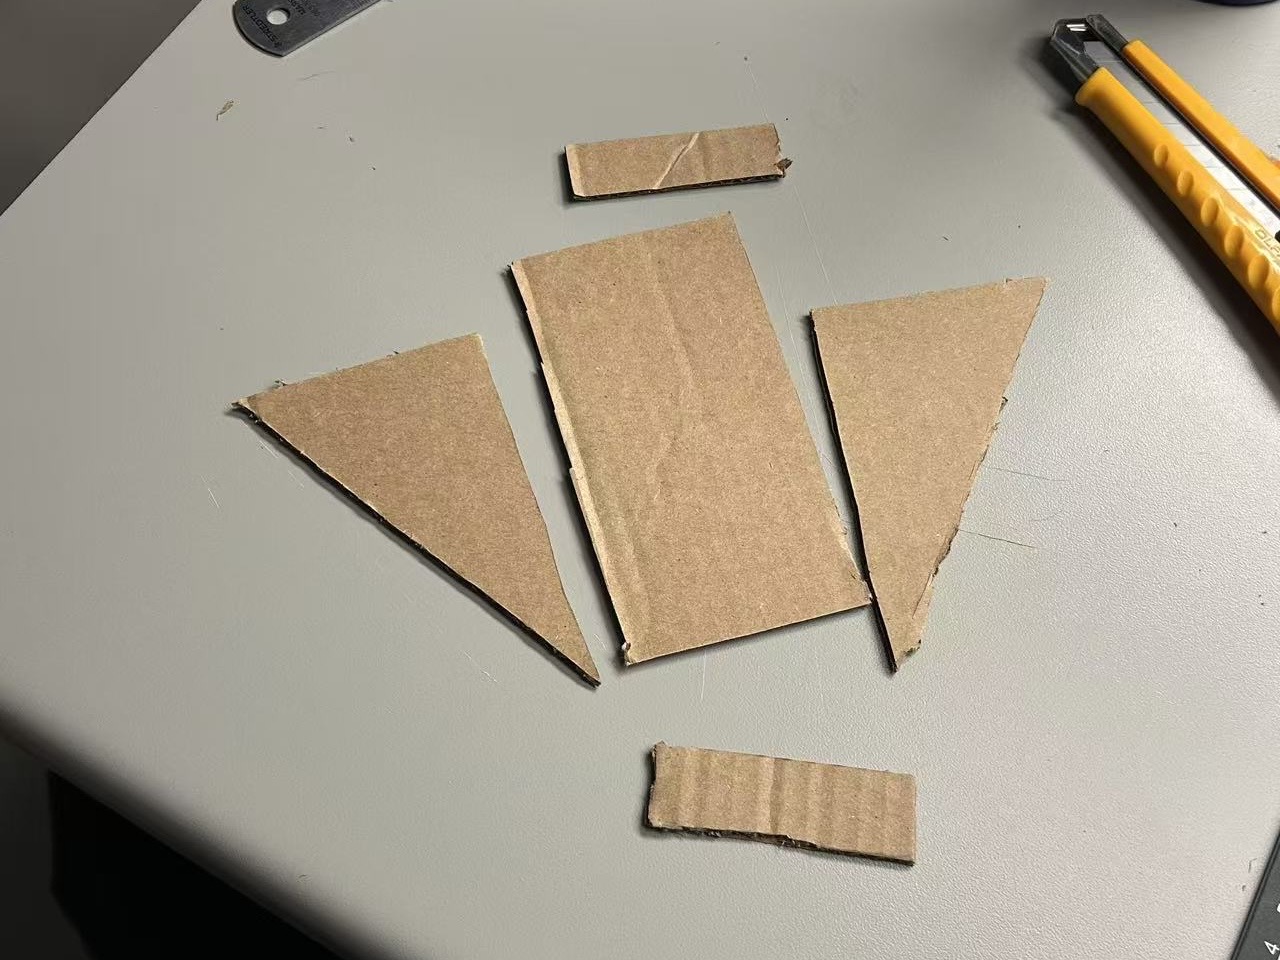
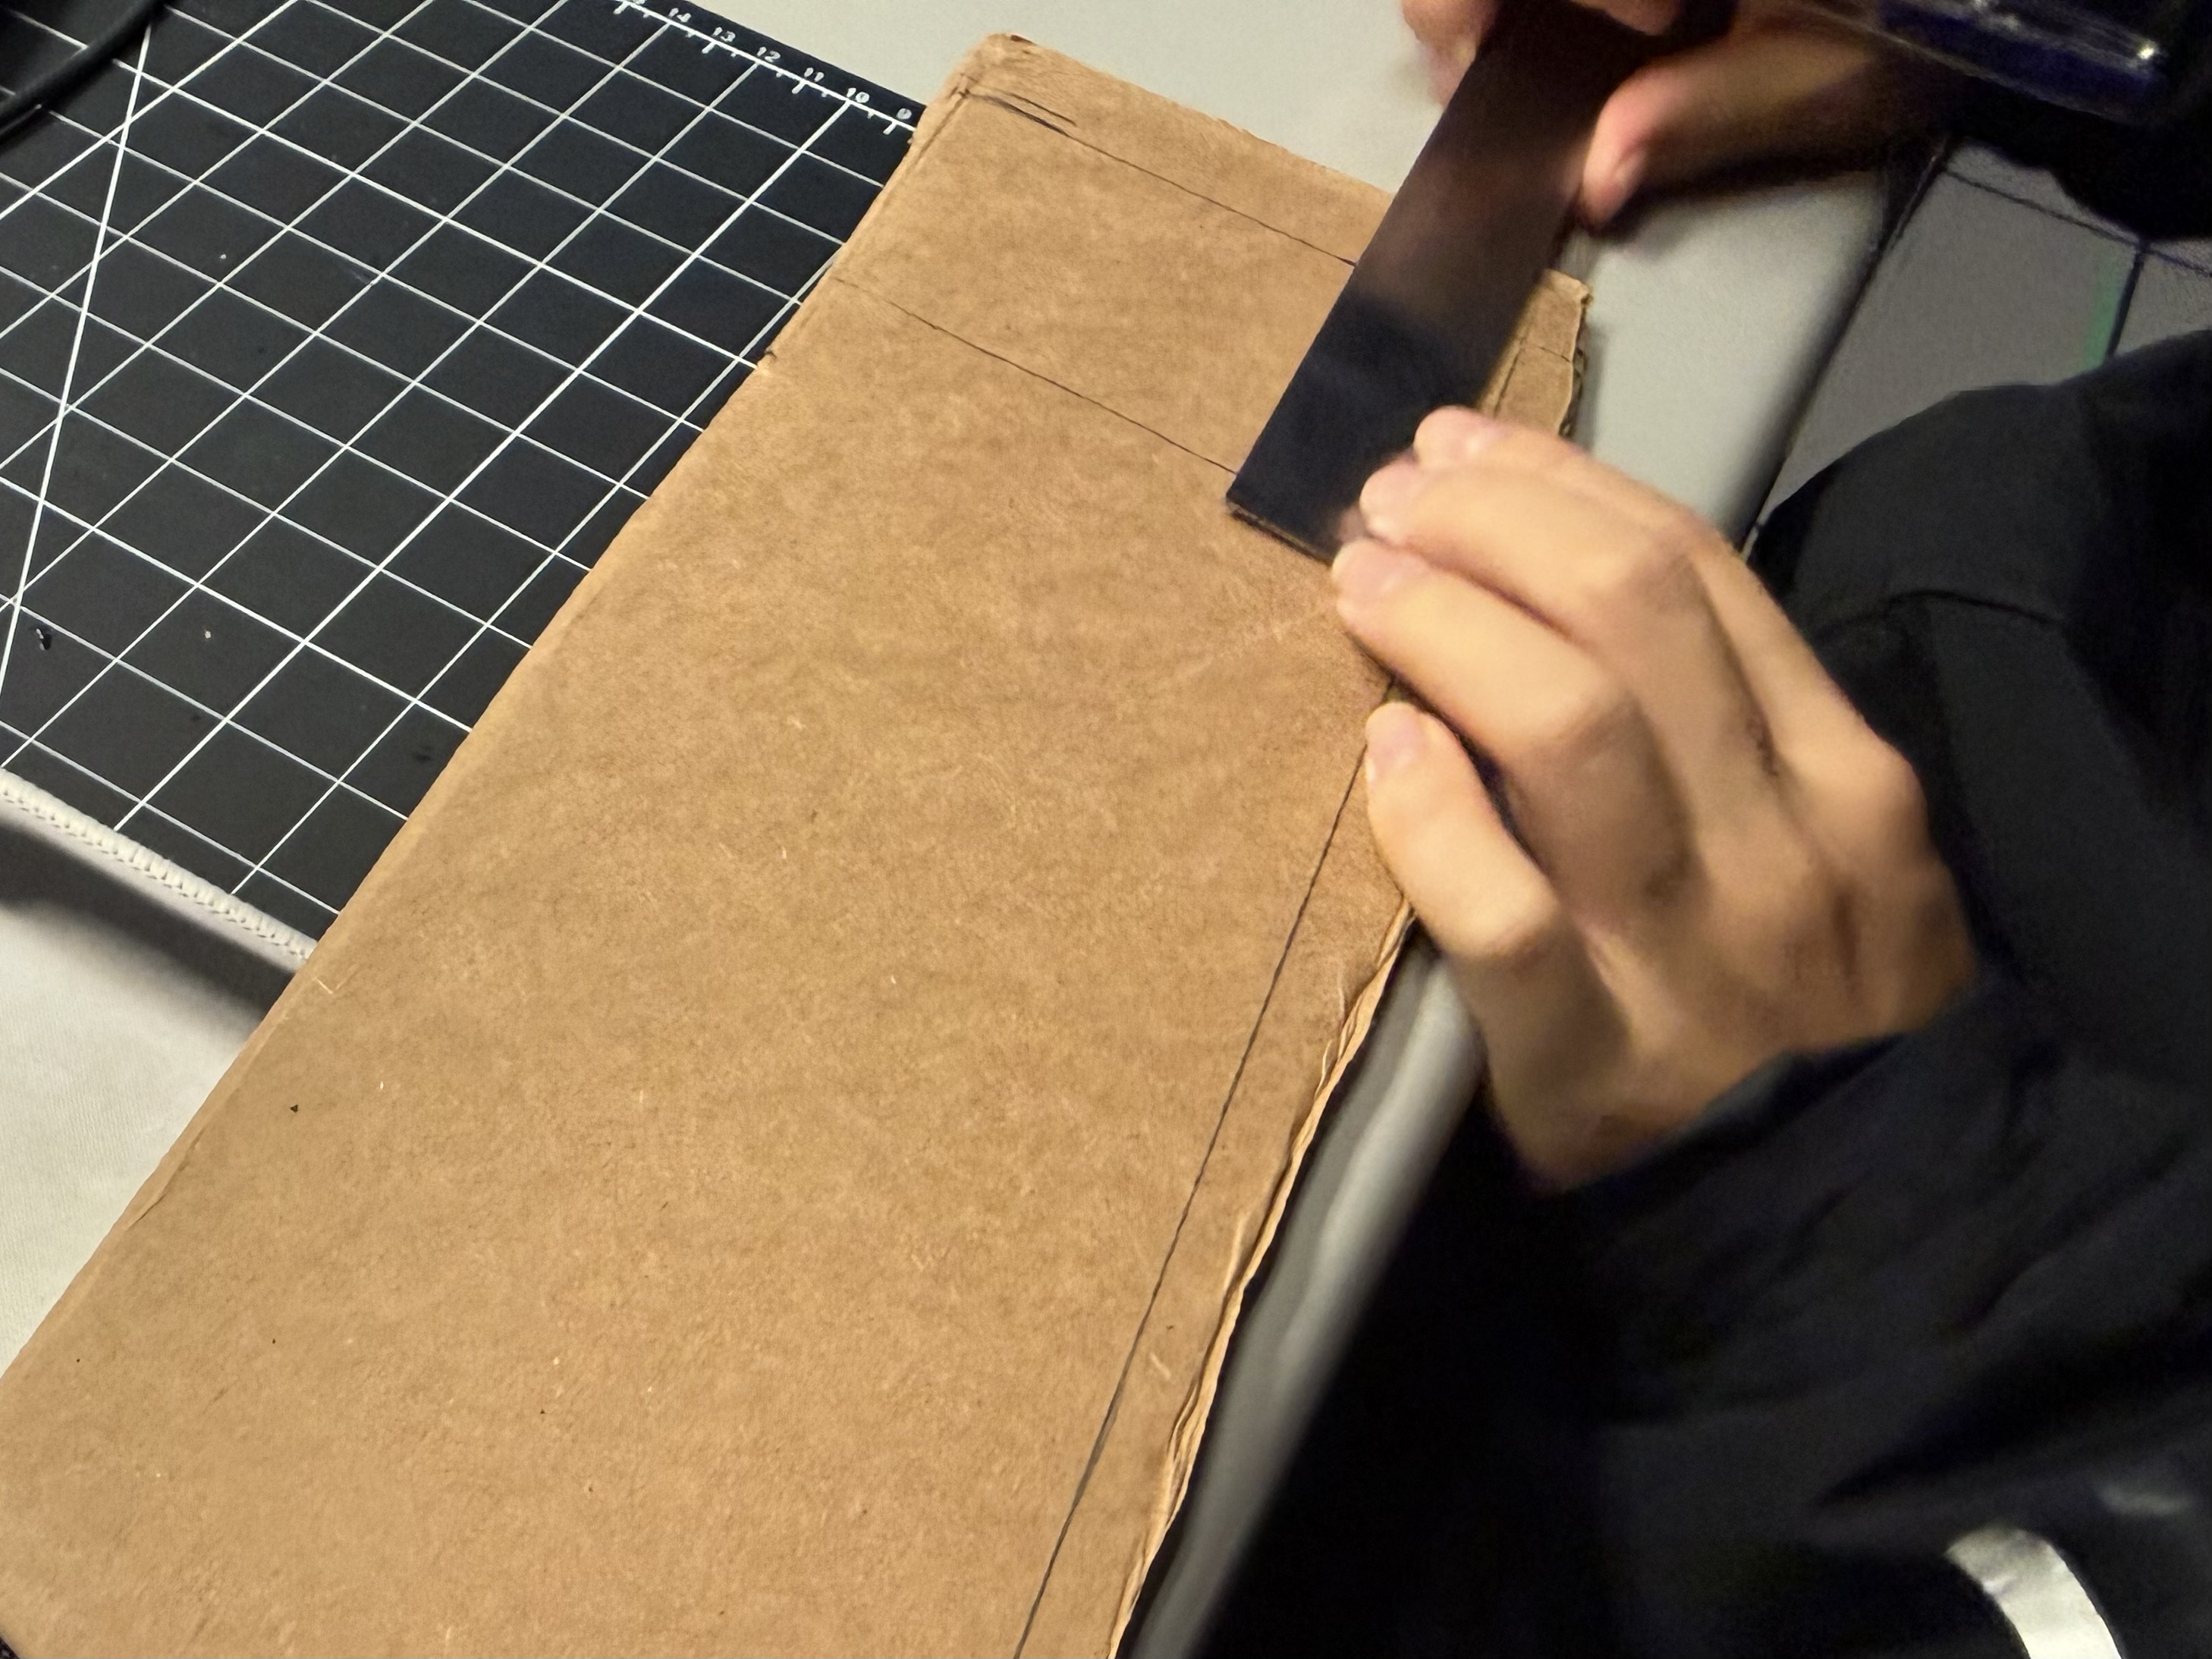
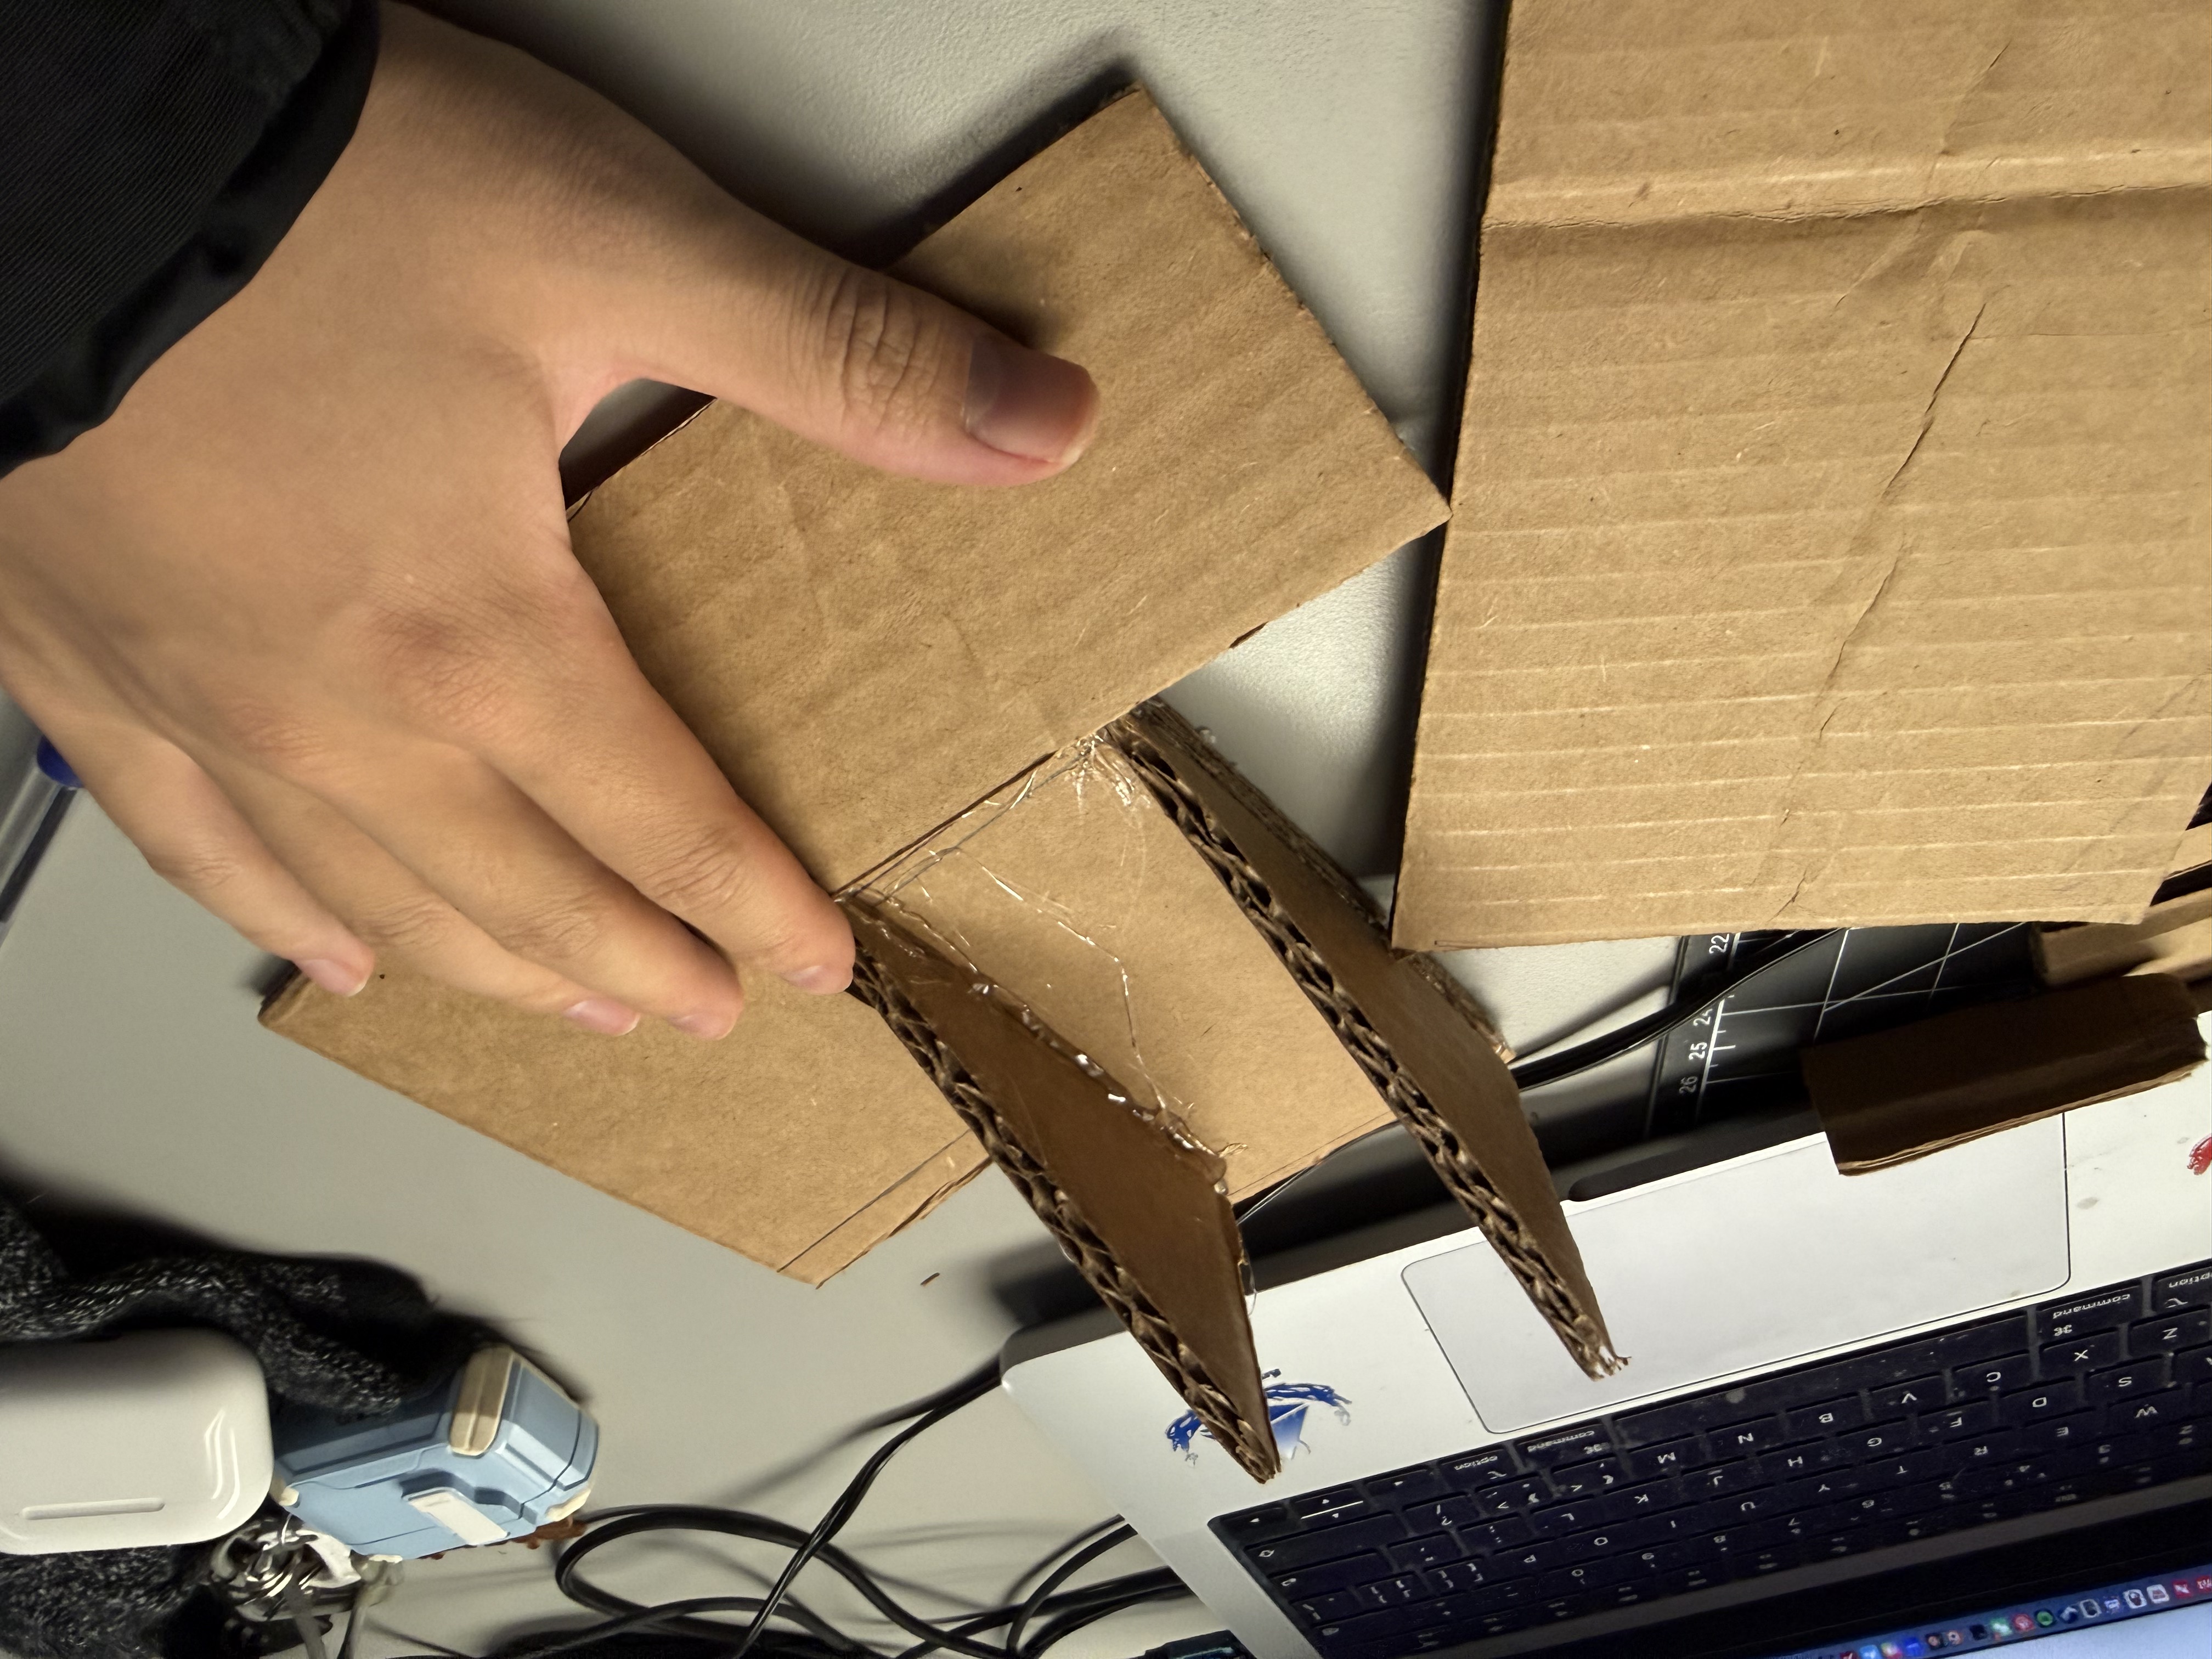
Guerrilla Prototyping I — Cardboard Stand
DHT11 Sensor Exploration
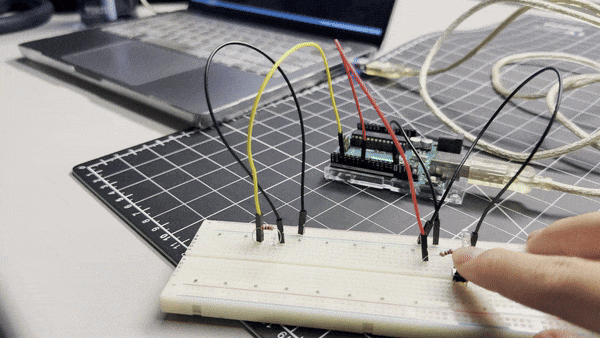
Iterating DHT Data → LED Signals
Action Research — Adding LCD1602
P2 Prototype Result
From Circuit to Ambient Object
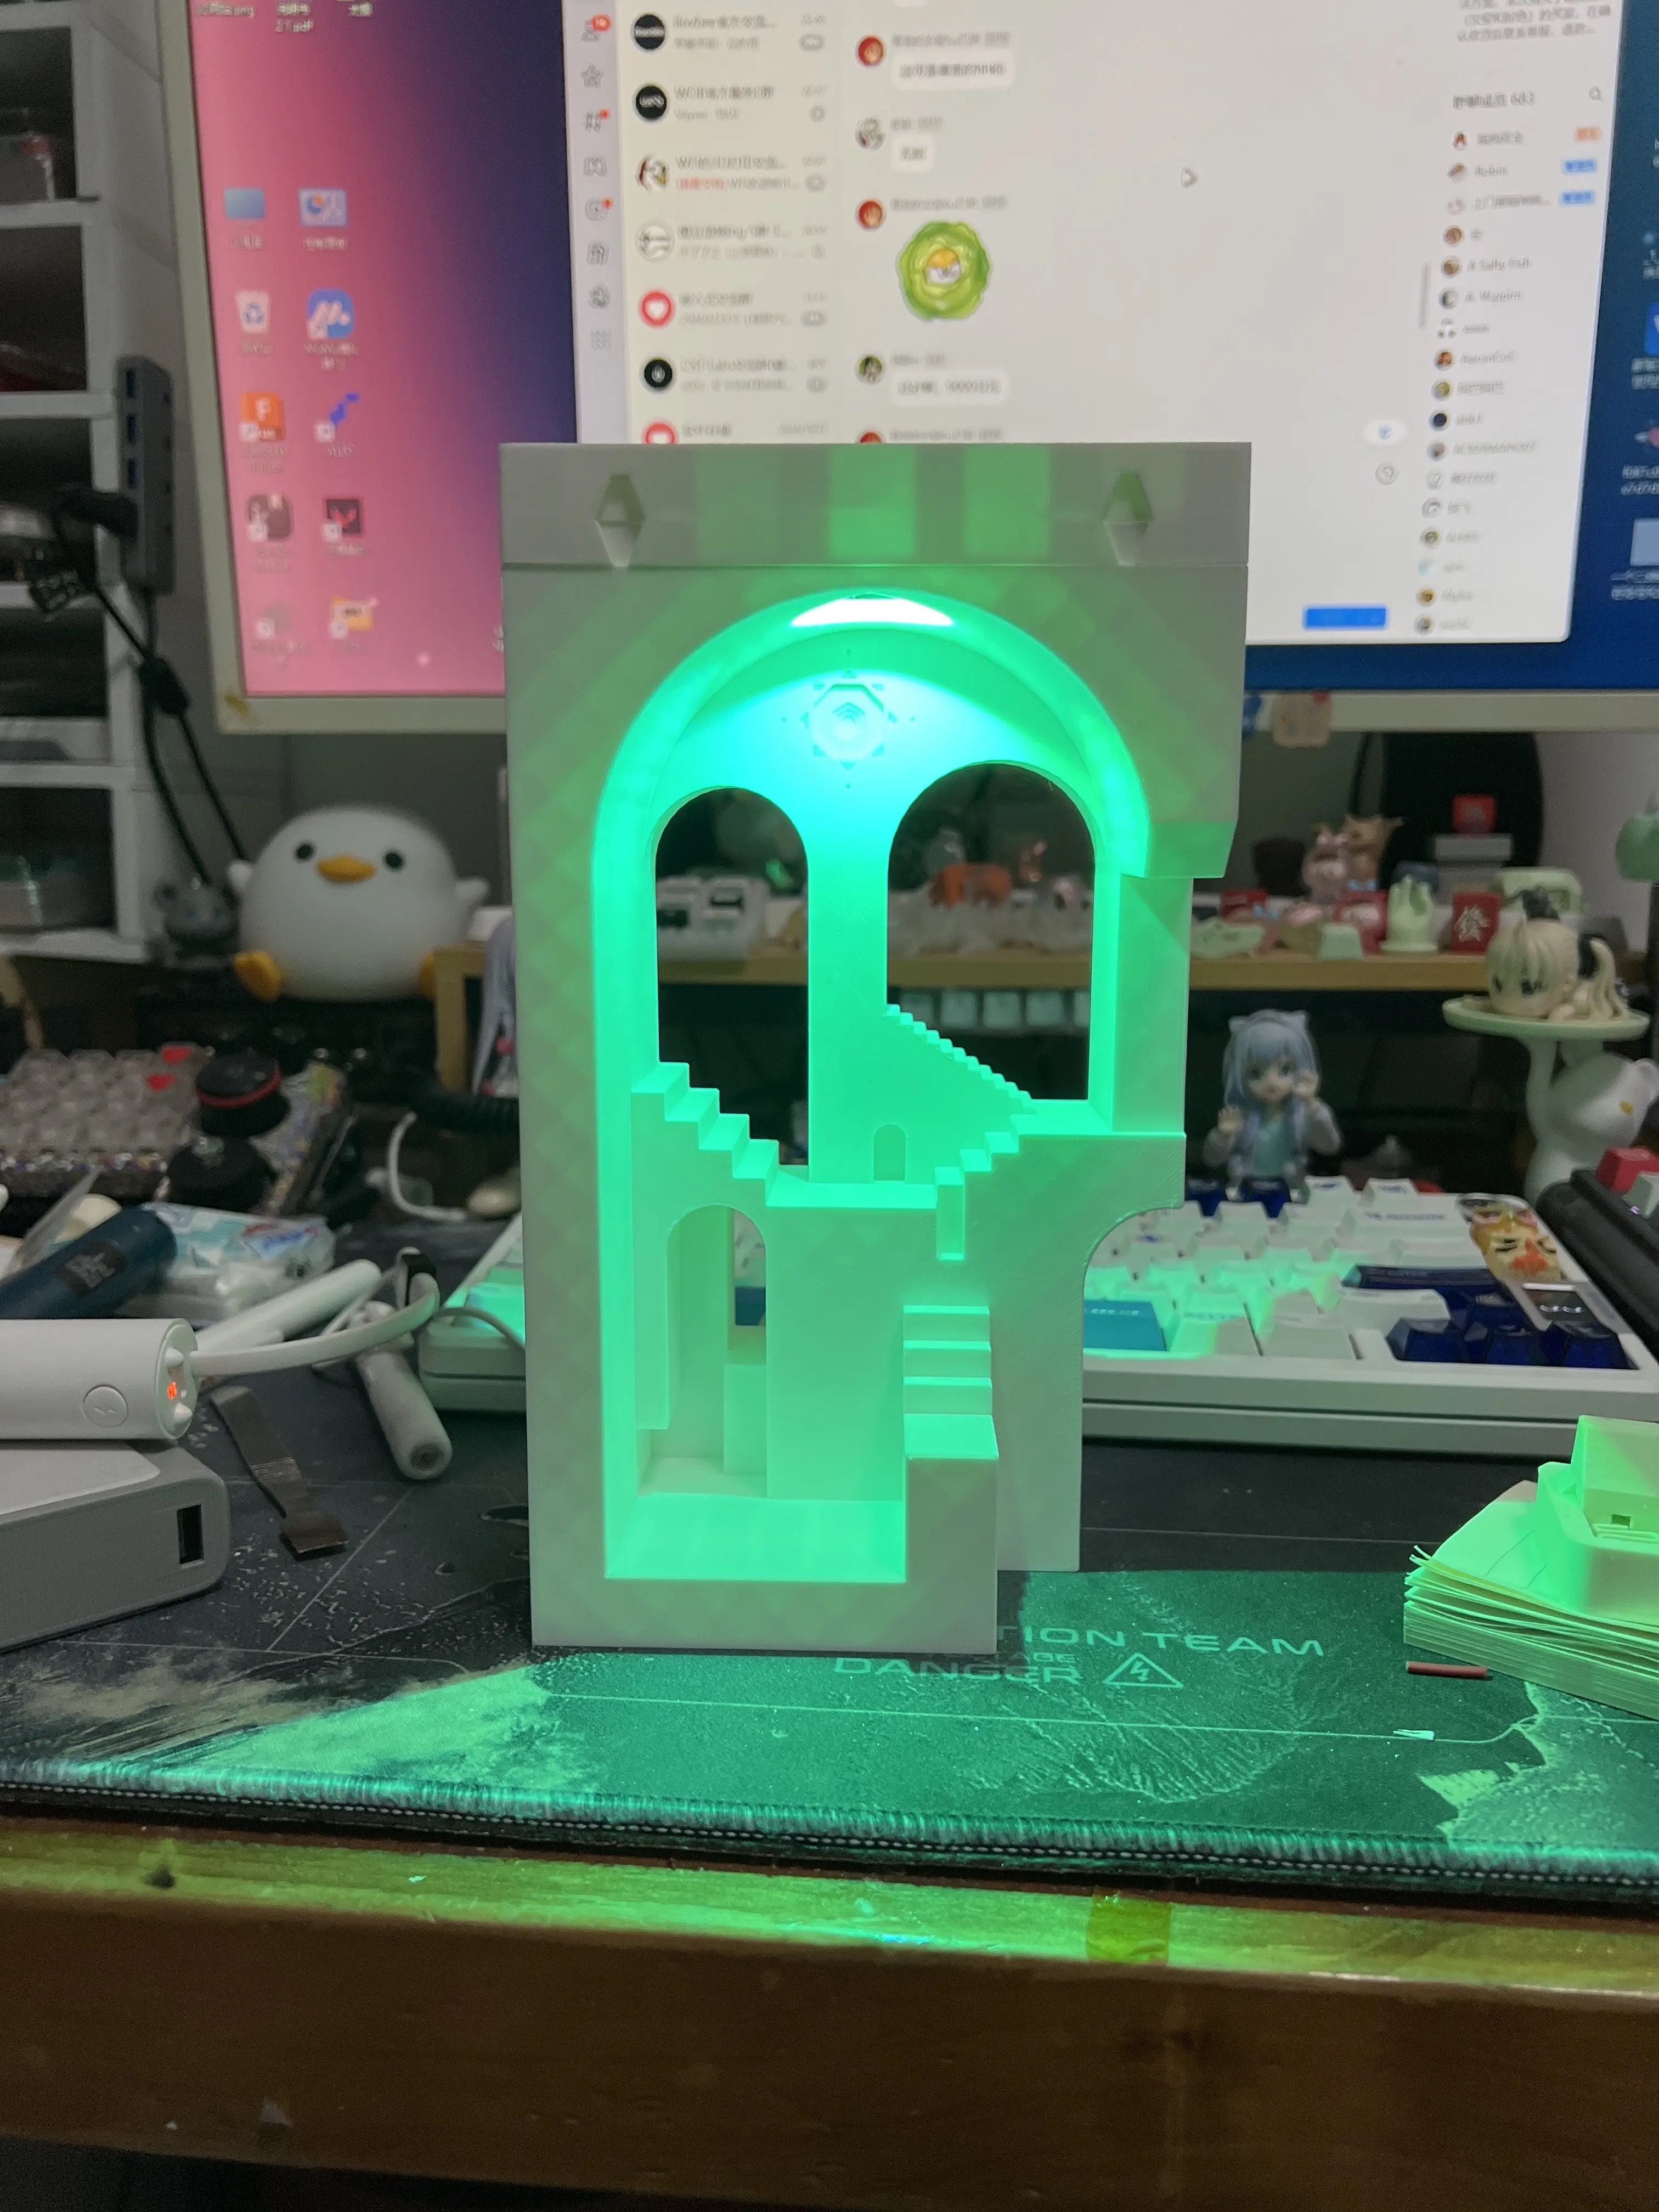
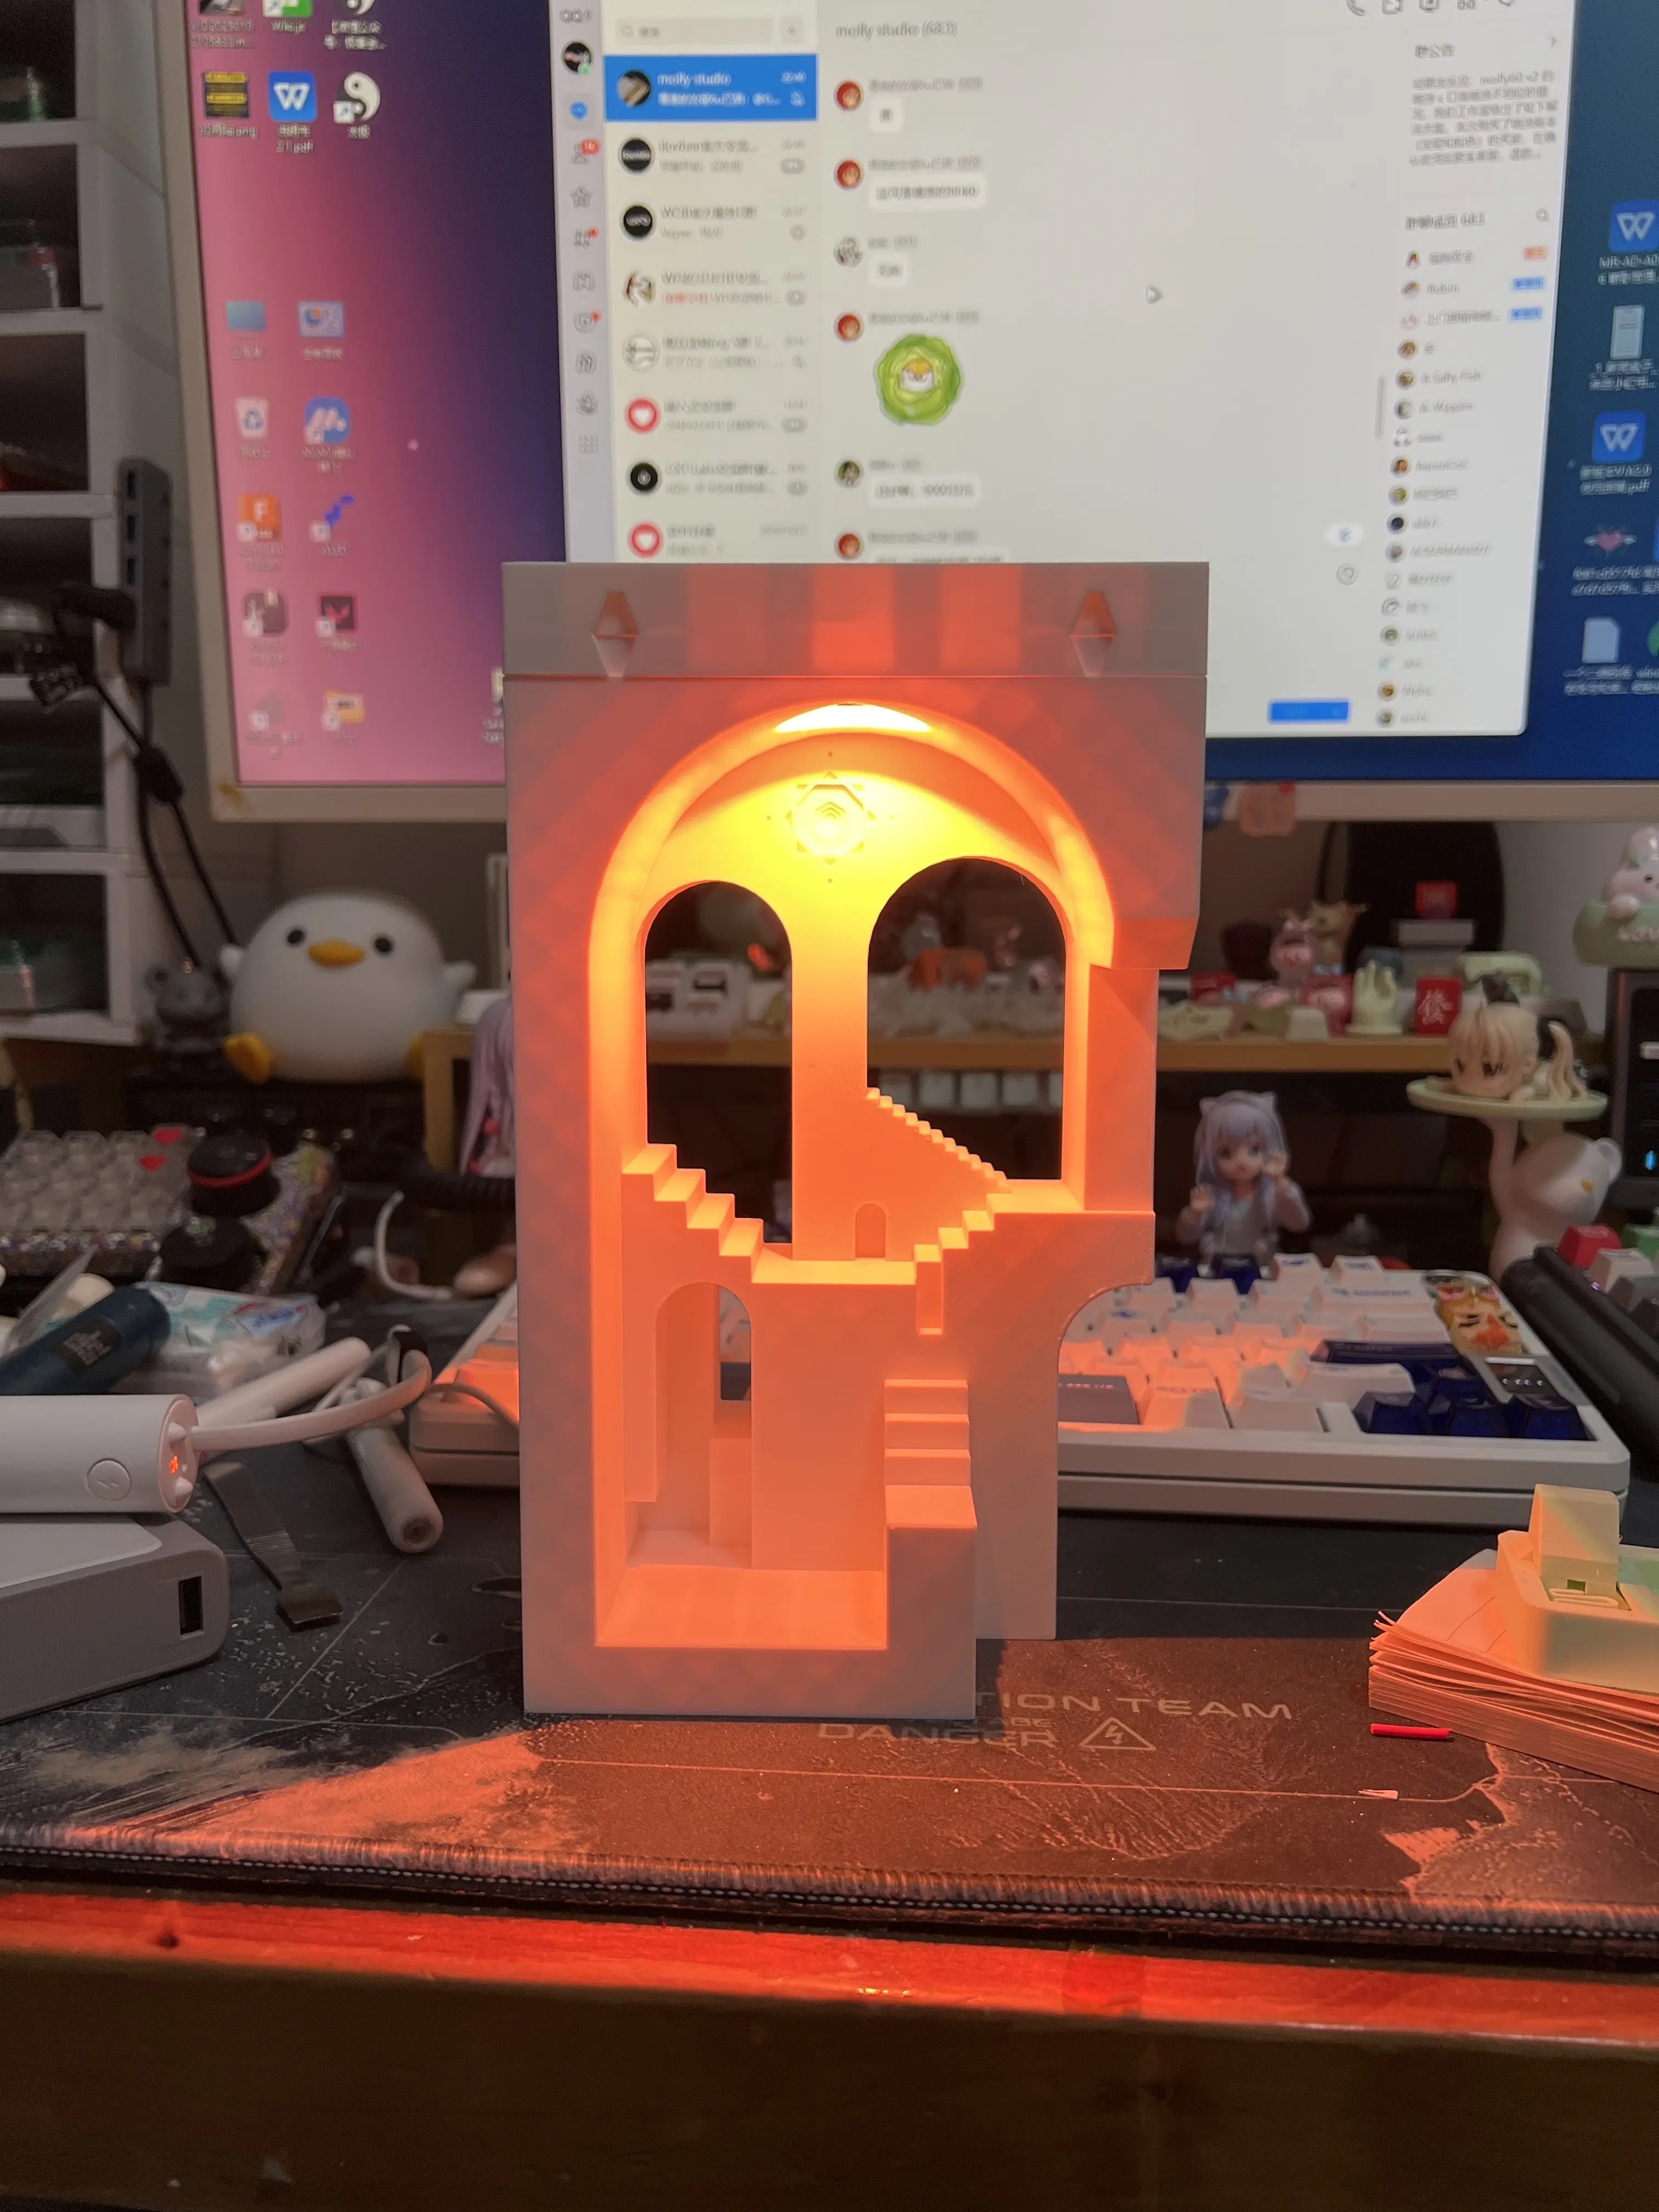
Evolved the comfort lamp into a finished ambient object. Researched and 3D-printed a staircase/arch housing, removed the LCD, added a light sensor and latching touch switch, and connected to a ProtoPie mobile UI for richer feedback.
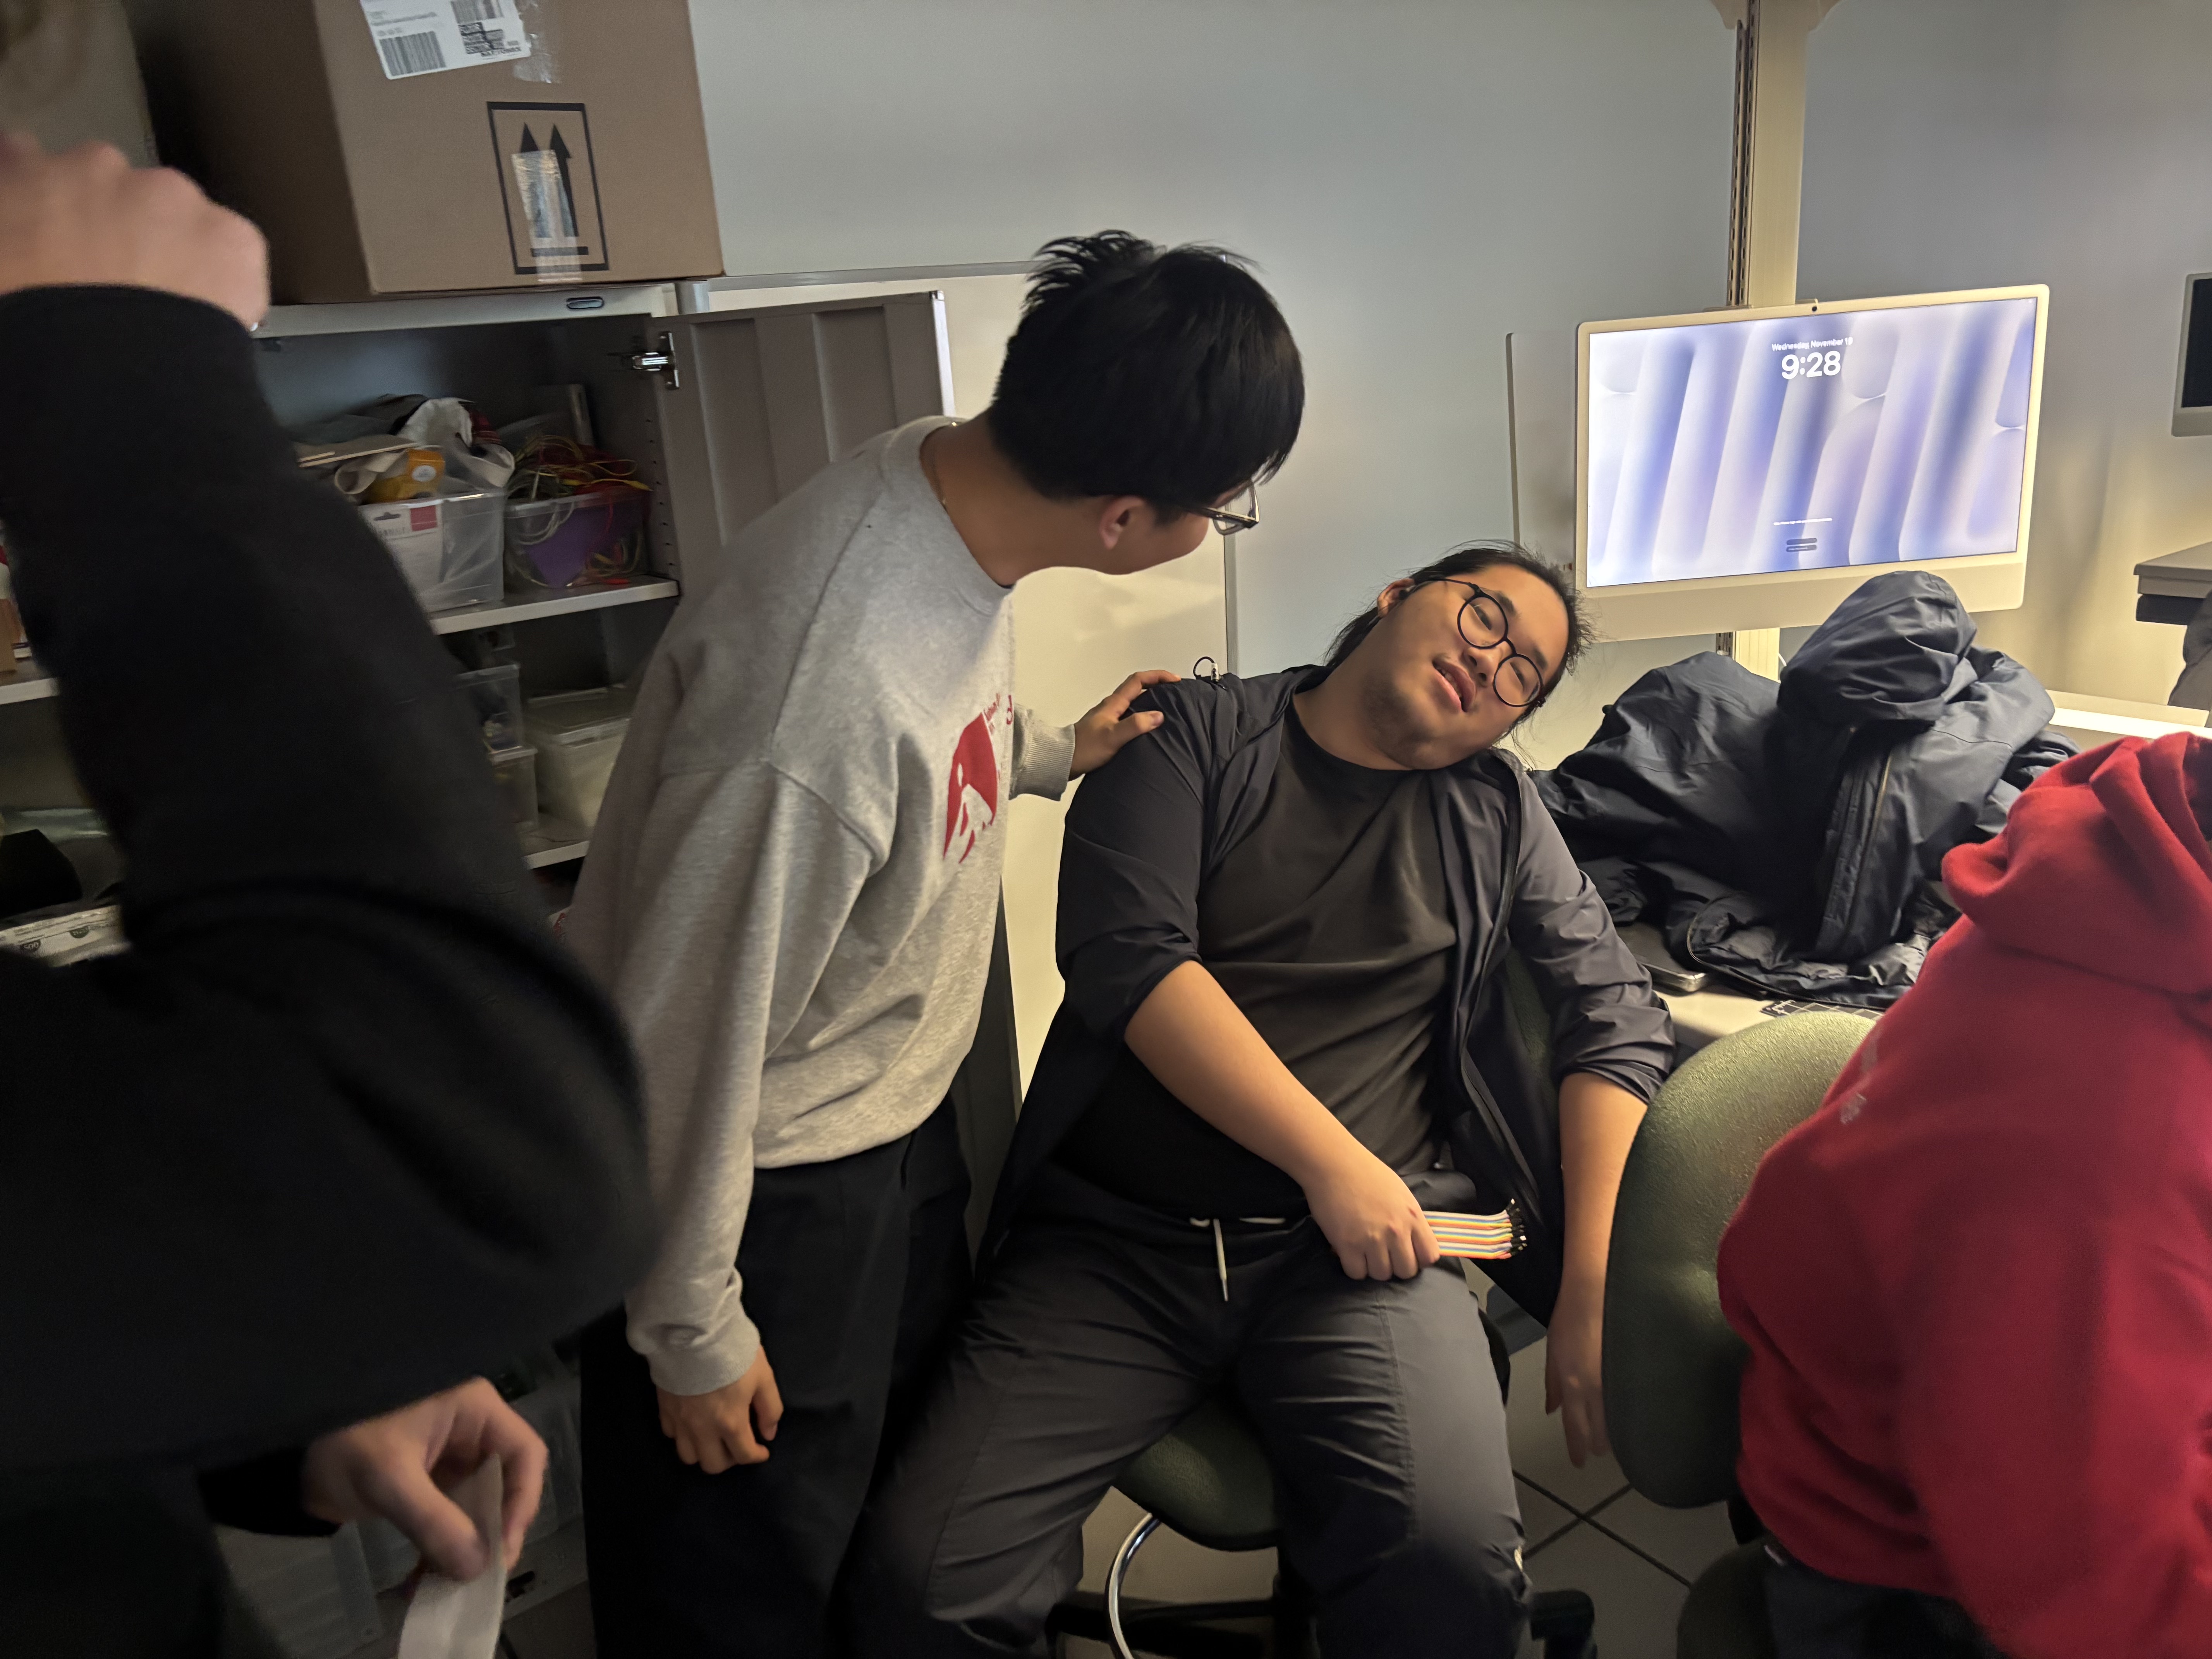
Workshop 1 — Bodystorming
Role-played a clinic visit to study doctor–patient communication: eye contact, body language, tone, and digital tools for trust and comfort.

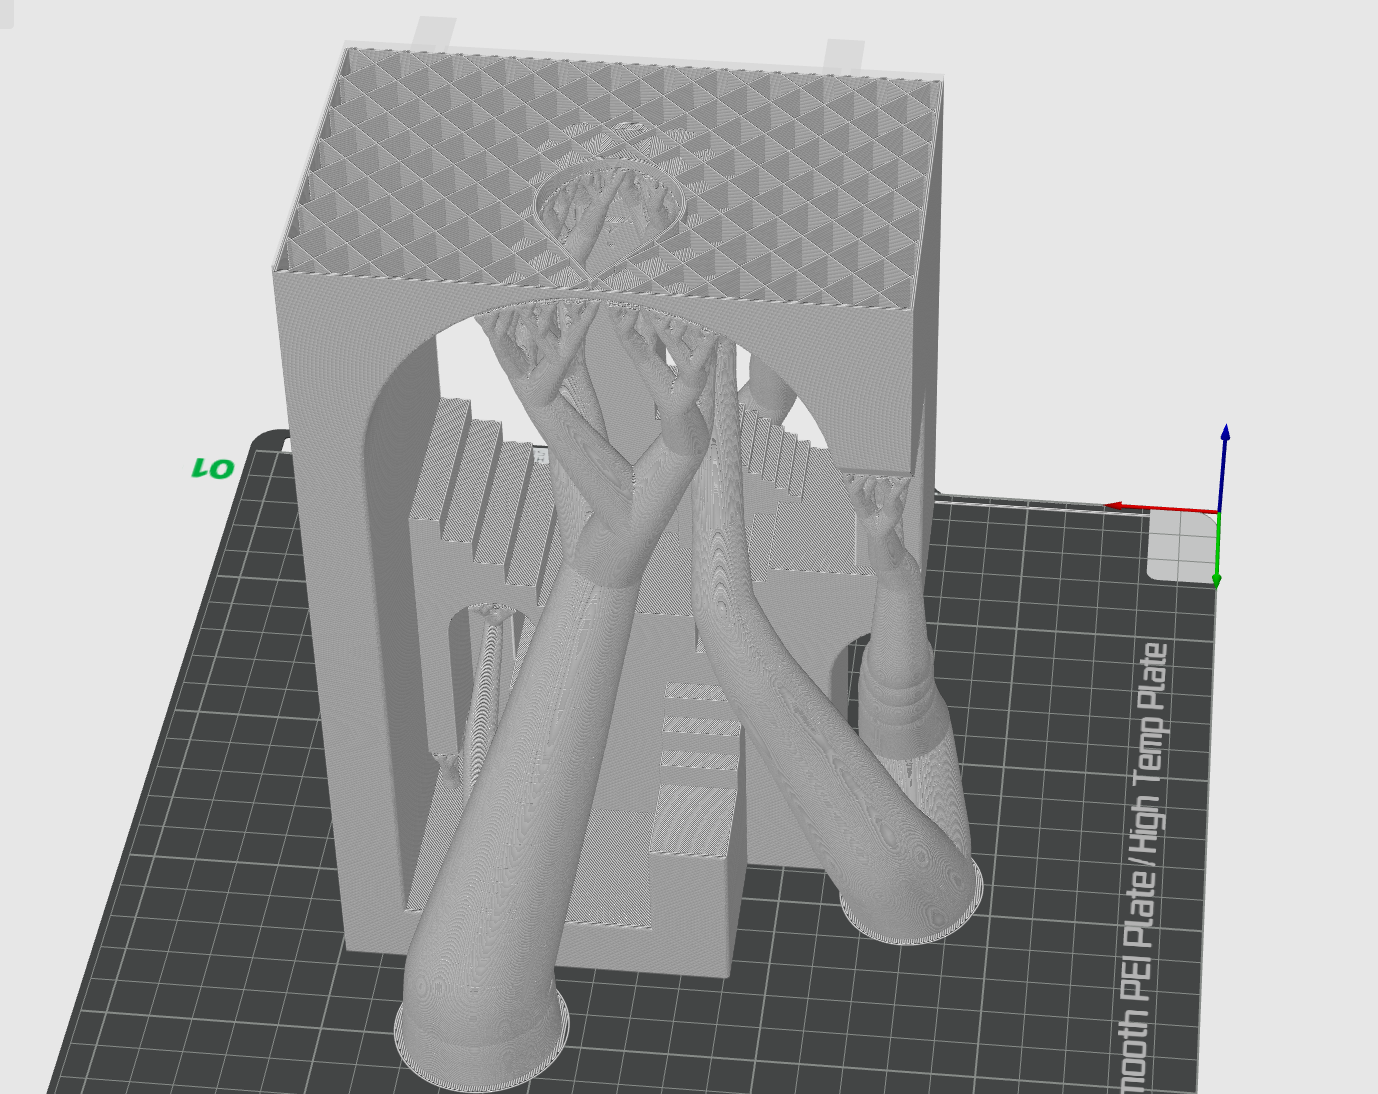
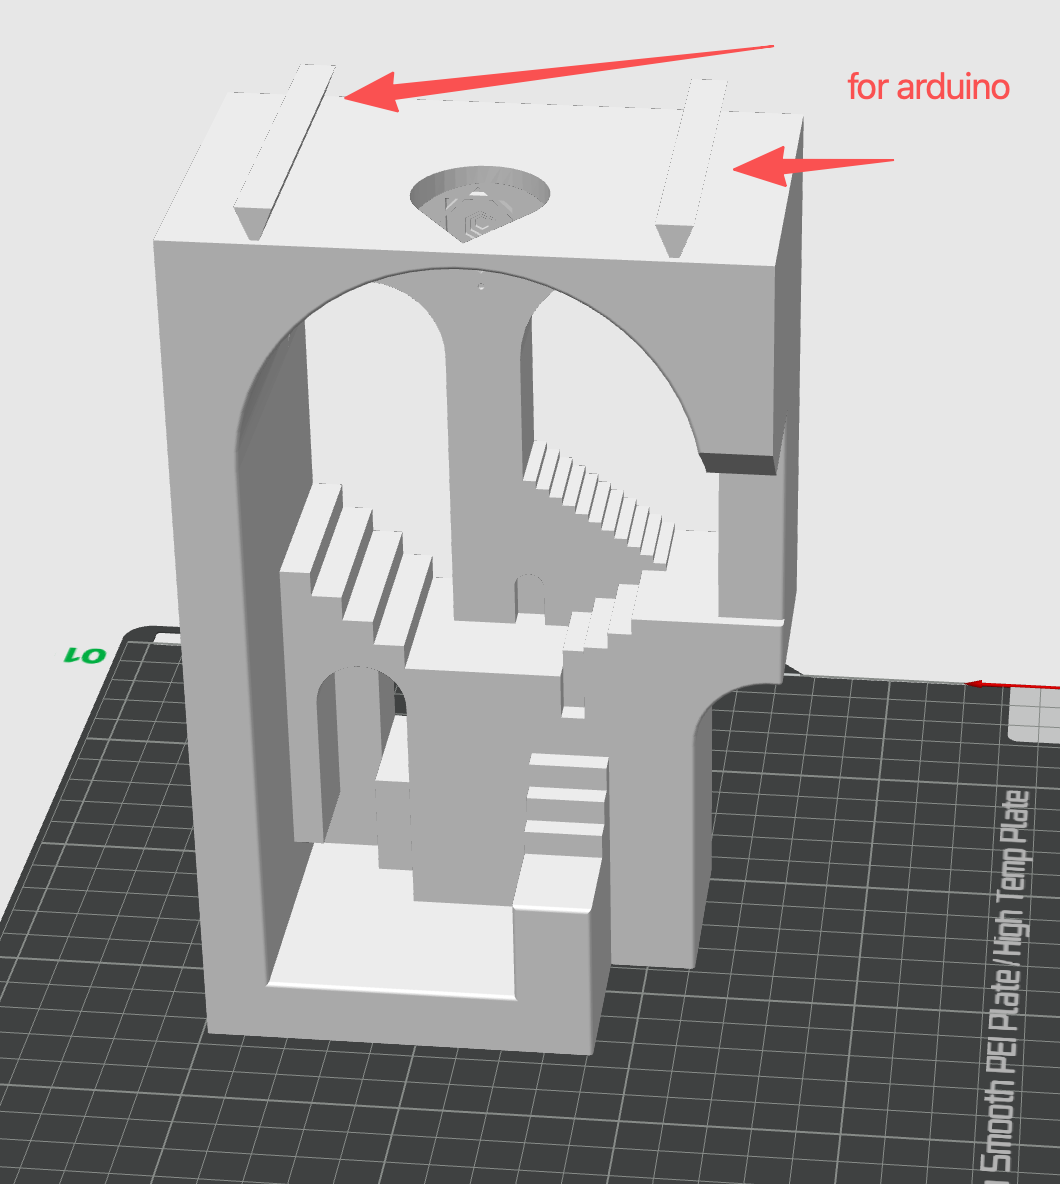
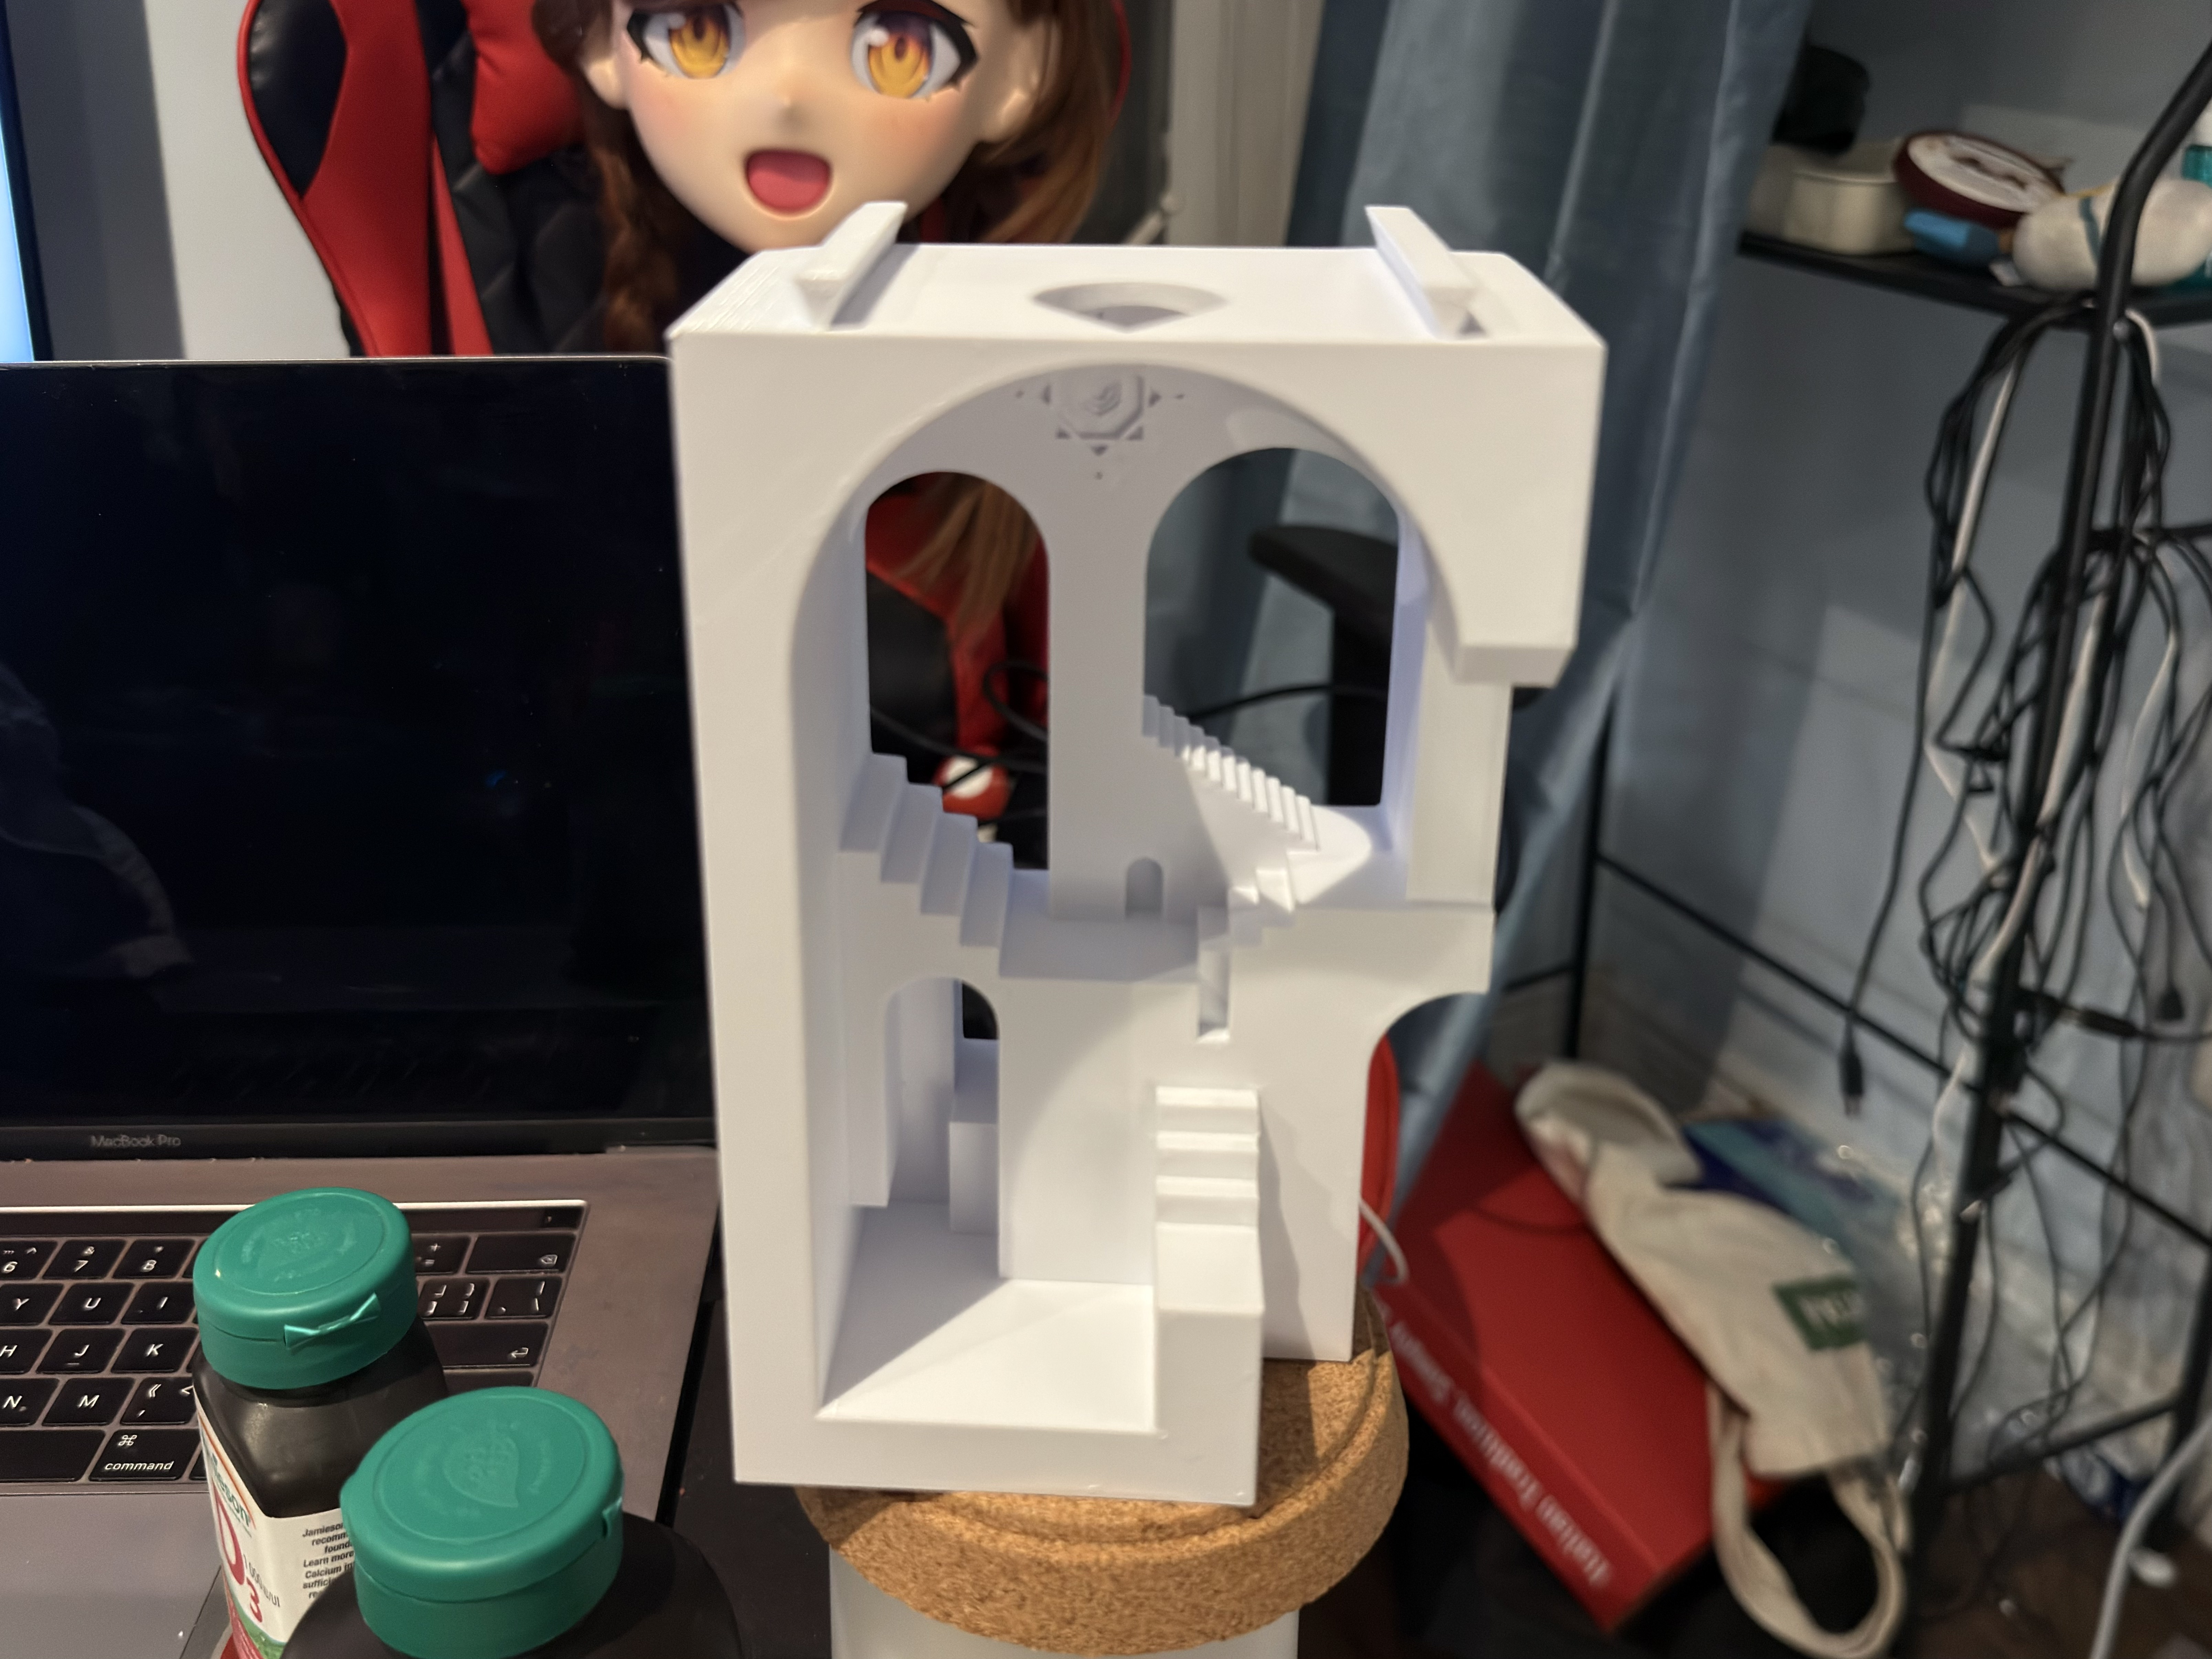
Activity 1 — Enclosure Design & 3D Printing
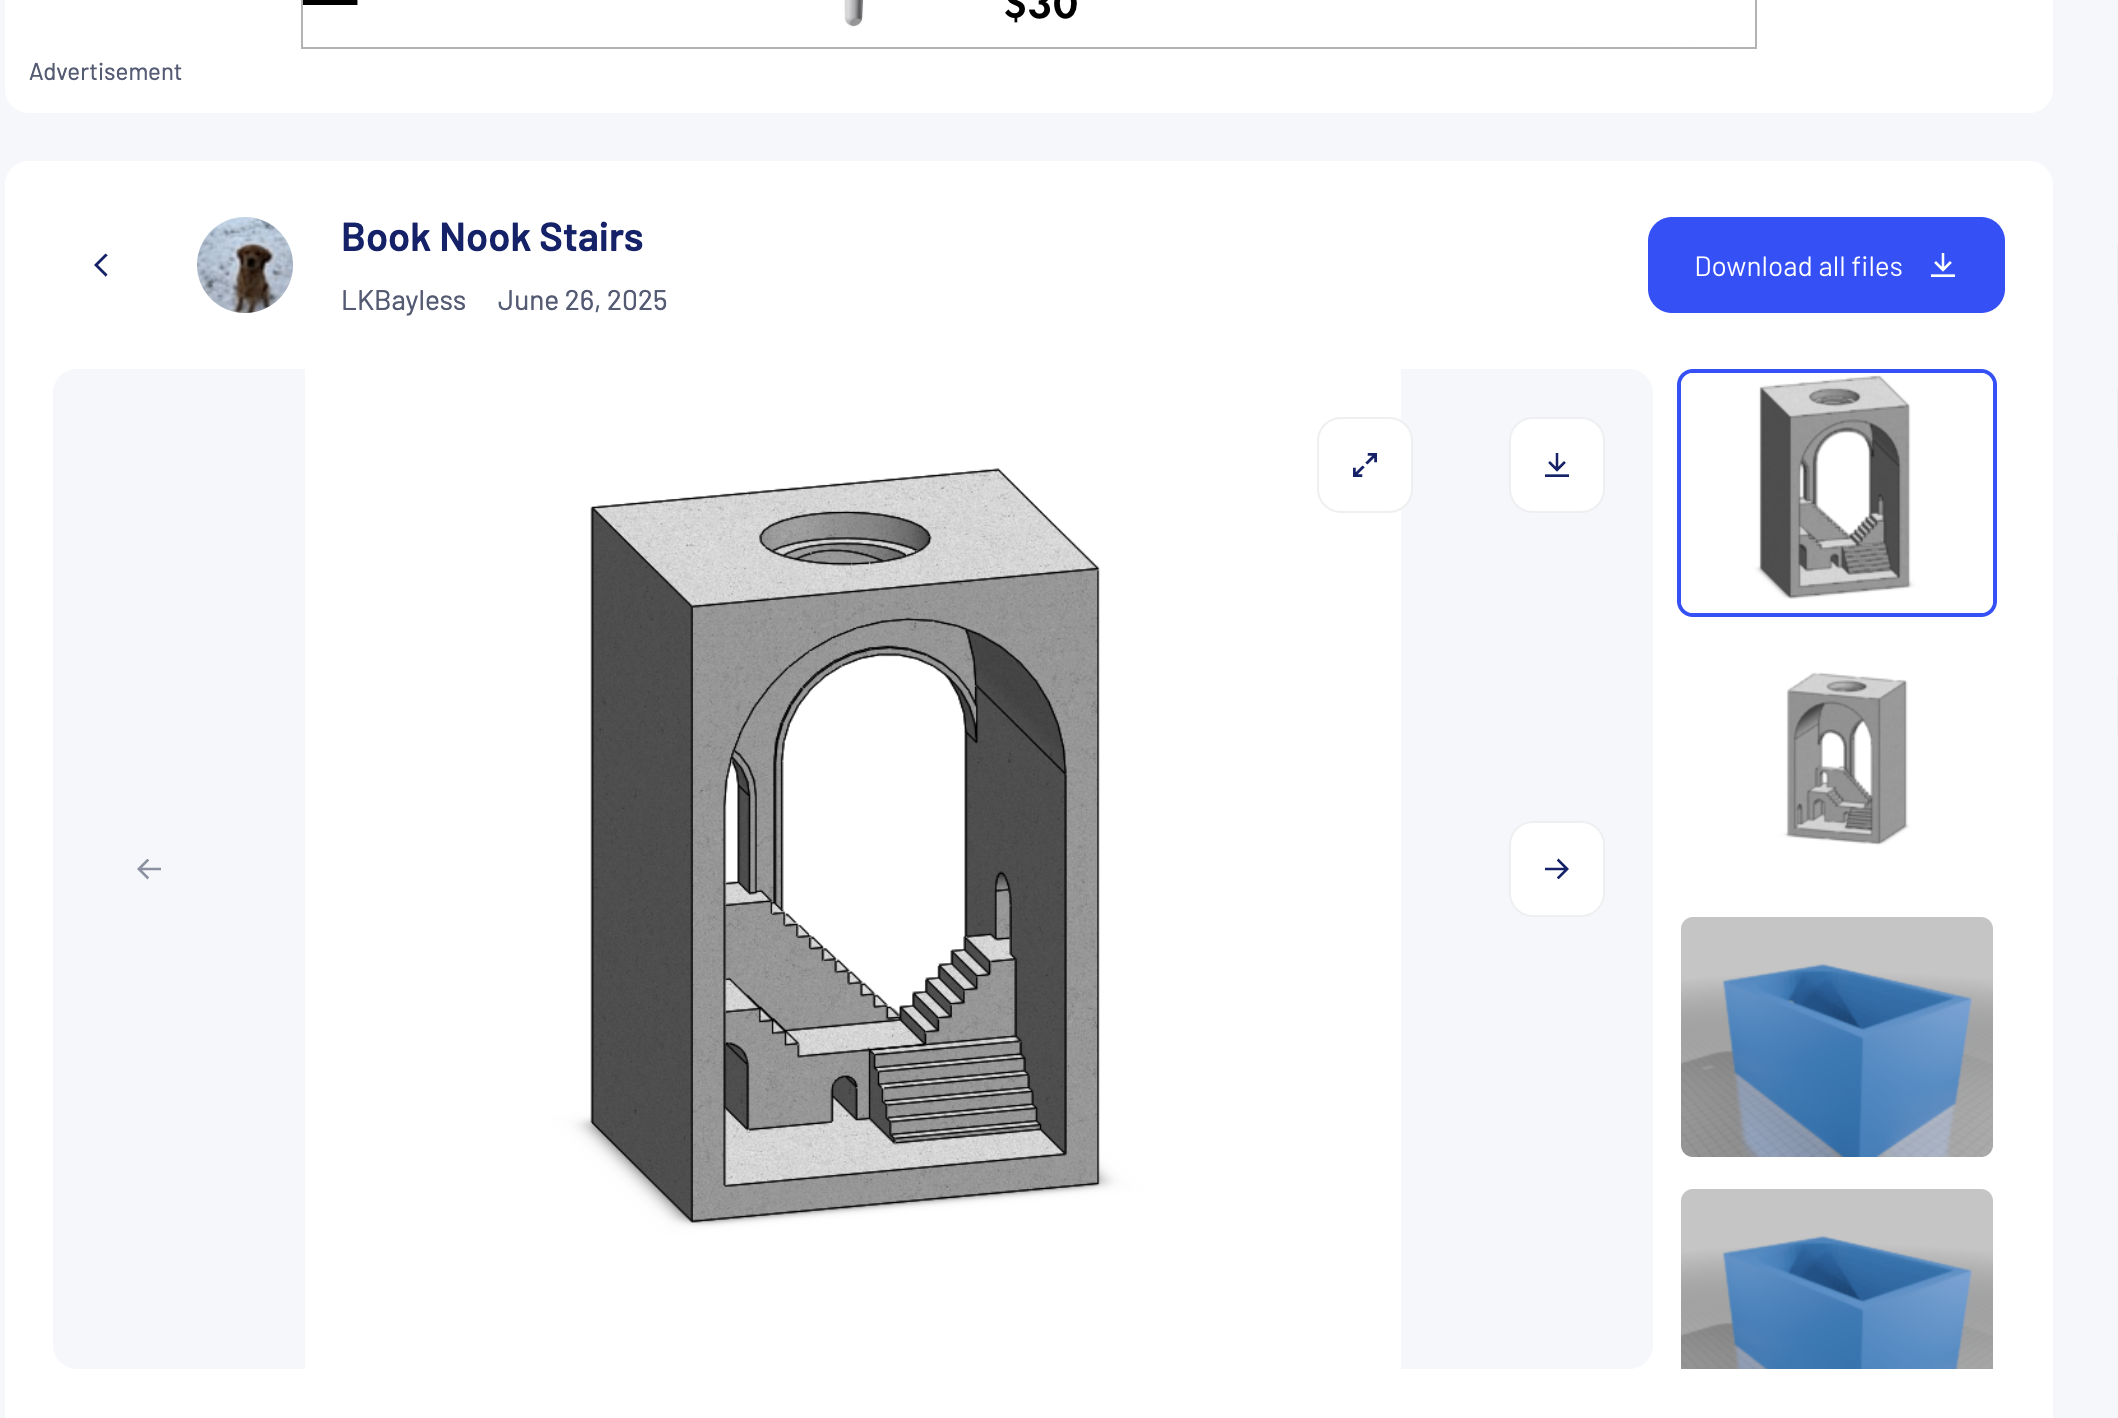
Found a staircase/arch model on Thingiverse, modified it in CAD, and 3D-printed a housing for the Arduino and sensors.

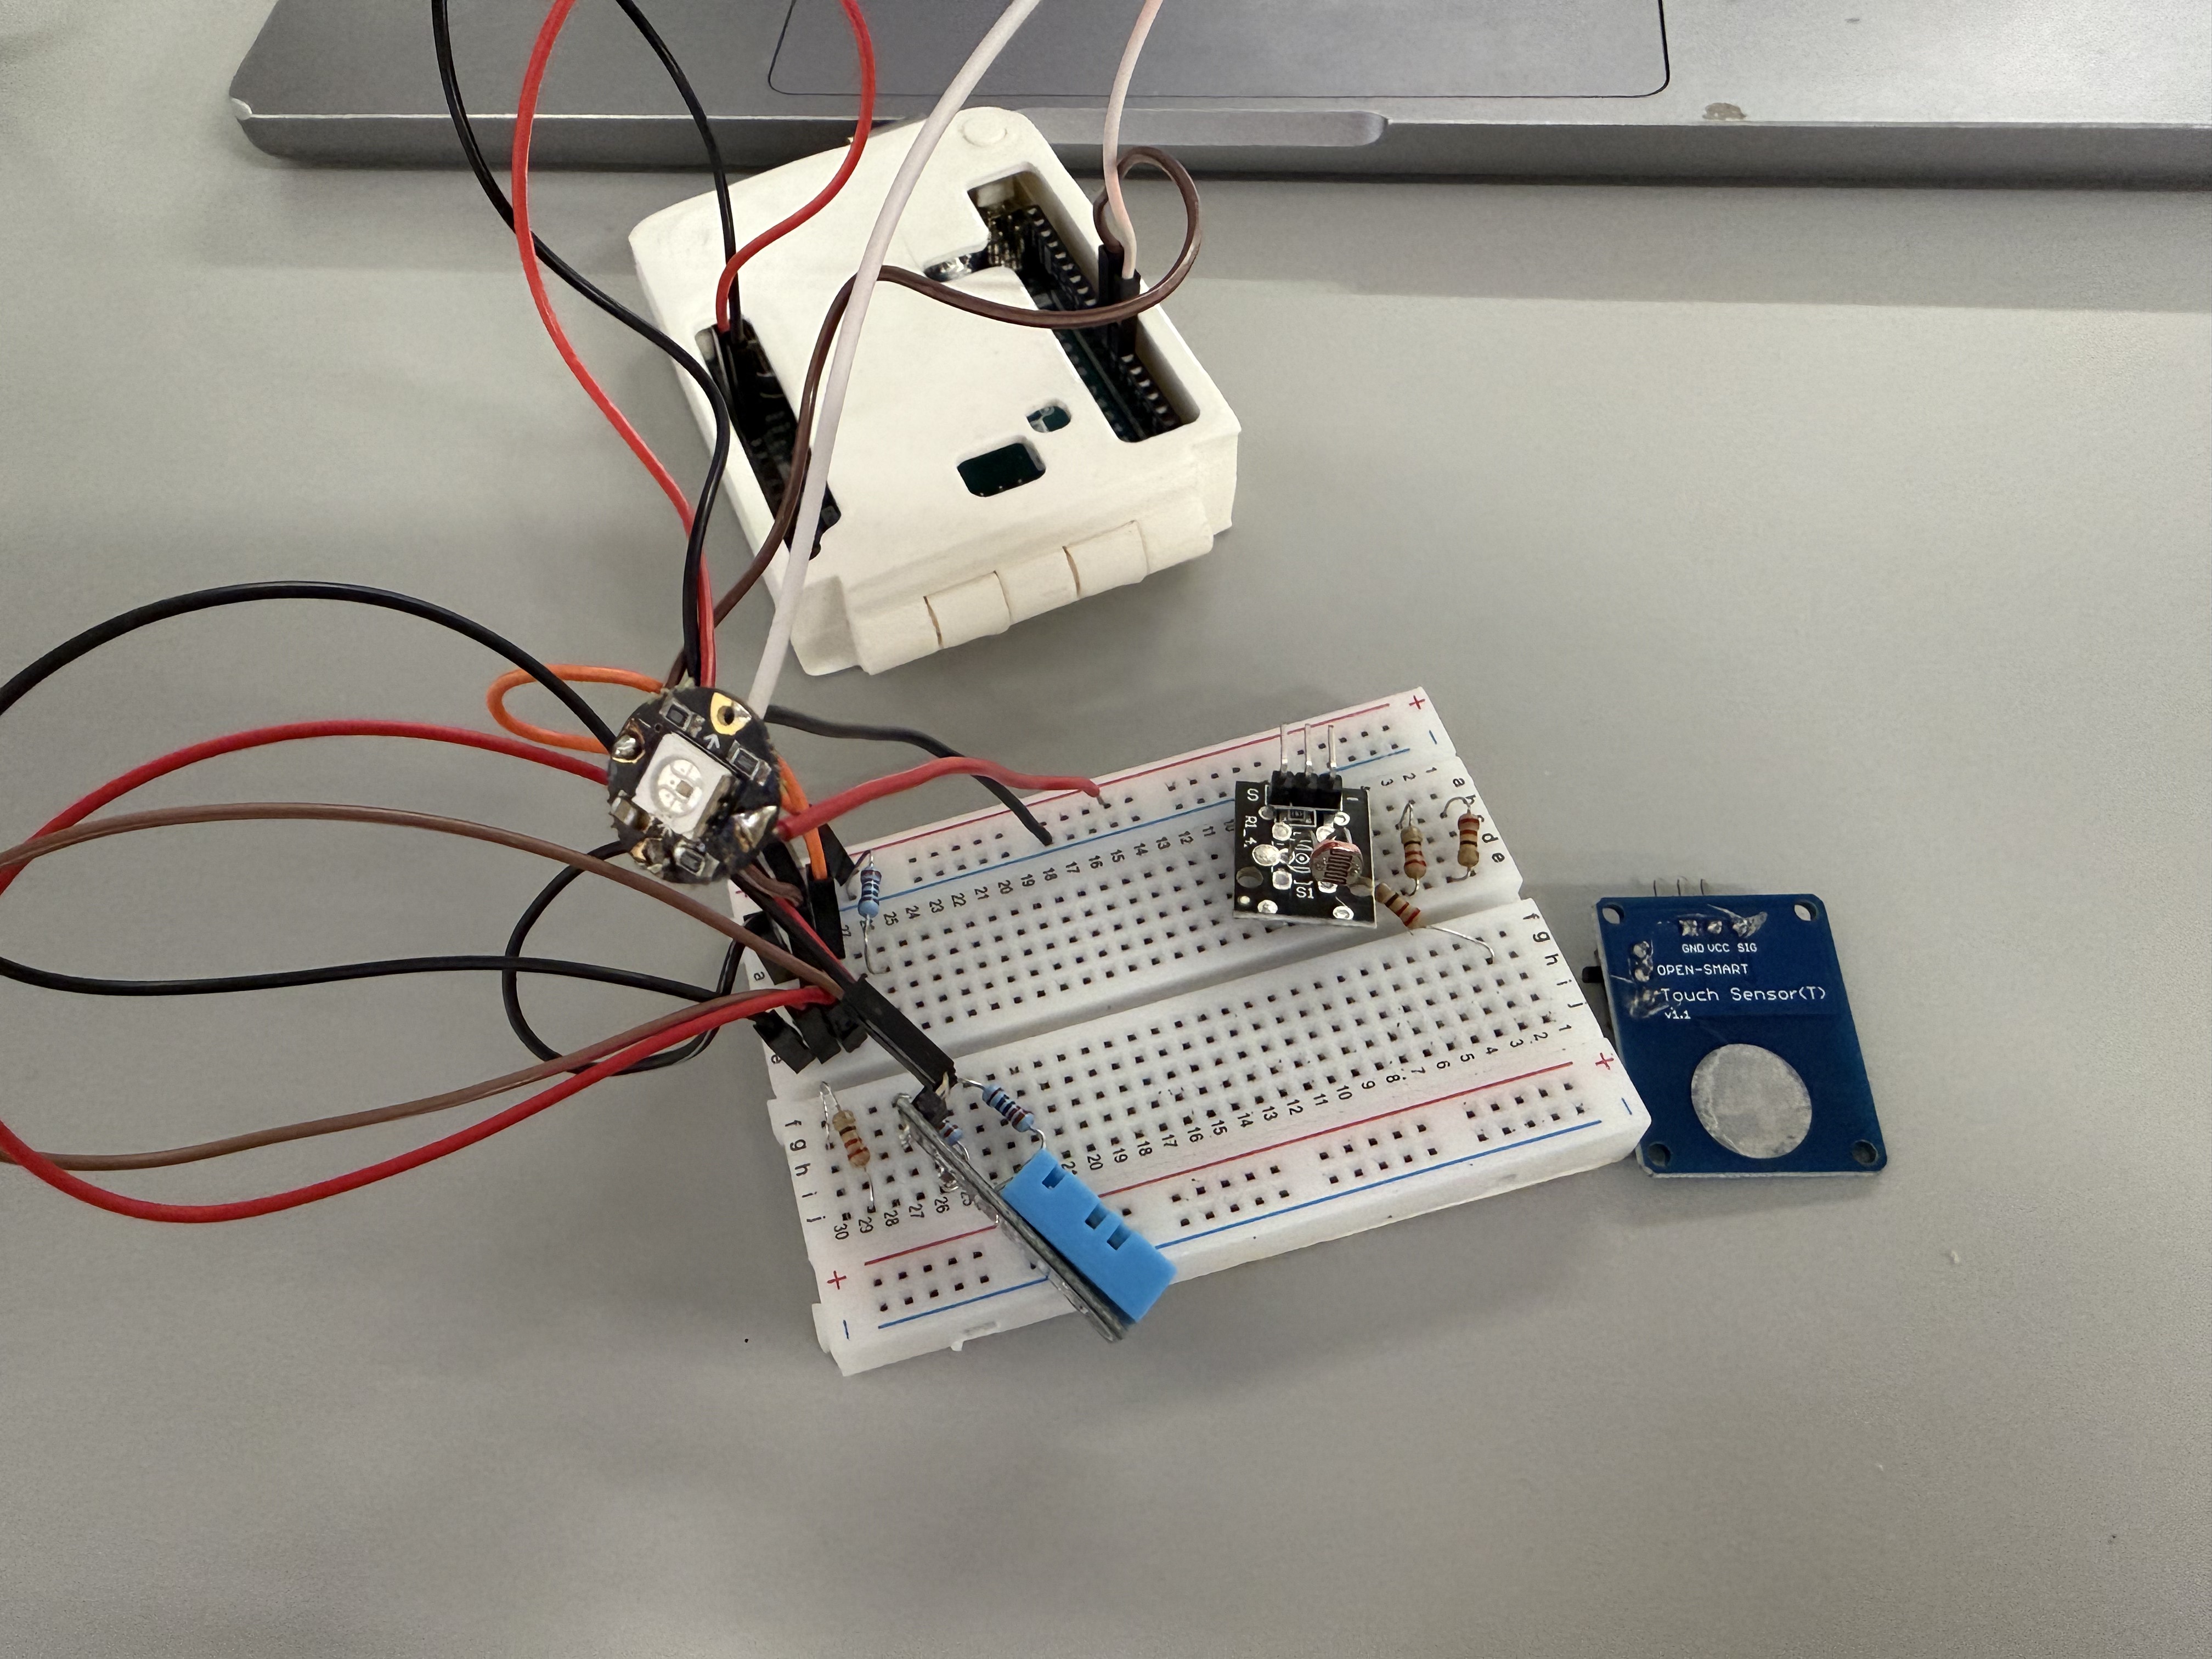
Activity 2 — Electronics & Lighting Integration

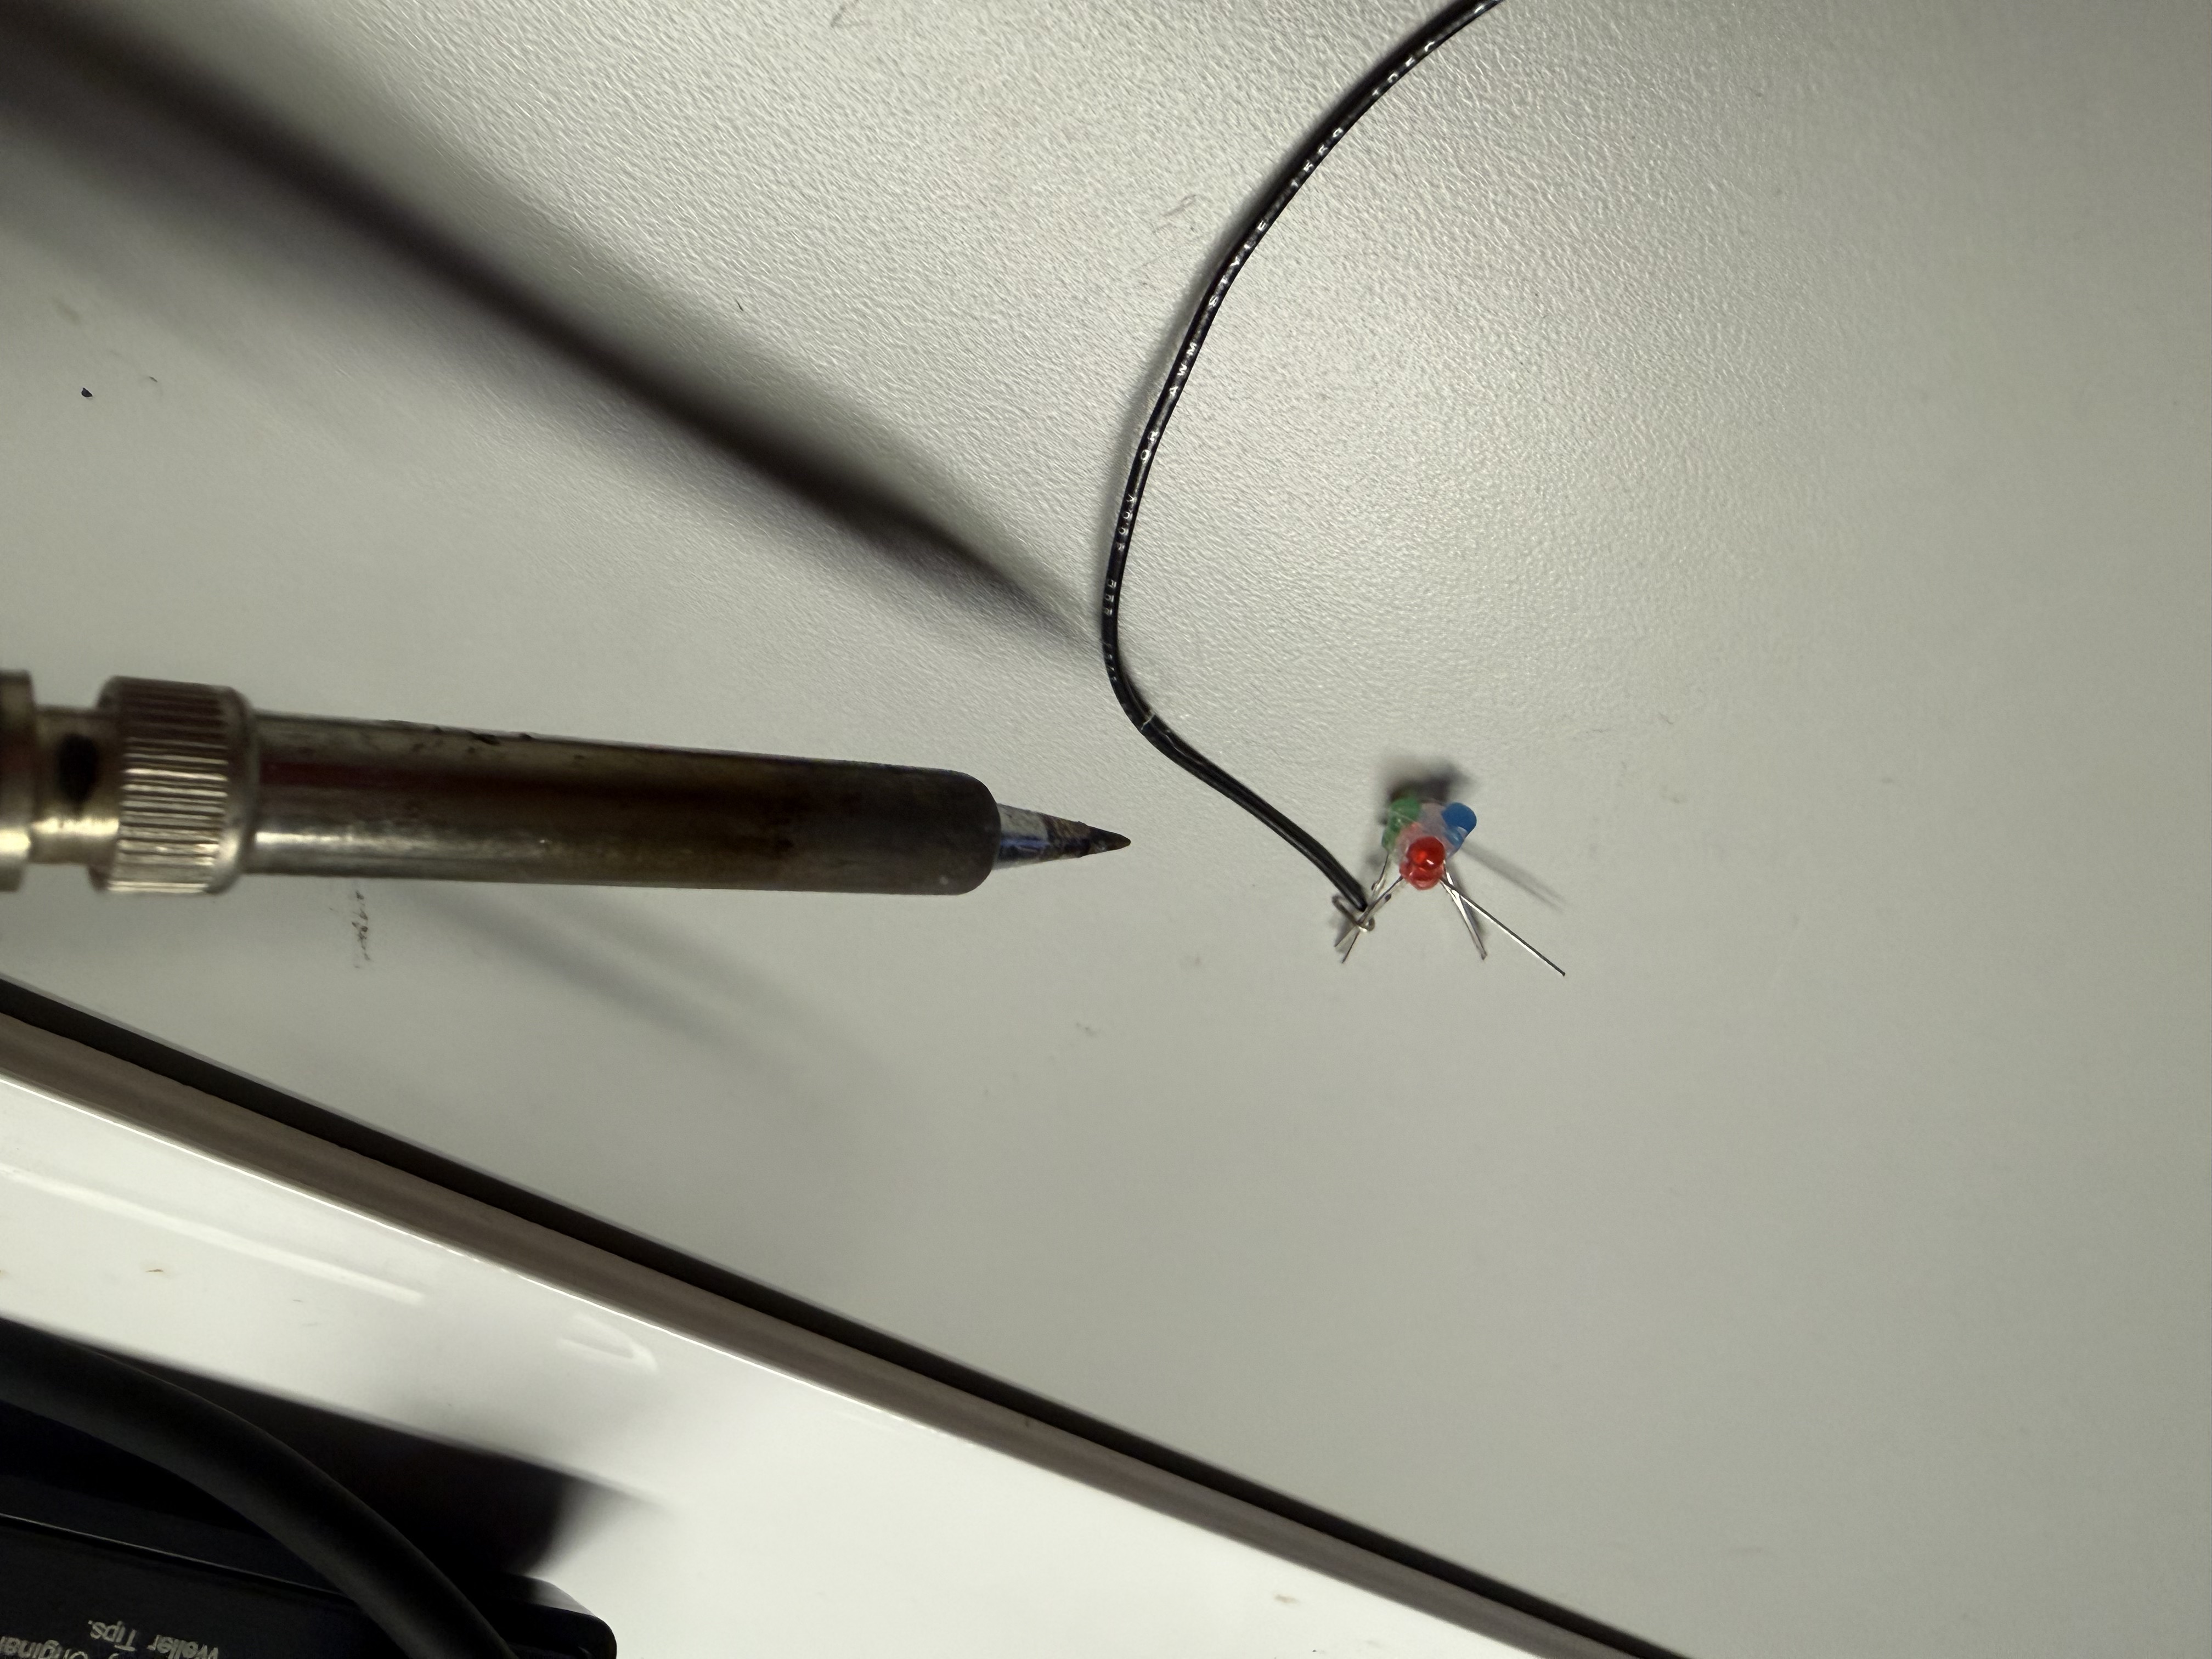
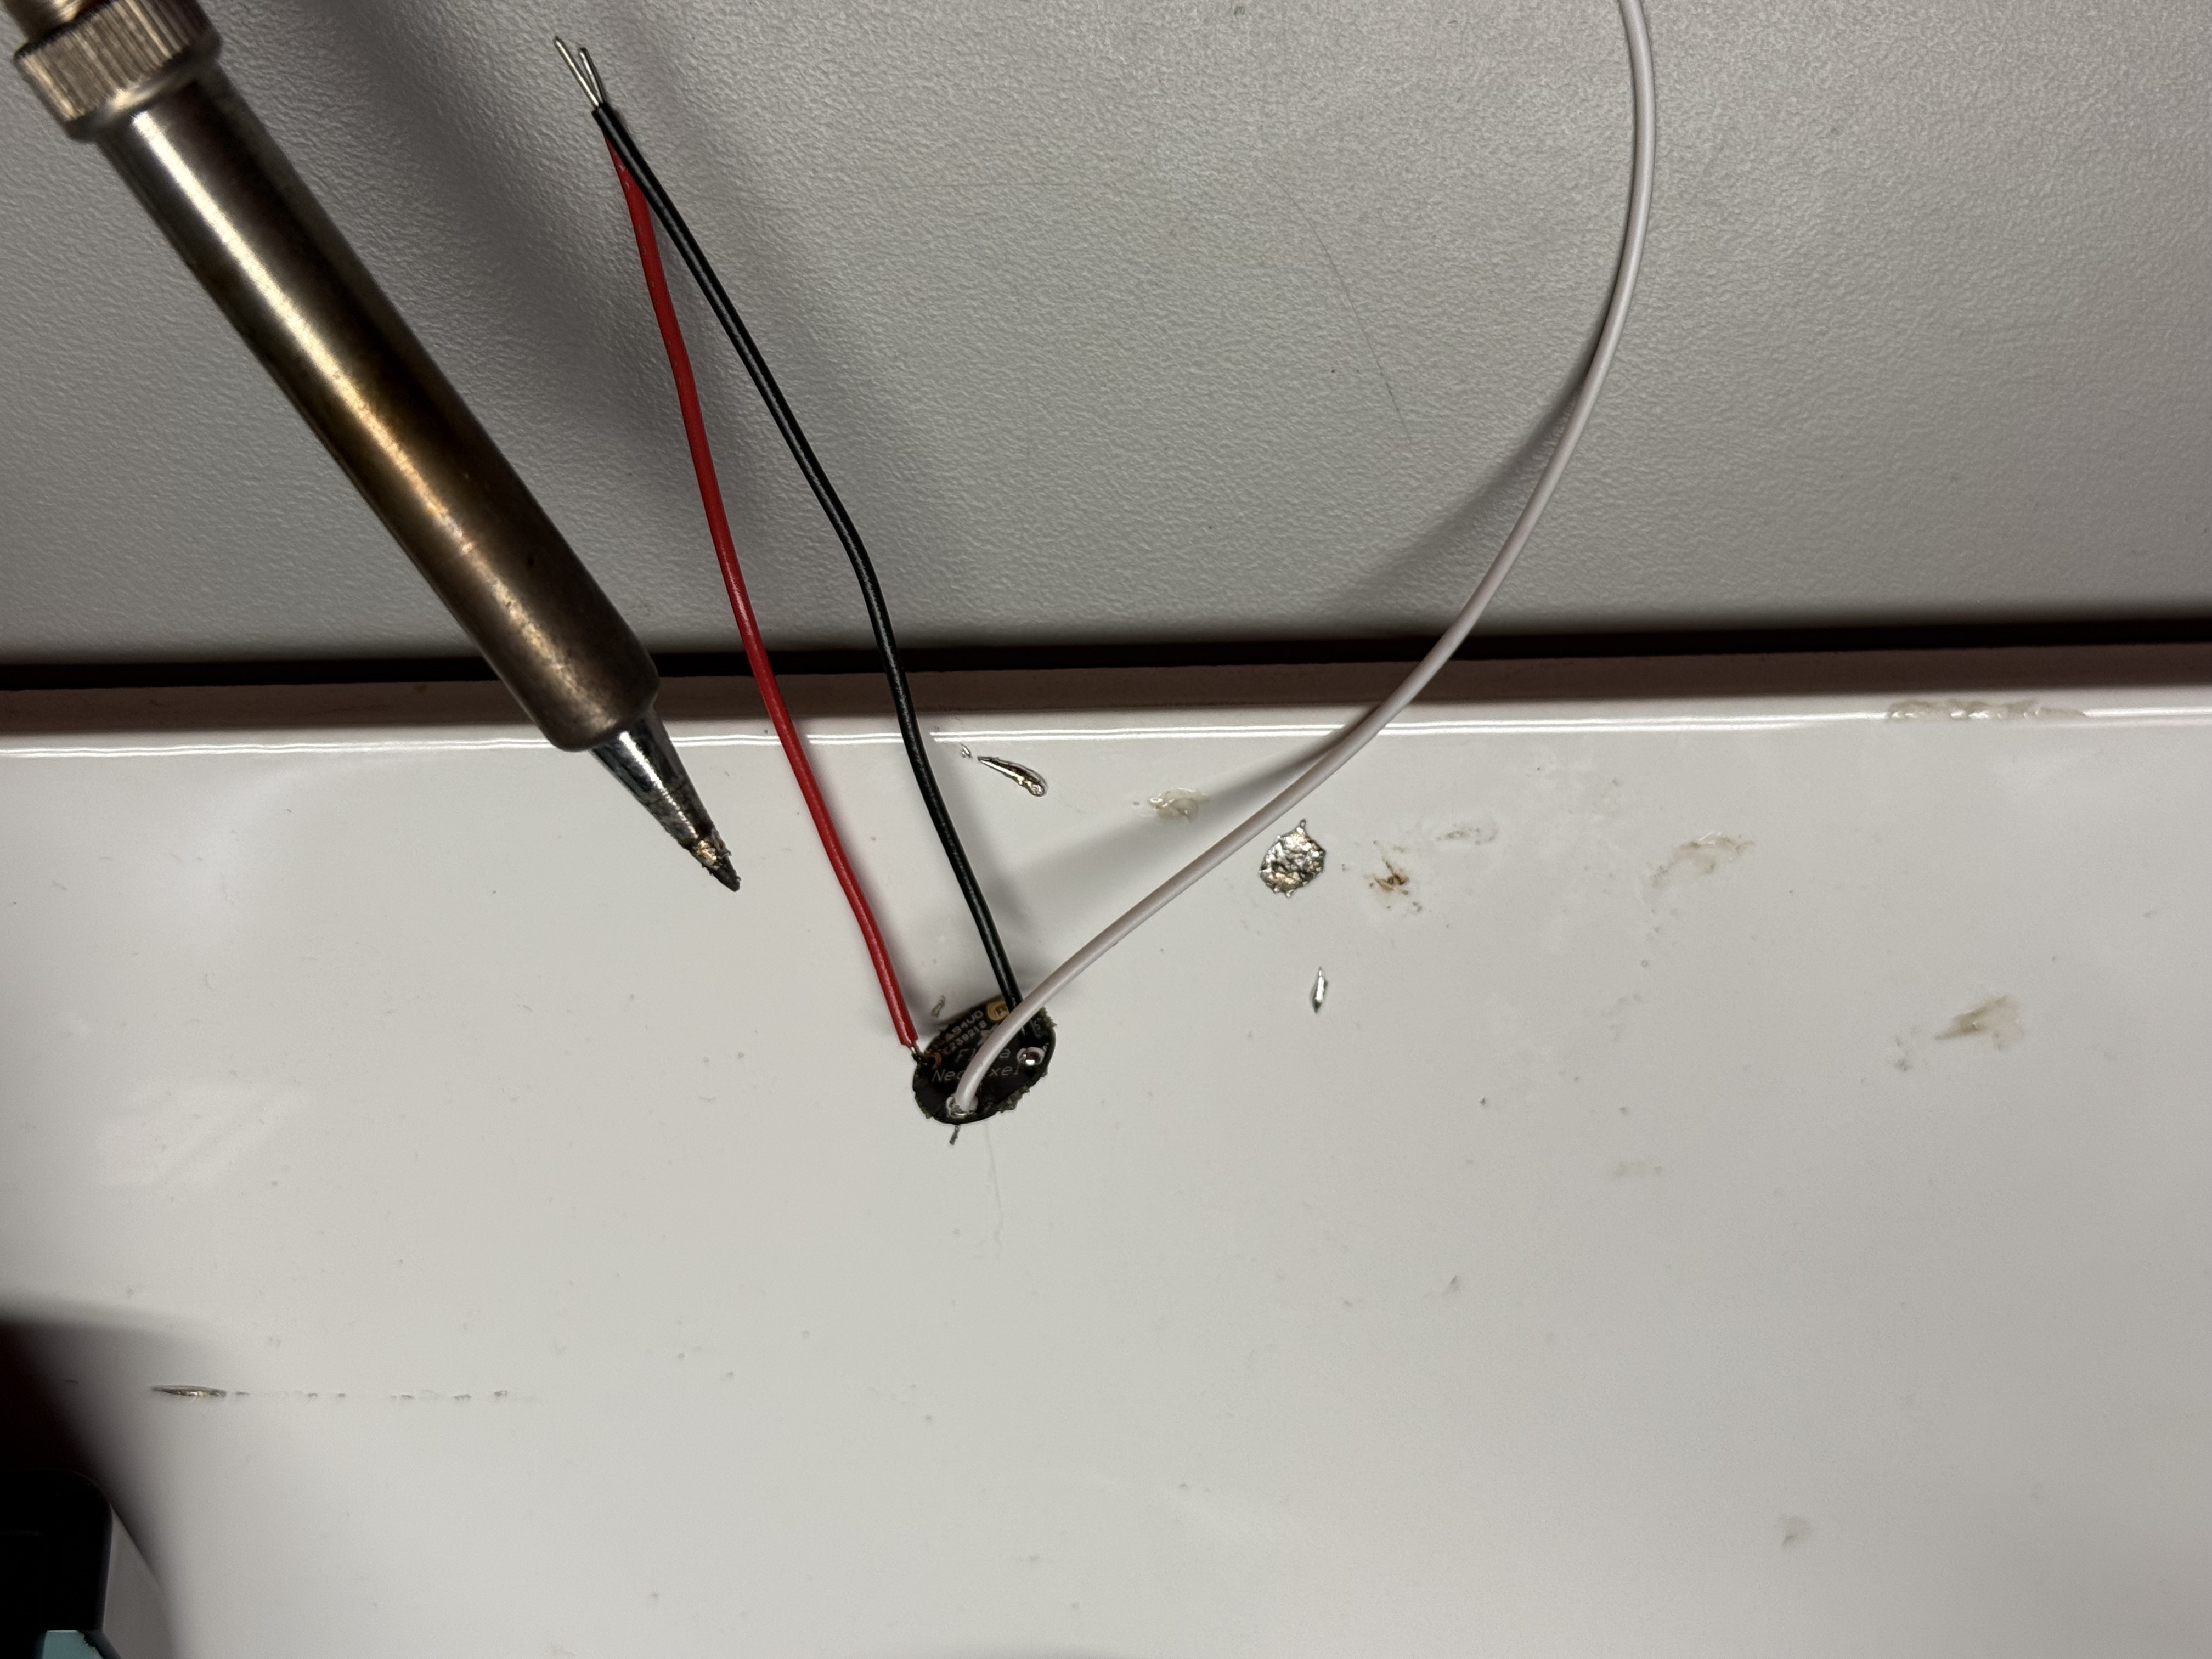

Additional Research — Sensors & Switch
Removed LCD, added light sensor for ambient brightness, tested a latching touch switch for clear on/off control.
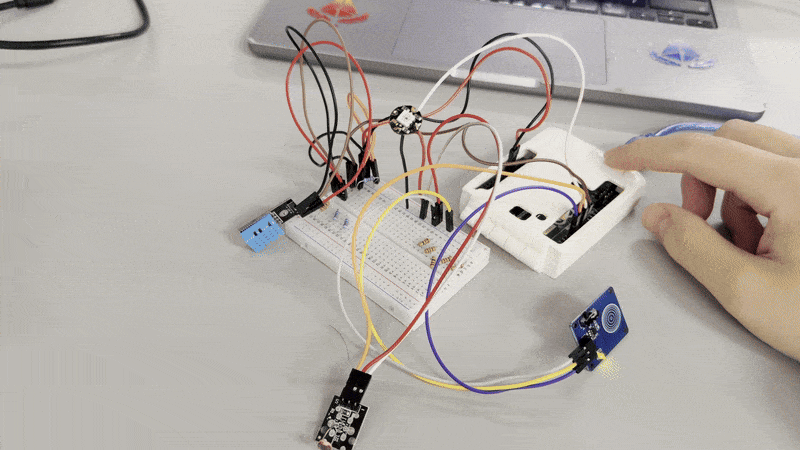
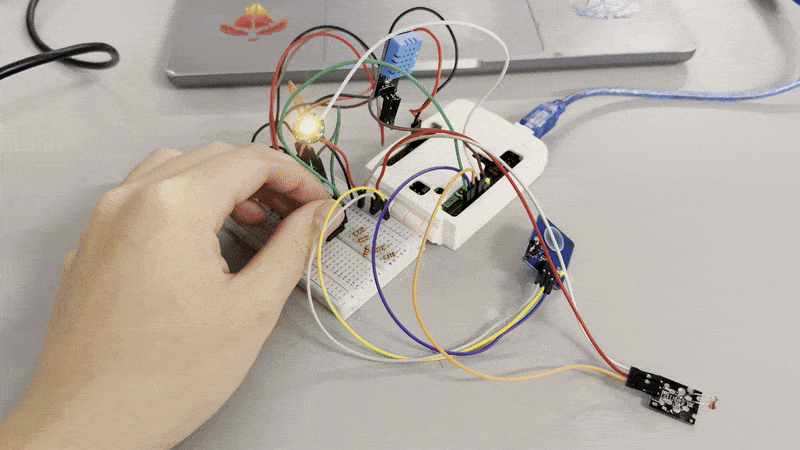
Comfort Lamp — Finished Ambient Object
The completed lamp uses tiered colour states driven by sensors, a latching touch switch for physical on/off, and a ProtoPie mobile UI that shows live data and sends commands back to the Arduino. The phone handles detailed information; the lamp communicates through colour and glow.